Upgrade to Pro
— share decks privately, control downloads, hide ads and more …
Speaker Deck
Features
Speaker Deck
PRO
Sign in
Sign up for free
Search
Search
不要小看我的情報網_上吧網路爬蟲!!@HackerSir 11th
Search
YUKAI
May 30, 2025
Education
0
41
不要小看我的情報網_上吧網路爬蟲!!@HackerSir 11th
YUKAI
May 30, 2025
Tweet
Share
More Decks by YUKAI
See All by YUKAI
WebAssembly 入門:在 Browser 上跑 C Code 是怎麼回事@HackerSir StudyGroup
yukai0xe
0
31
Docker Escape@HackerSir StudyGroup
yukai0xe
0
46
How to use Docker@HackerSir 11th
yukai0xe
0
38
OAuth2.0 Easy Talk@HackerSir StudyGroup
yukai0xe
0
27
Discord Bot Junior Tutorial@HackerSir 11th
yukai0xe
0
23
XSS Everywhere@HackerSir 11th
yukai0xe
0
31
Other Decks in Education
See All in Education
【ZEPホスト用メタバース校舎操作ガイド】
ainischool
0
170
2026 Medicare 101 Presentation
robinlee
PRO
0
110
Chapitre_2_-_Partie_2.pdf
bernhardsvt
0
170
東大1年生にJulia教えてみた
matsui_528
7
12k
160人の中高生にAI・技術体験の講師をしてみた話
shuntatoda
1
310
【ベテランCTOからのメッセージ】AIとか組織とかキャリアとか気になることはあるけどさ、個人の技術力から目を背けないでやっていきましょうよ
netmarkjp
2
2.9k
いわゆる「ふつう」のキャリアを歩んだ人の割合(若者向け)
hysmrk
0
310
1021
cbtlibrary
0
400
心理学を学び活用することで偉大なスクラムマスターを目指す − 大学とコミュニティを組み合わせた学びの循環 / Becoming a great Scrum Master by learning and using psychology
psj59129
1
1.7k
JavaScript - Lecture 6 - Web Technologies (1019888BNR)
signer
PRO
0
3.1k
XML and Related Technologies - Lecture 7 - Web Technologies (1019888BNR)
signer
PRO
0
3.2k
The browser strikes back
jonoalderson
0
420
Featured
See All Featured
Reality Check: Gamification 10 Years Later
codingconduct
0
2k
The World Runs on Bad Software
bkeepers
PRO
72
12k
Getting science done with accelerated Python computing platforms
jacobtomlinson
2
120
Creating an realtime collaboration tool: Agile Flush - .NET Oxford
marcduiker
35
2.4k
Music & Morning Musume
bryan
47
7.1k
Ruling the World: When Life Gets Gamed
codingconduct
0
150
Unsuck your backbone
ammeep
671
58k
A Guide to Academic Writing Using Generative AI - A Workshop
ks91
PRO
0
210
Designing for humans not robots
tammielis
254
26k
The Limits of Empathy - UXLibs8
cassininazir
1
220
Pawsitive SEO: Lessons from My Dog (and Many Mistakes) on Thriving as a Consultant in the Age of AI
davidcarrasco
0
68
AI Search: Where Are We & What Can We Do About It?
aleyda
0
7k
Transcript
不要小看我的情報網 上吧網路爬蟲 講者:YuKAi
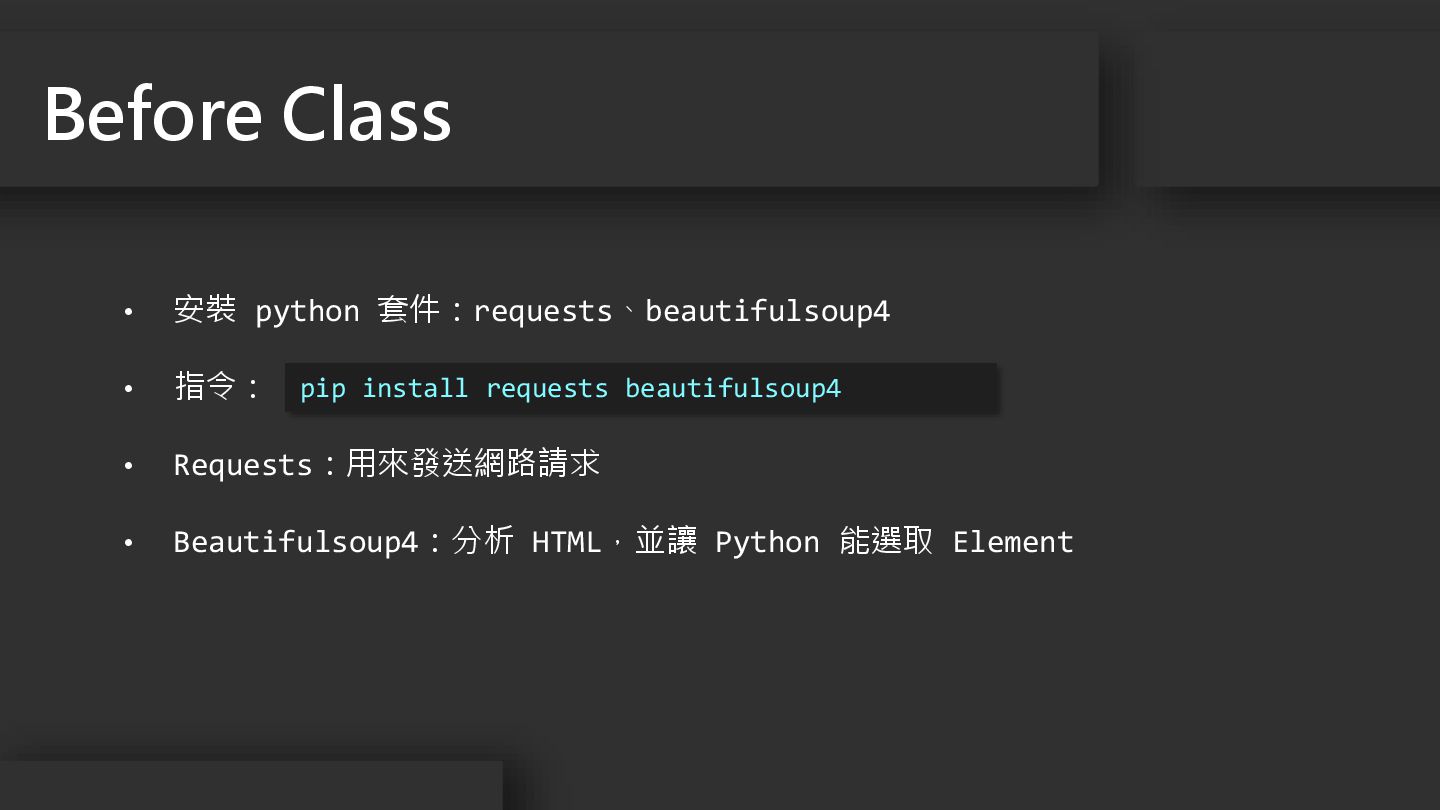
• 安裝 python 套件:requests、beautifulsoup4 • 指令: • Requests:用來發送網路請求 • Beautifulsoup4:分析
HTML,並讓 Python 能選取 Element Before Class pip install requests beautifulsoup4
爬蟲與網頁渲染 01 SSR 網頁爬取 02 CSR 網頁爬取 03 04 Outline
More
爬蟲與網頁渲染 01
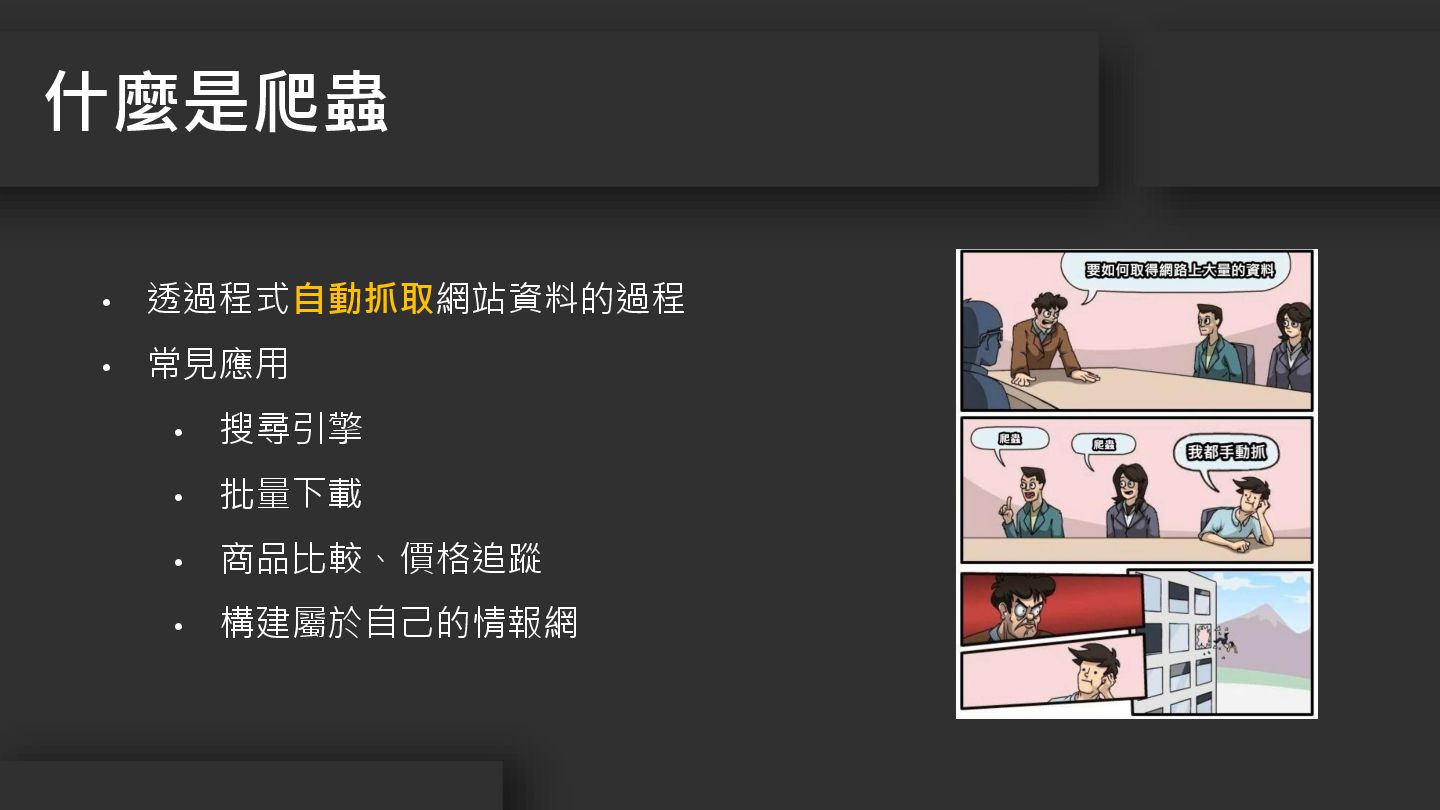
• 透過程式自動抓取網站資料的過程 • 常見應用 • 搜尋引擎 • 批量下載 • 商品比較、價格追蹤
• 構建屬於自己的情報網 什麼是爬蟲
• 將 HTML、CSS、JavaScript 解析並轉化為使用者可互動網頁的過程 • 常見的渲染方式 • Client-Side Render(客戶端渲染) •
Server-Side Render(伺服器端渲染) 網頁渲染(Rendering)
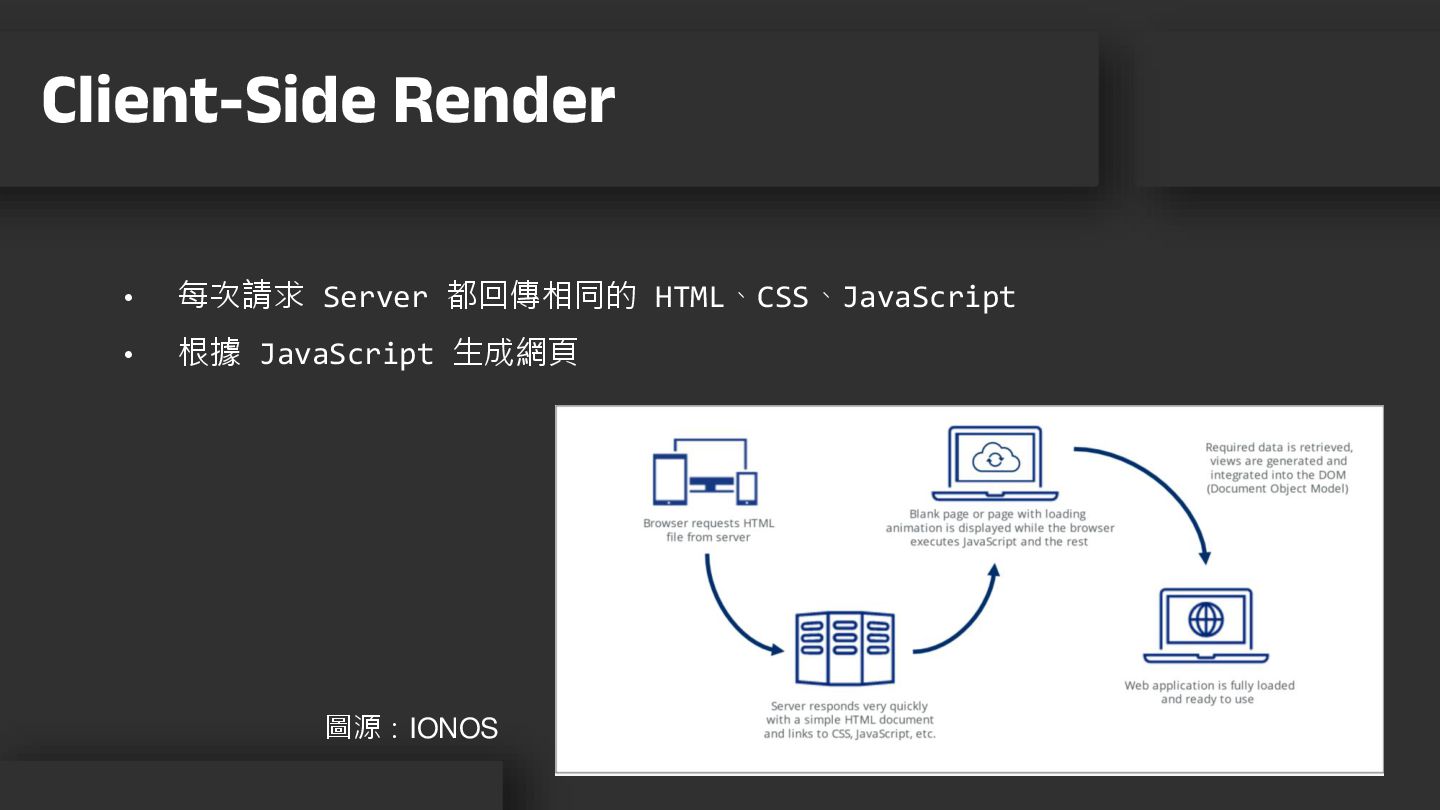
• 每次請求 Server 都回傳相同的 HTML、CSS、JavaScript • 根據 JavaScript 生成網頁 Client-Side
Render Server side rendering, client side rendering, or static site generation? - IONOS 圖源:IONOS
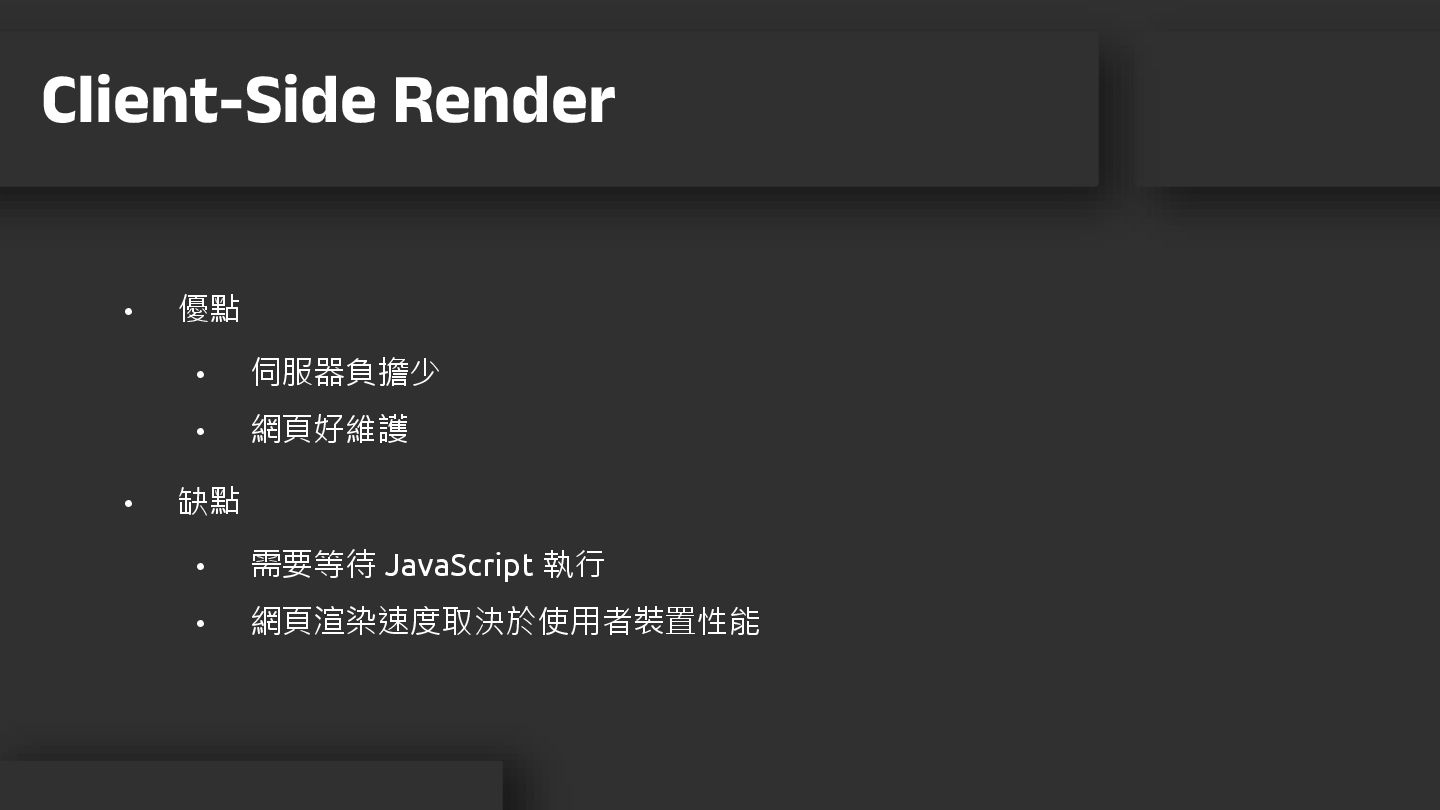
• 優點 • 伺服器負擔少 • 網頁好維護 • 缺點 • 需要等待
JavaScript 執行 • 網頁渲染速度取決於使用者裝置性能 Client-Side Render
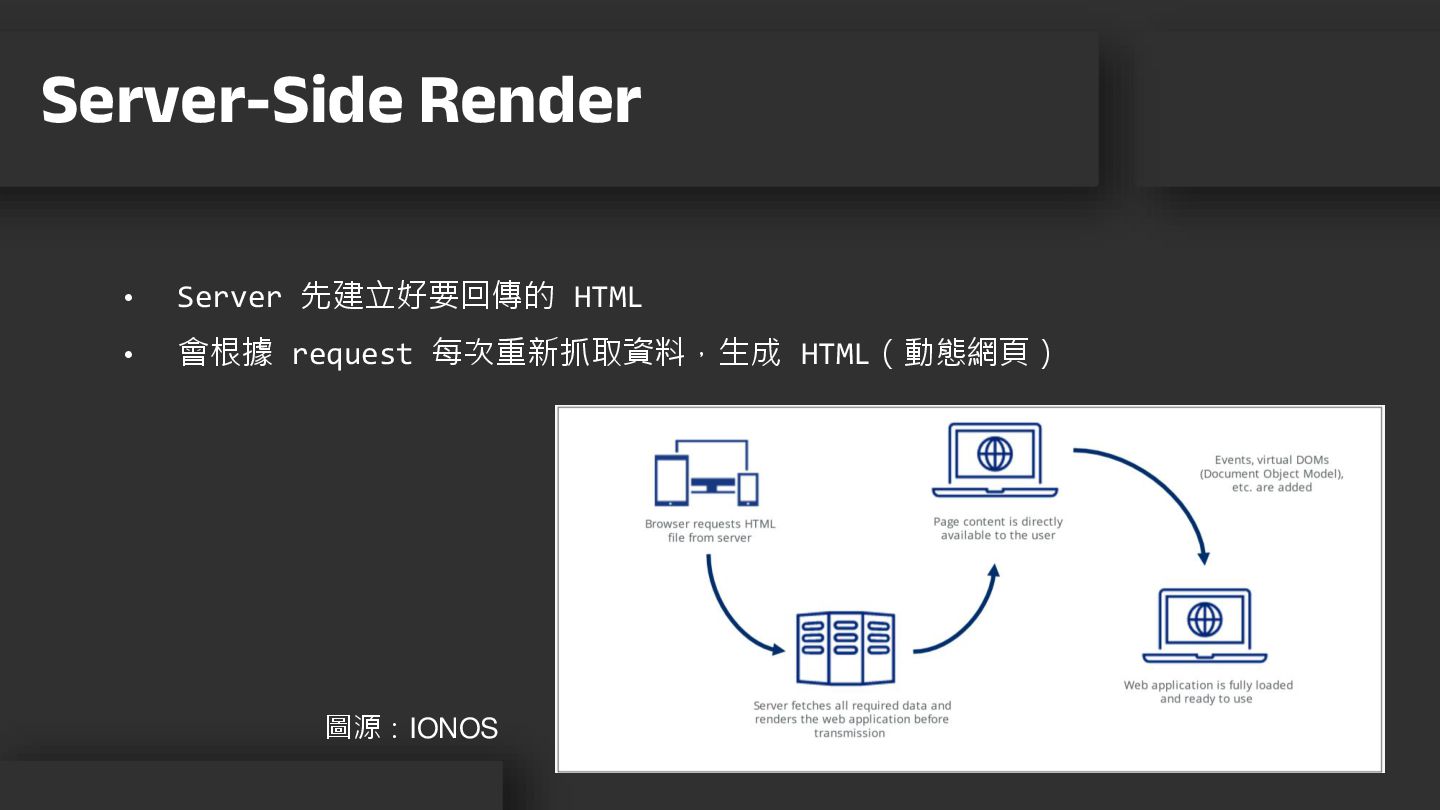
• Server 先建立好要回傳的 HTML • 會根據 request 每次重新抓取資料,生成 HTML(動態網頁) Server-Side
Render Server side rendering, client side rendering, or static site generation? - IONOS CA 圖源:IONOS
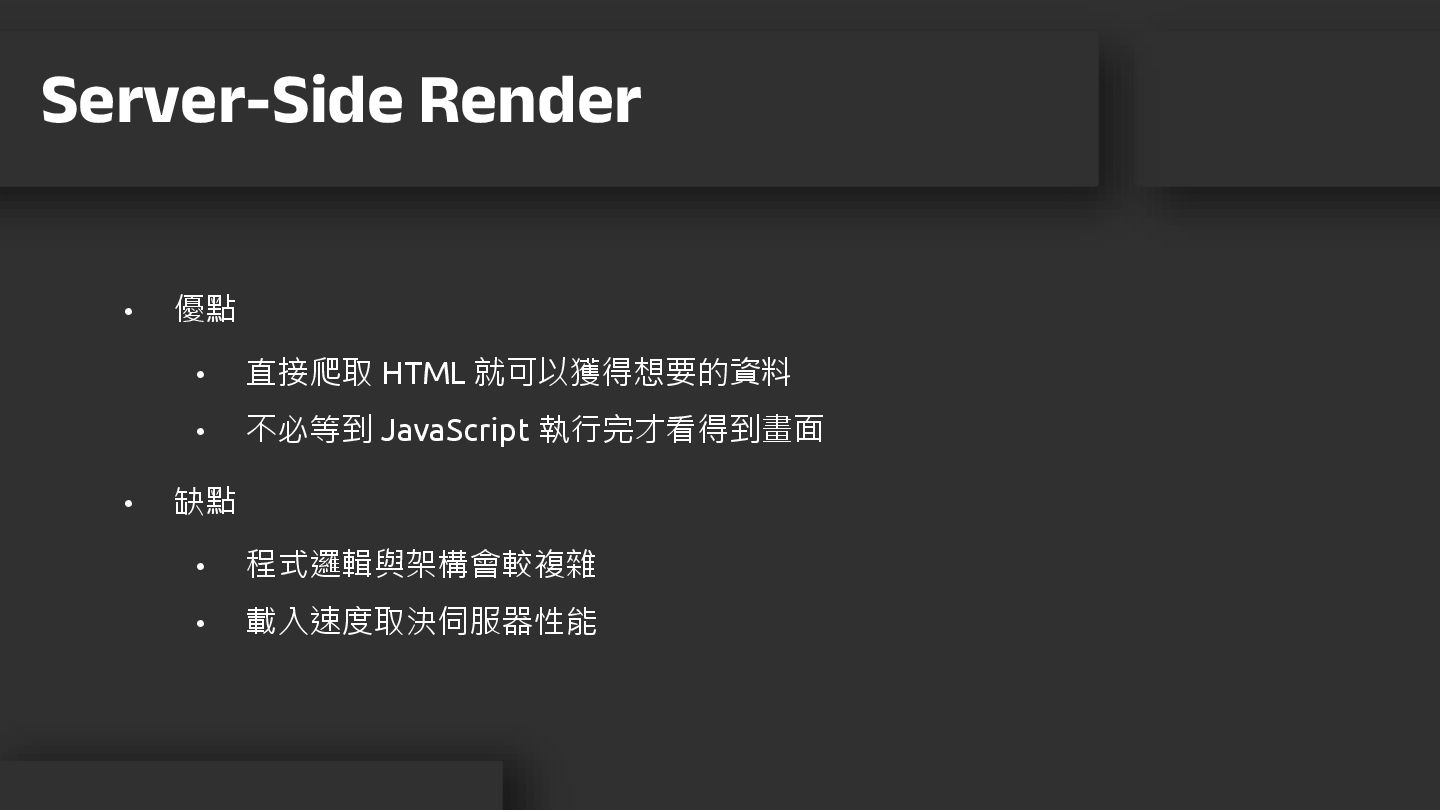
• 優點 • 直接爬取 HTML 就可以獲得想要的資料 • 不必等到 JavaScript 執行完才看得到畫面
• 缺點 • 程式邏輯與架構會較複雜 • 載入速度取決伺服器性能 Server-Side Render
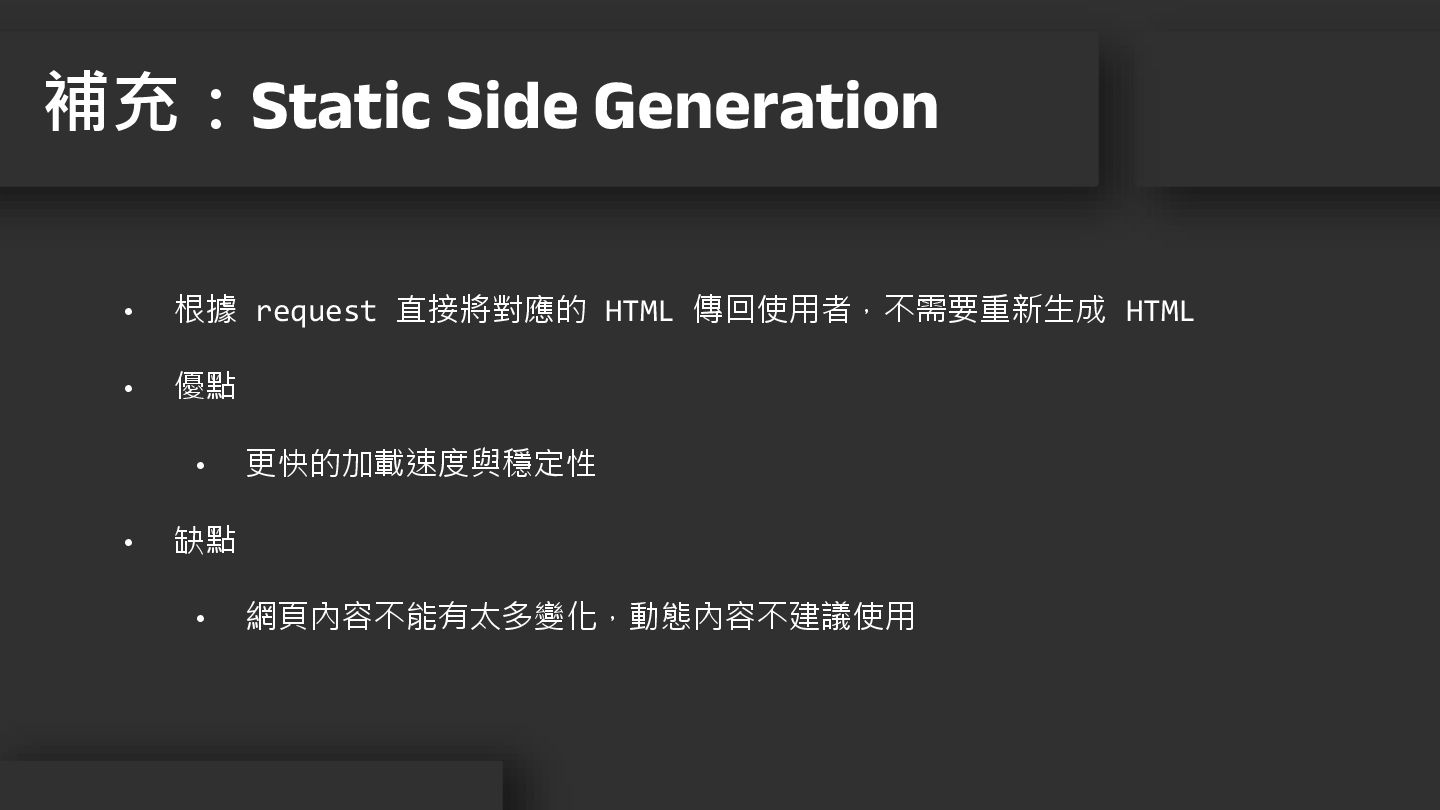
• 根據 request 直接將對應的 HTML 傳回使用者,不需要重新生成 HTML • 優點 •
更快的加載速度與穩定性 • 缺點 • 網頁內容不能有太多變化,動態內容不建議使用 補充:Static Side Generation
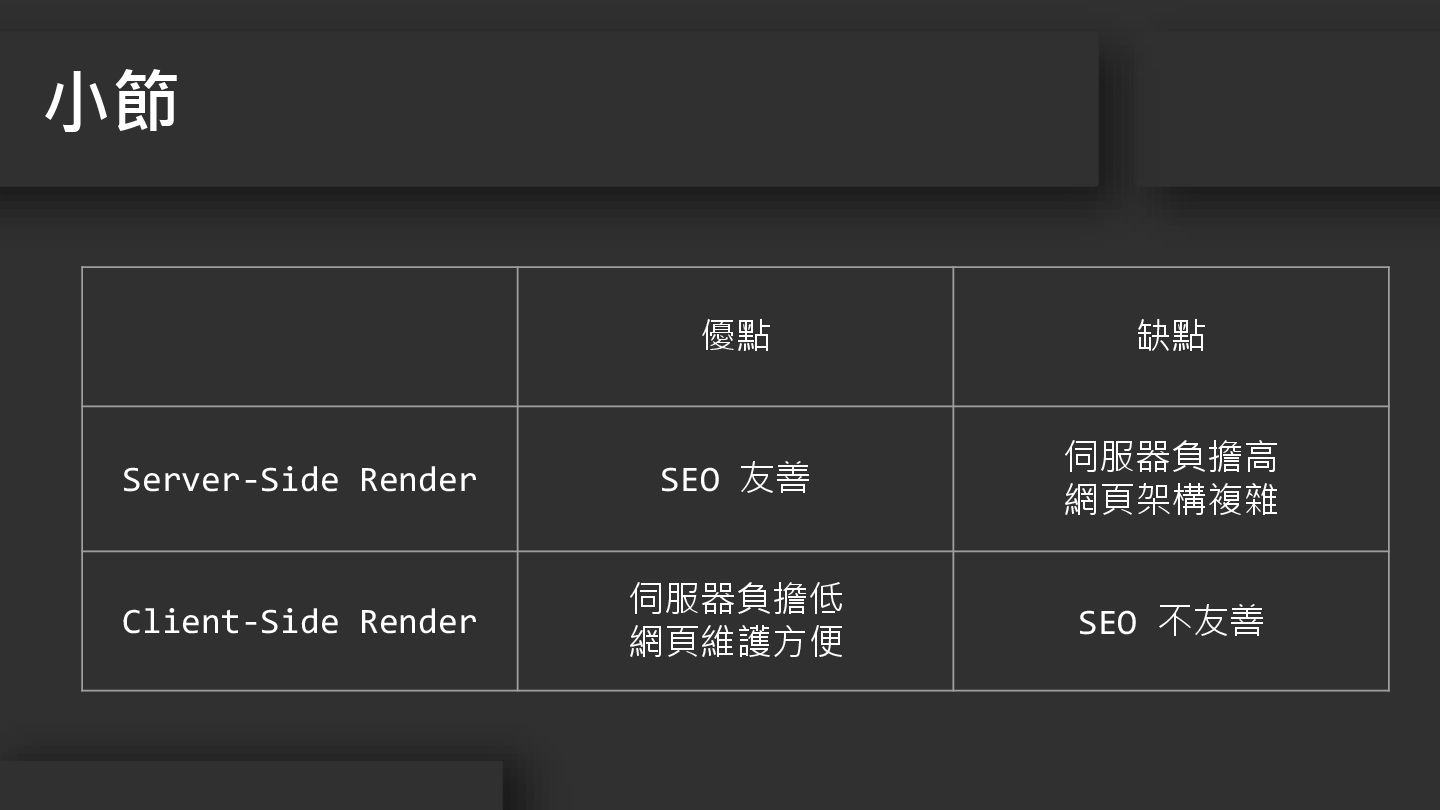
小節 優點 缺點 Server-Side Render SEO 友善 伺服器負擔高 網頁架構複雜 Client-Side
Render 伺服器負擔低 網頁維護方便 SEO 不友善
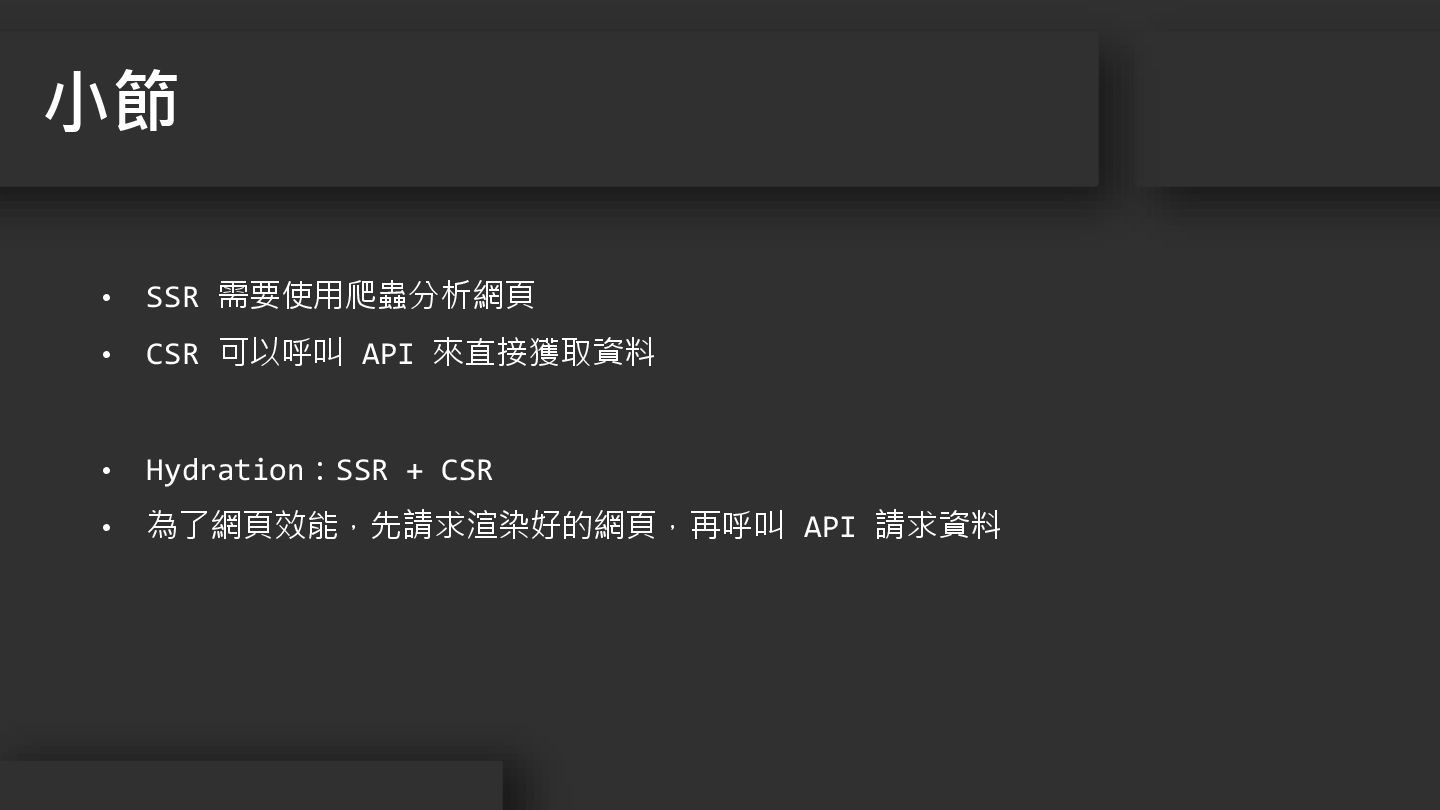
• SSR 需要使用爬蟲分析網頁 • CSR 可以呼叫 API 來直接獲取資料 • Hydration:SSR
+ CSR • 為了網頁效能,先請求渲染好的網頁,再呼叫 API 請求資料 小節
以 逢甲大學的新聞與活動 為例 1. 打開 DevTools 2. 點擊 Network 3.
點擊第一筆內容,通常會是載入的頁面 如何辨識渲染方式
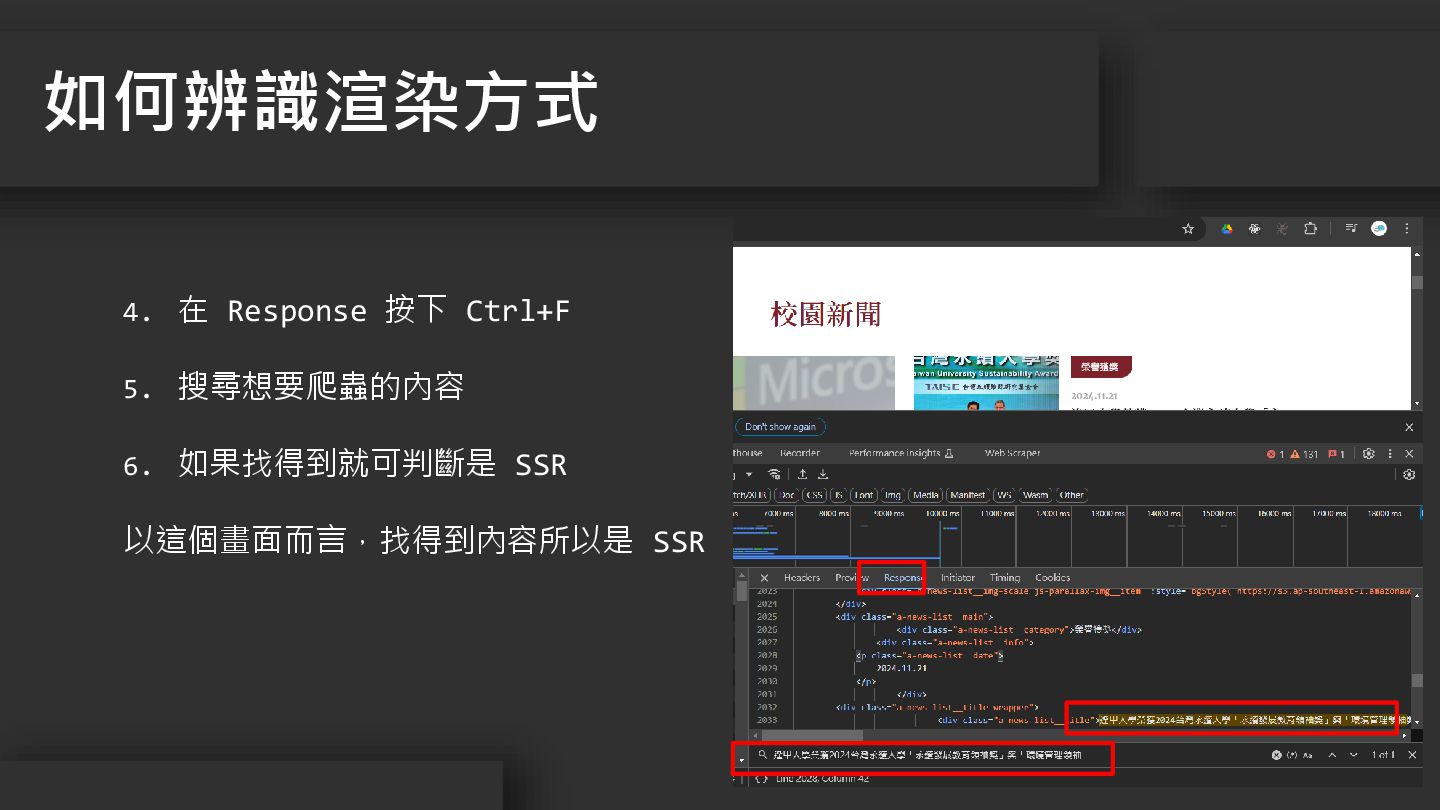
4. 在 Response 按下 Ctrl+F 5. 搜尋想要爬蟲的內容 6. 如果找得到就可判斷是 SSR
以這個畫面而言,找得到內容所以是 SSR 如何辨識渲染方式
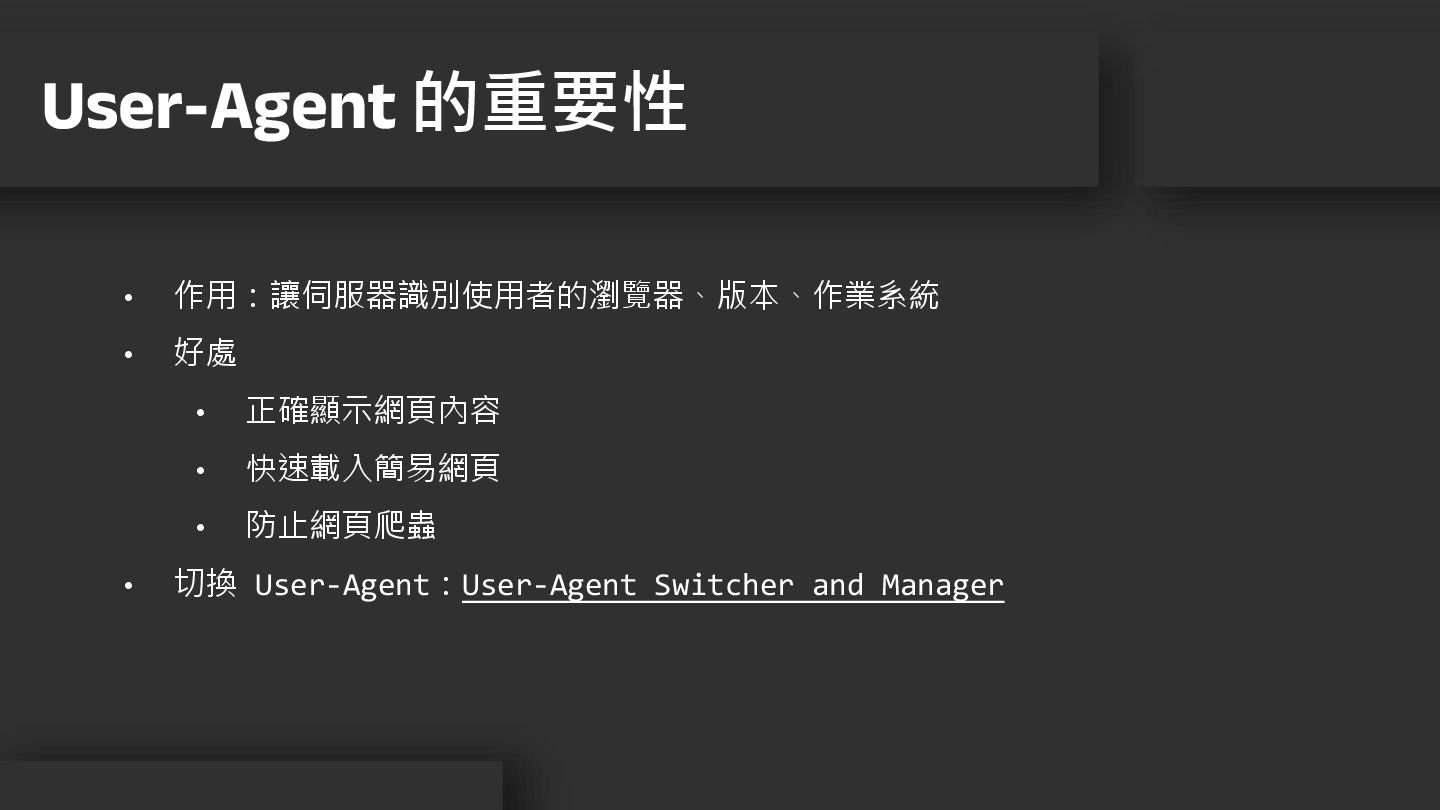
• 作用:讓伺服器識別使用者的瀏覽器、版本、作業系統 • 好處 • 正確顯示網頁內容 • 快速載入簡易網頁 • 防止網頁爬蟲
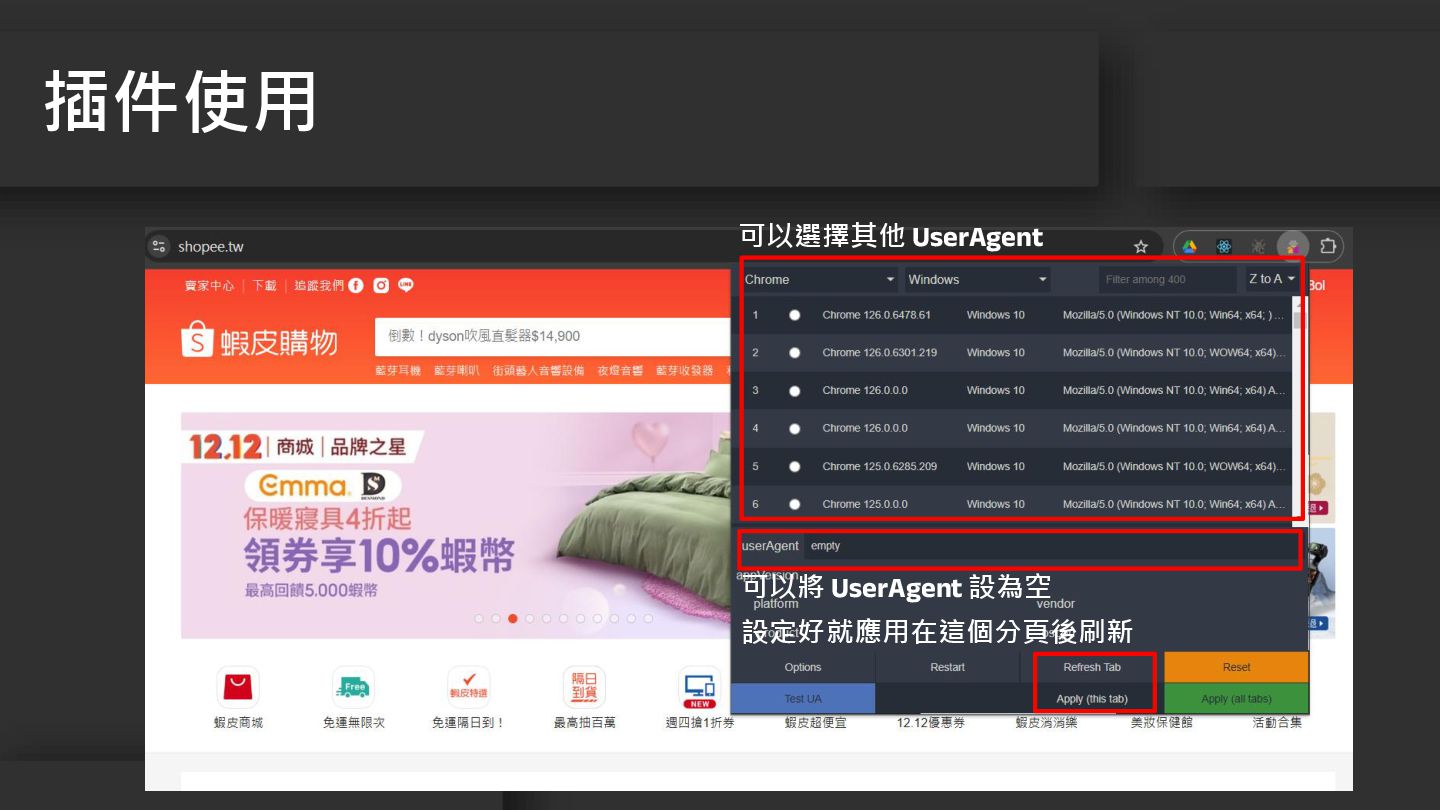
• 切換 User-Agent:User-Agent Switcher and Manager User-Agent 的重要性
插件使用 可以將 UserAgent 設為空 可以選擇其他 UserAgent 設定好就應用在這個分頁後刷新
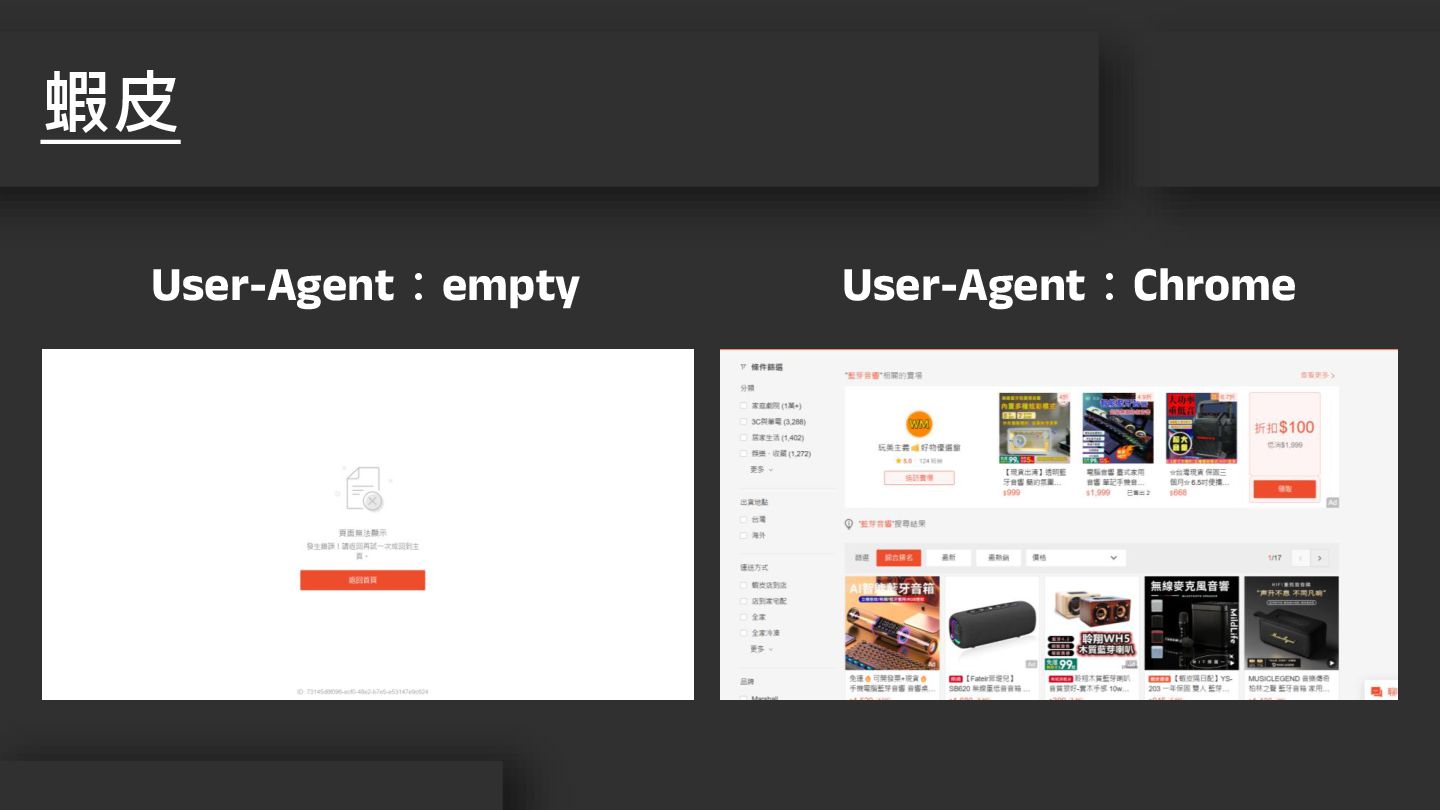
蝦皮 User-Agent:empty User-Agent:Chrome
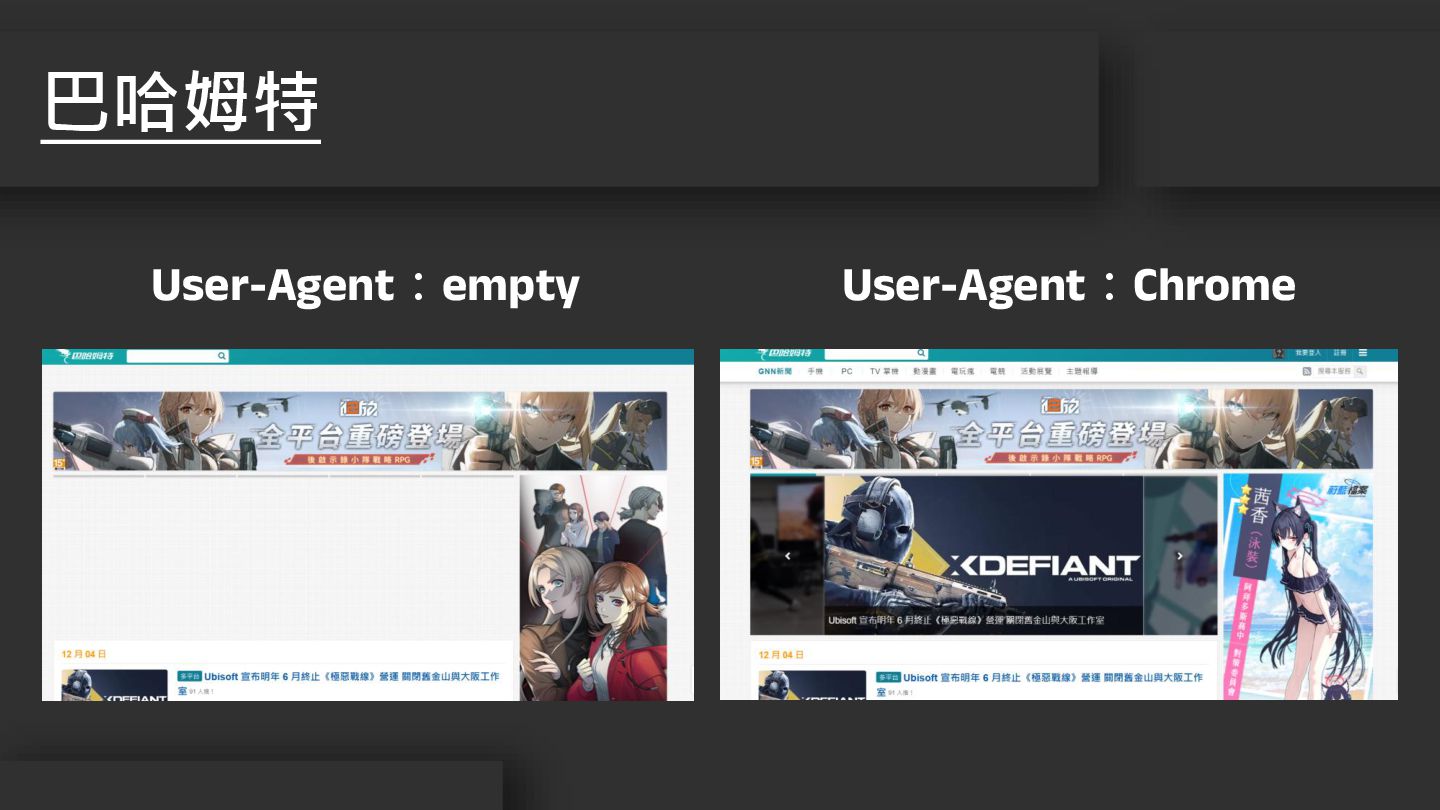
巴哈姆特 User-Agent:empty User-Agent:Chrome
SSR 網頁爬取 02
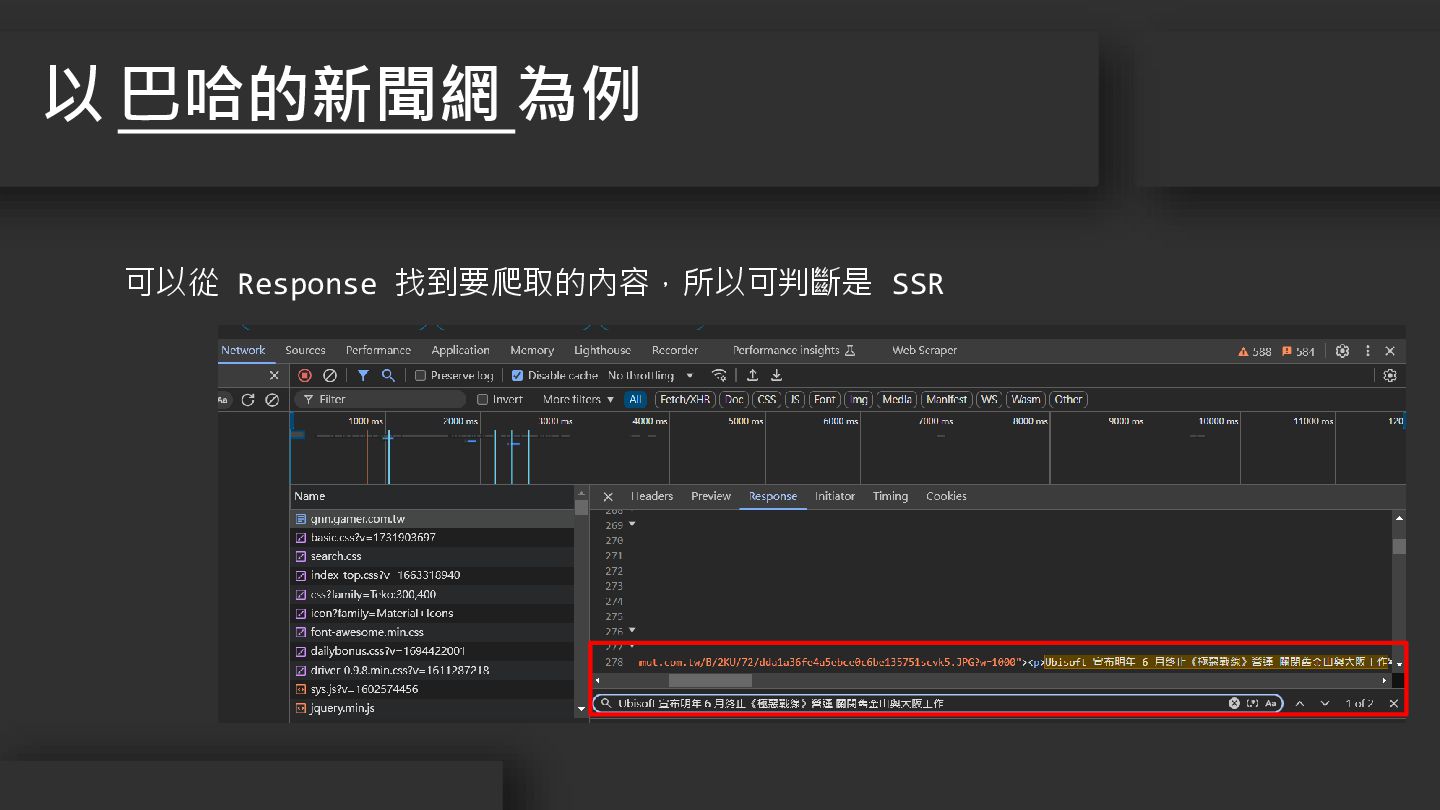
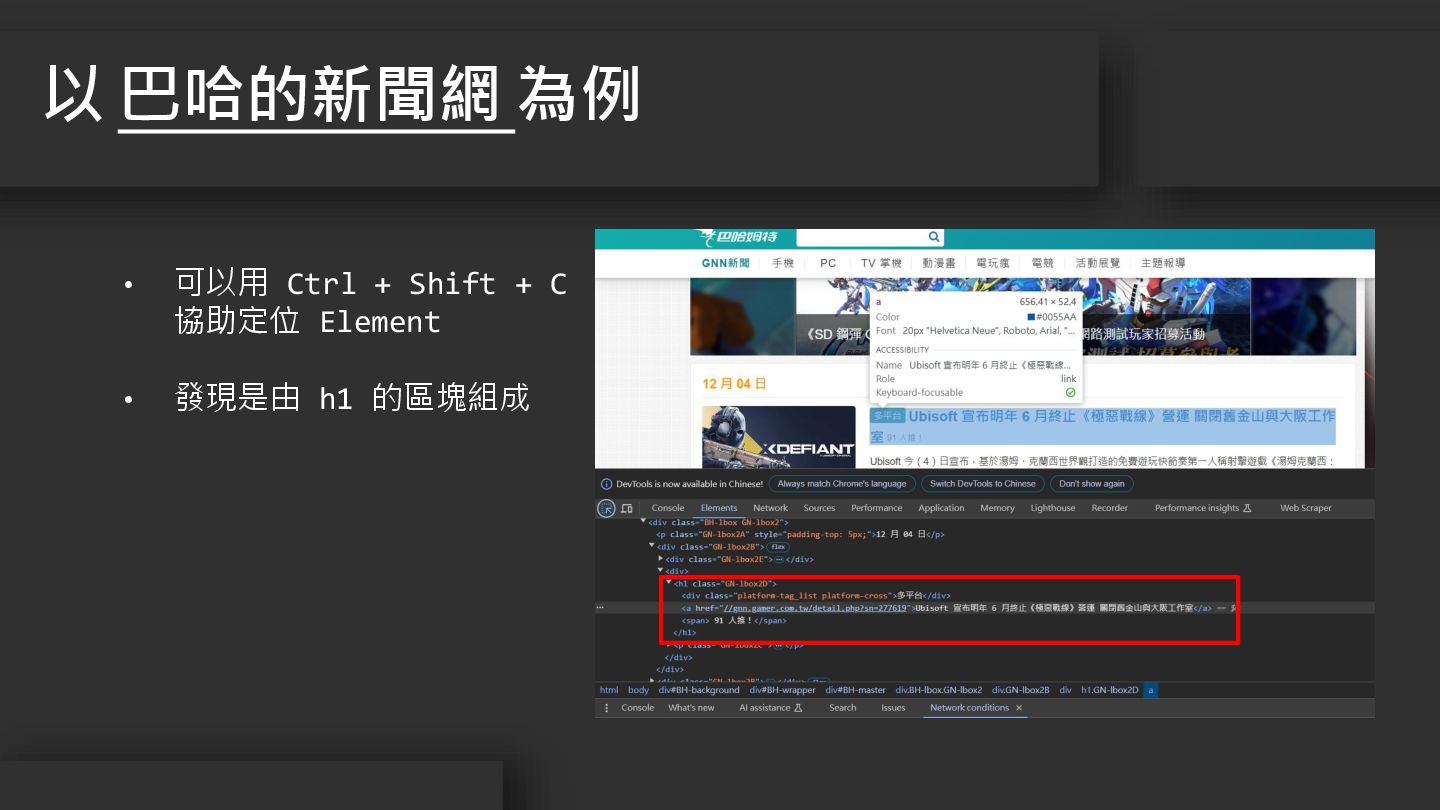
可以從 Response 找到要爬取的內容,所以可判斷是 SSR 以 巴哈的新聞網 為例
以 巴哈的新聞網 為例 • 可以用 Ctrl + Shift + C
協助定位 Element • 發現是由 h1 的區塊組成
1. 2. 3. 4. 5. 6. 7. 8. 9. 10.
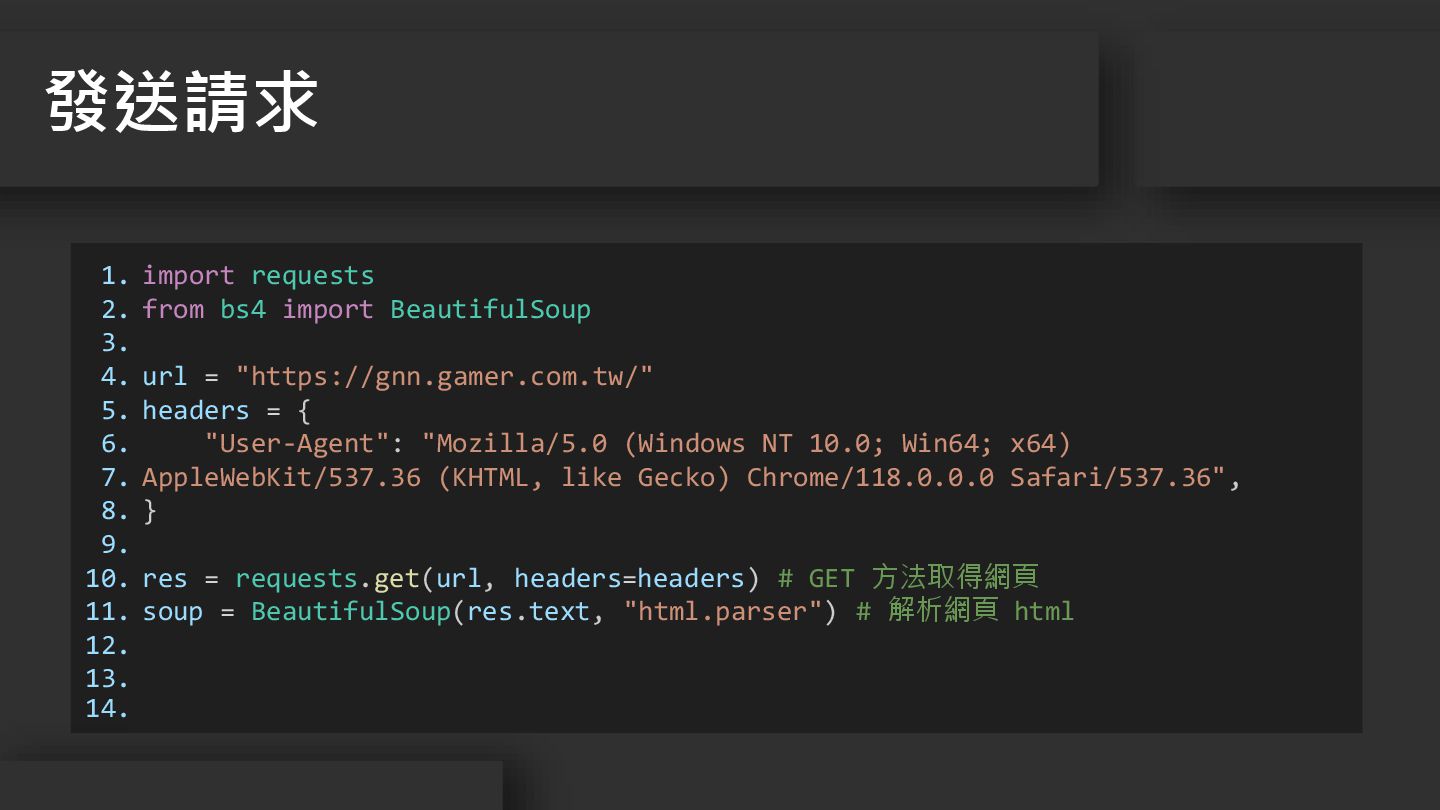
11. 12. 13. 14. import requests from bs4 import BeautifulSoup url = "https://gnn.gamer.com.tw/" headers = { "User-Agent": "Mozilla/5.0 (Windows NT 10.0; Win64; x64) AppleWebKit/537.36 (KHTML, like Gecko) Chrome/118.0.0.0 Safari/537.36", } res = requests.get(url, headers=headers) # GET 方法取得網頁 soup = BeautifulSoup(res.text, "html.parser") # 解析網頁 html 發送請求
1. 2. 3. 4. 5. 6. 7. 8. 9. 10.
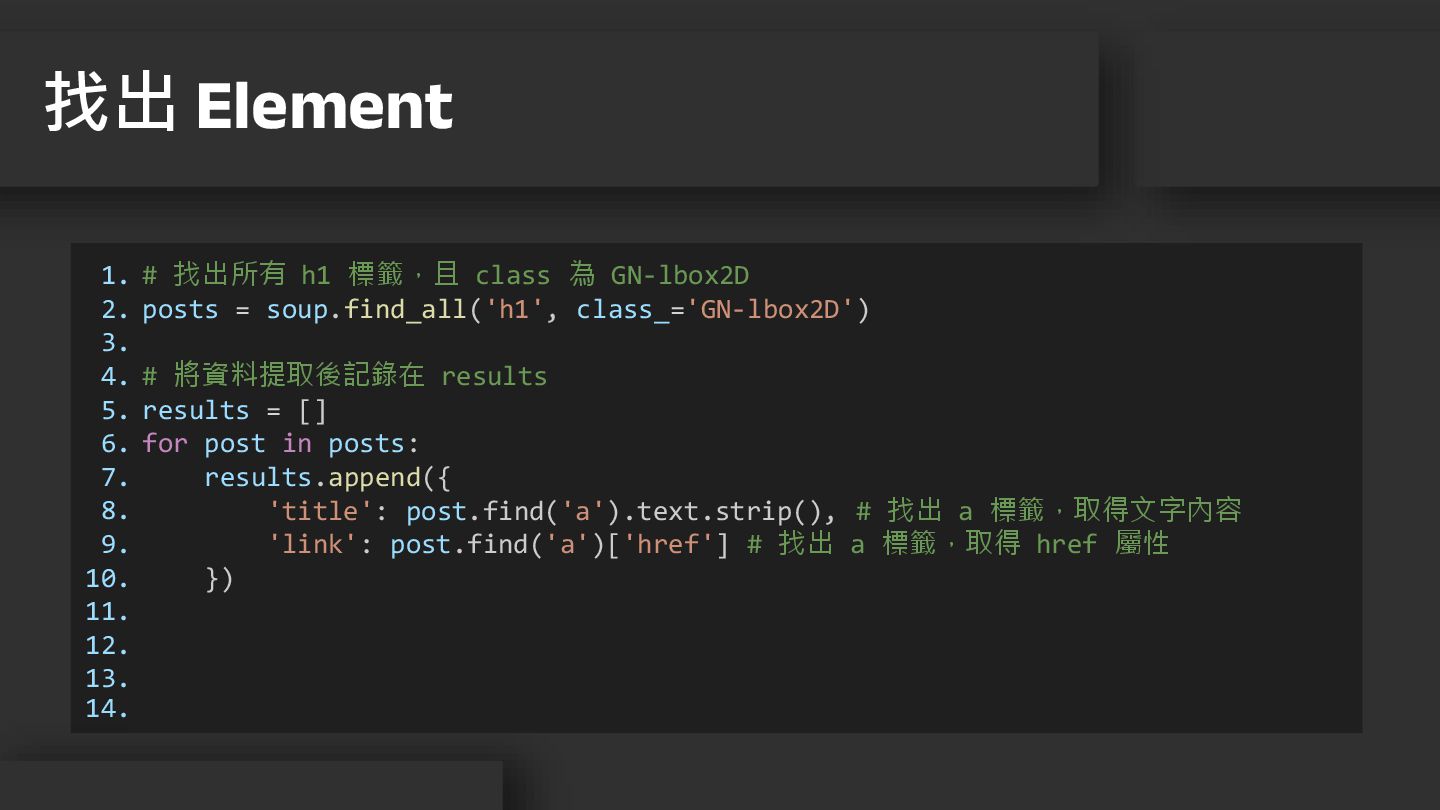
11. 12. 13. 14. # 找出所有 h1 標籤,且 class 為 GN-lbox2D posts = soup.find_all('h1', class_='GN-lbox2D') # 將資料提取後記錄在 results results = [] for post in posts: results.append({ 'title': post.find('a').text.strip(), # 找出 a 標籤,取得文字內容 'link': post.find('a')['href'] # 找出 a 標籤,取得 href 屬性 }) 找出 Element
1. 2. 3. 4. 5. 6. 7. 8. 9. 10.
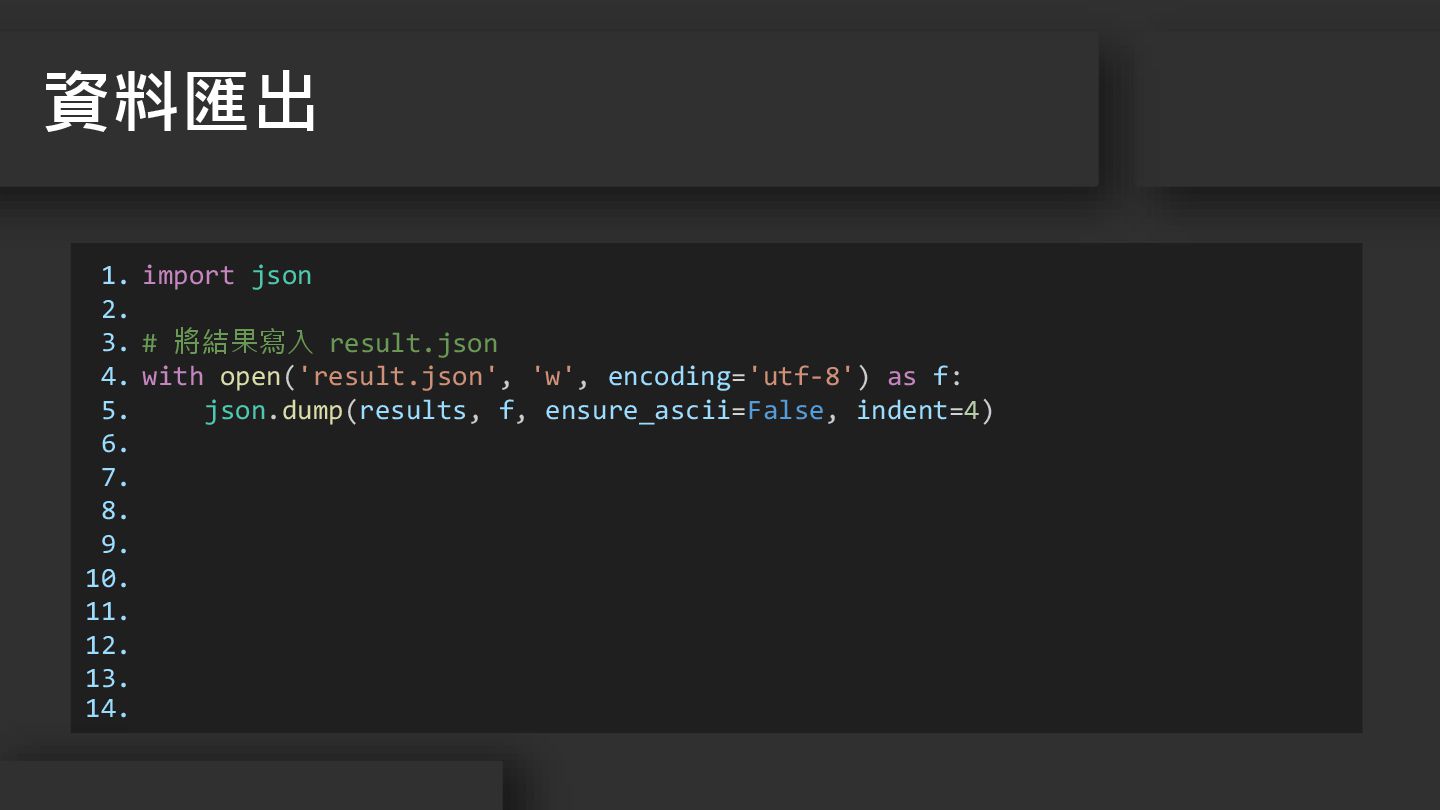
11. 12. 13. 14. import json # 將結果寫入 result.json with open('result.json', 'w', encoding='utf-8') as f: json.dump(results, f, ensure_ascii=False, indent=4) 資料匯出
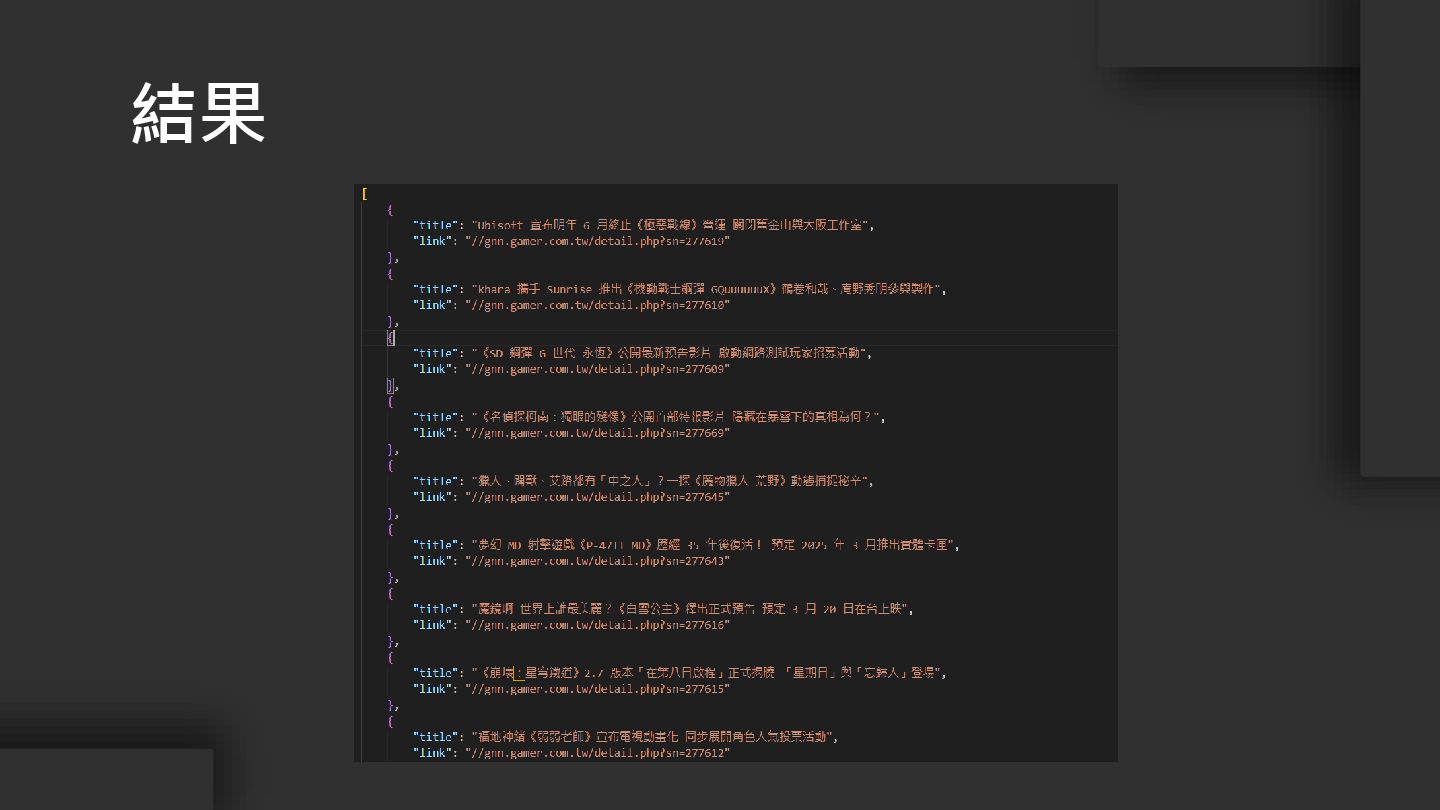
結果
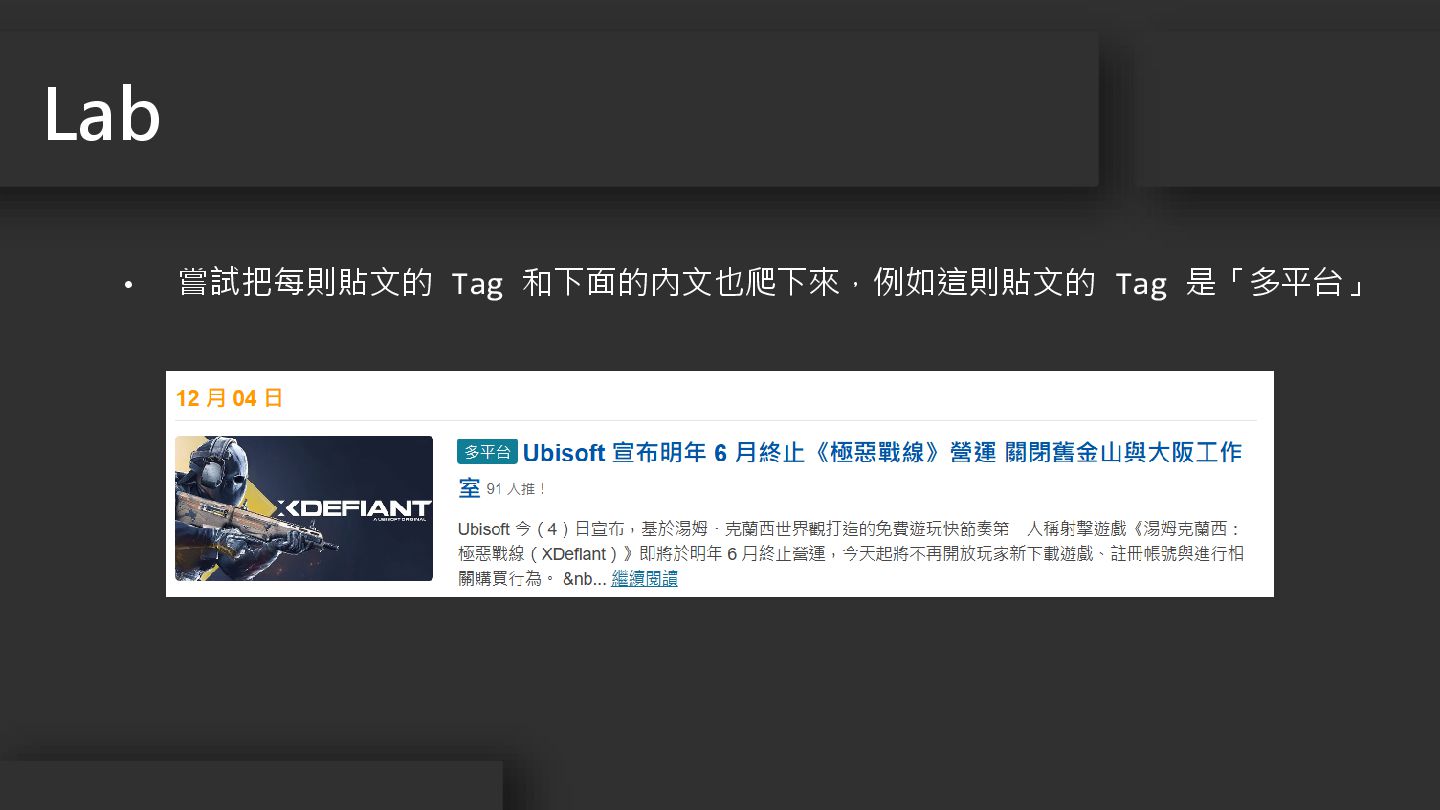
• 嘗試把每則貼文的 Tag 和下面的內文也爬下來,例如這則貼文的 Tag 是「多平台」 Lab
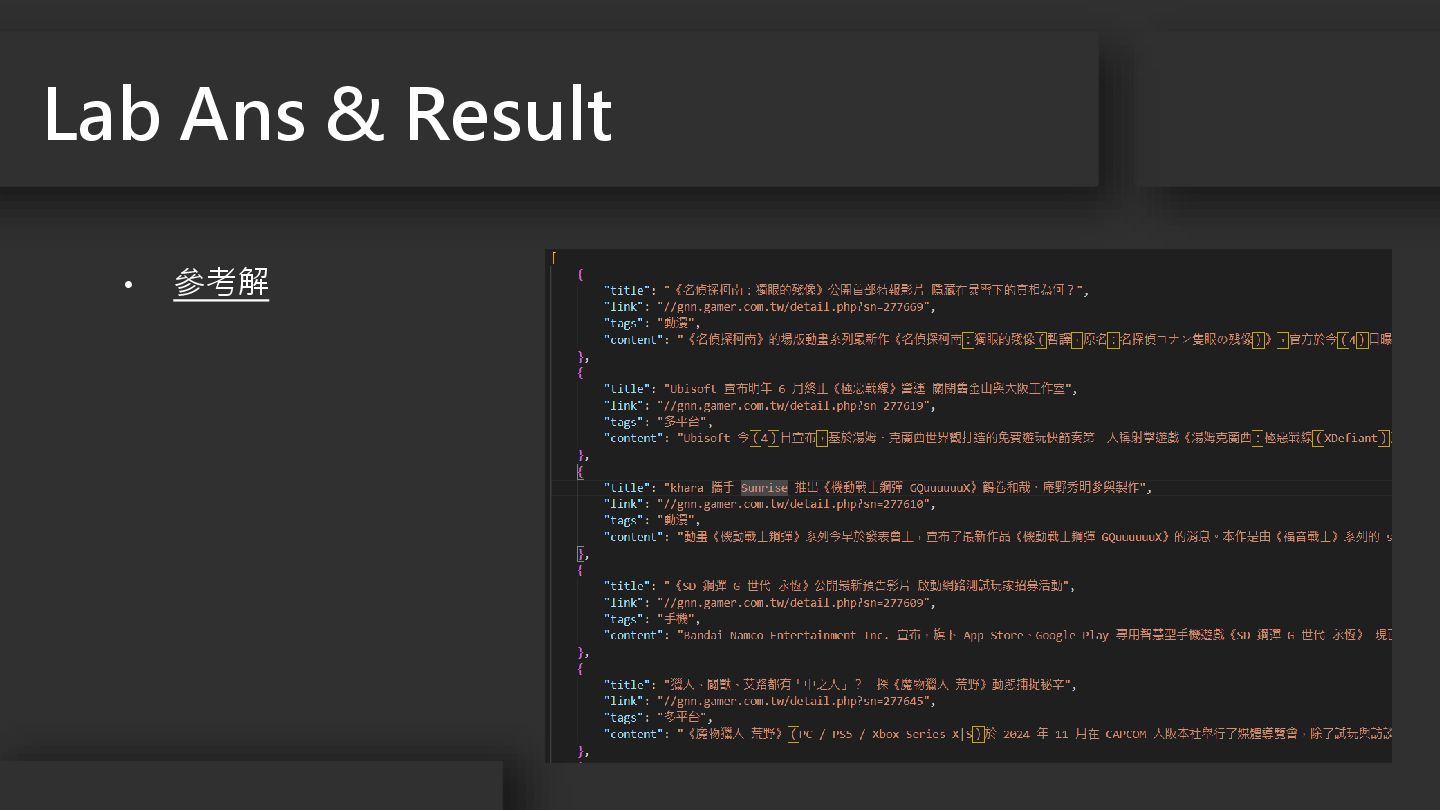
• 參考解 Lab Ans & Result
CSR 網頁爬取 03
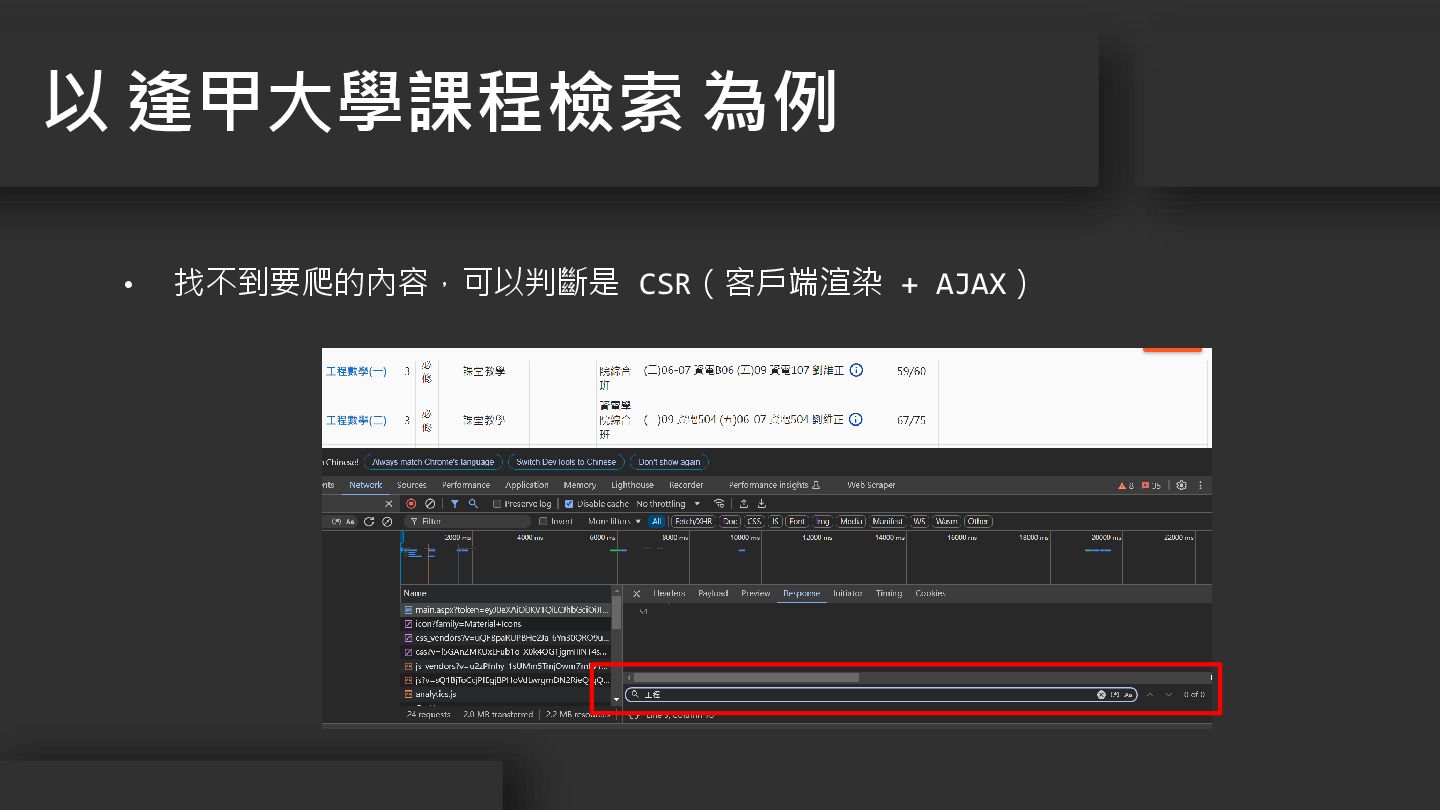
• 找不到要爬的內容,可以判斷是 CSR(客戶端渲染 + AJAX) 以 逢甲大學課程檢索 為例
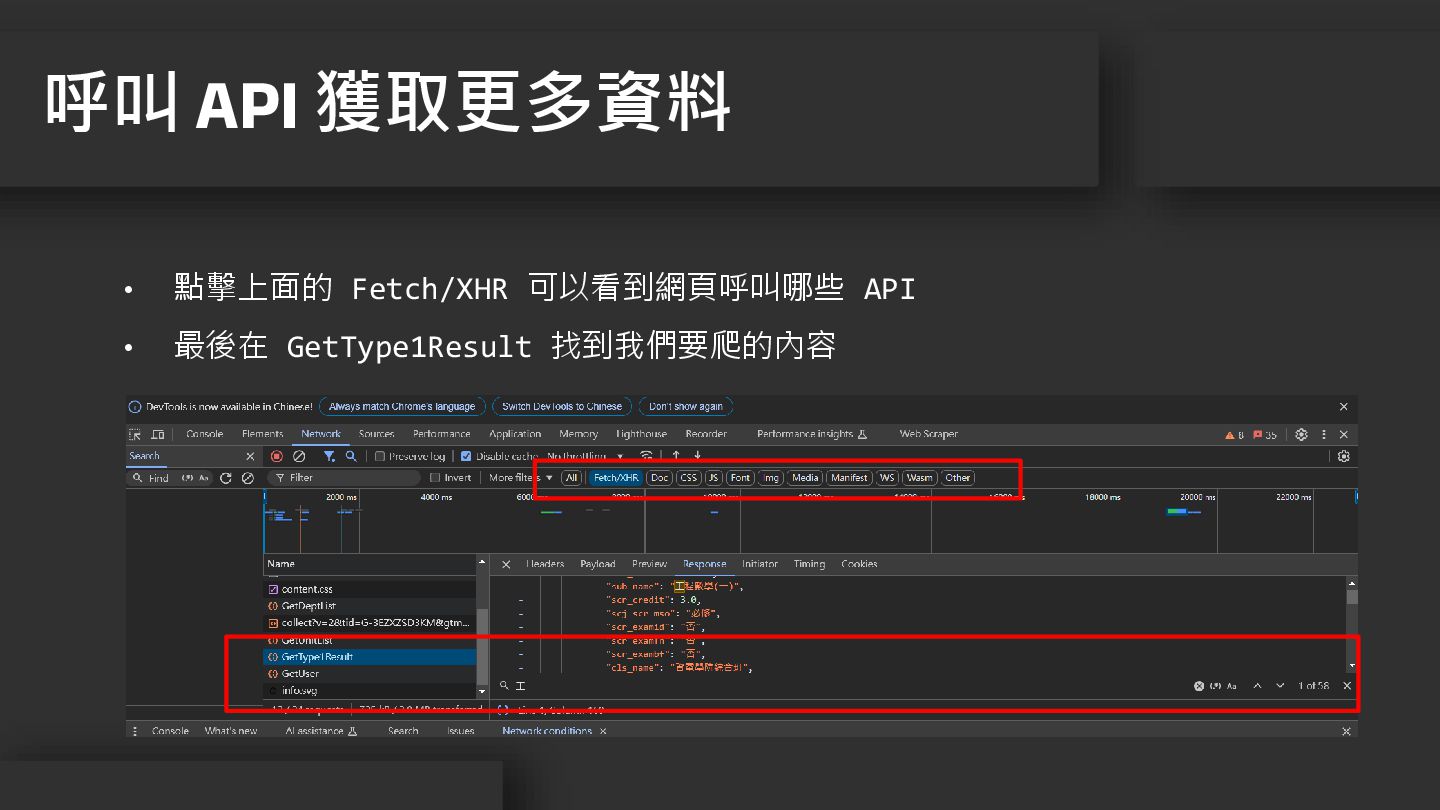
• 點擊上面的 Fetch/XHR 可以看到網頁呼叫哪些 API • 最後在 GetType1Result 找到我們要爬的內容 呼叫
API 獲取更多資料
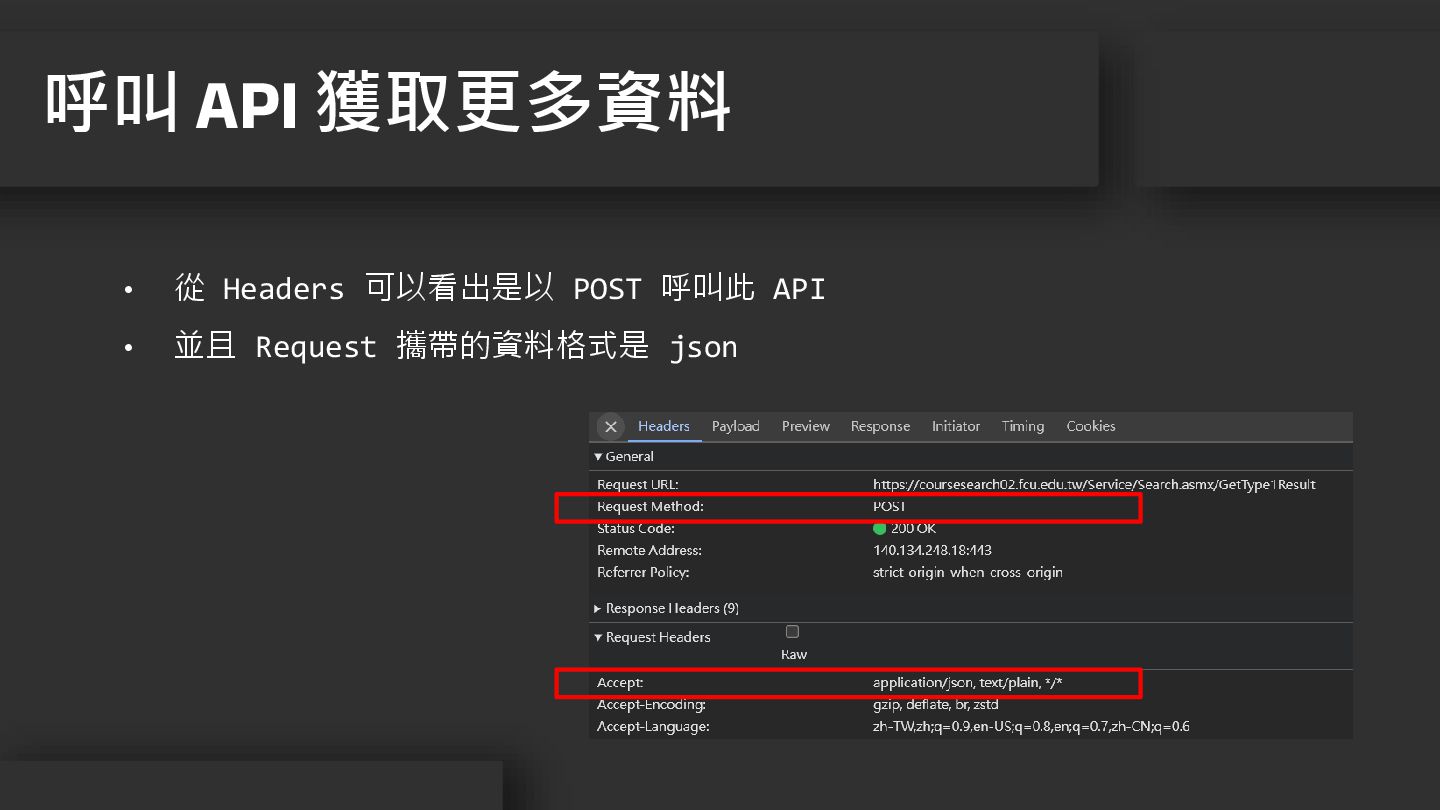
• 從 Headers 可以看出是以 POST 呼叫此 API • 並且 Request
攜帶的資料格式是 json 呼叫 API 獲取更多資料
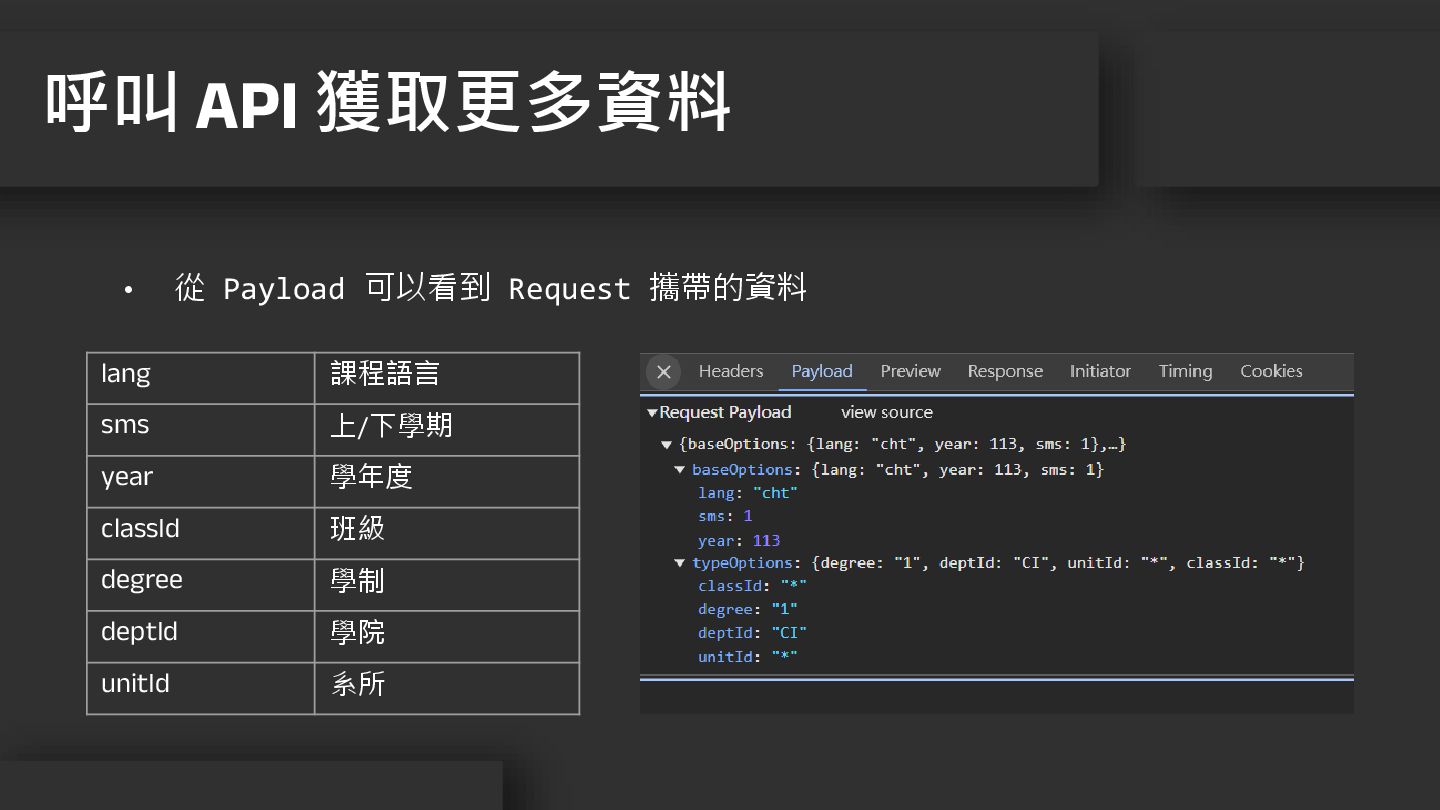
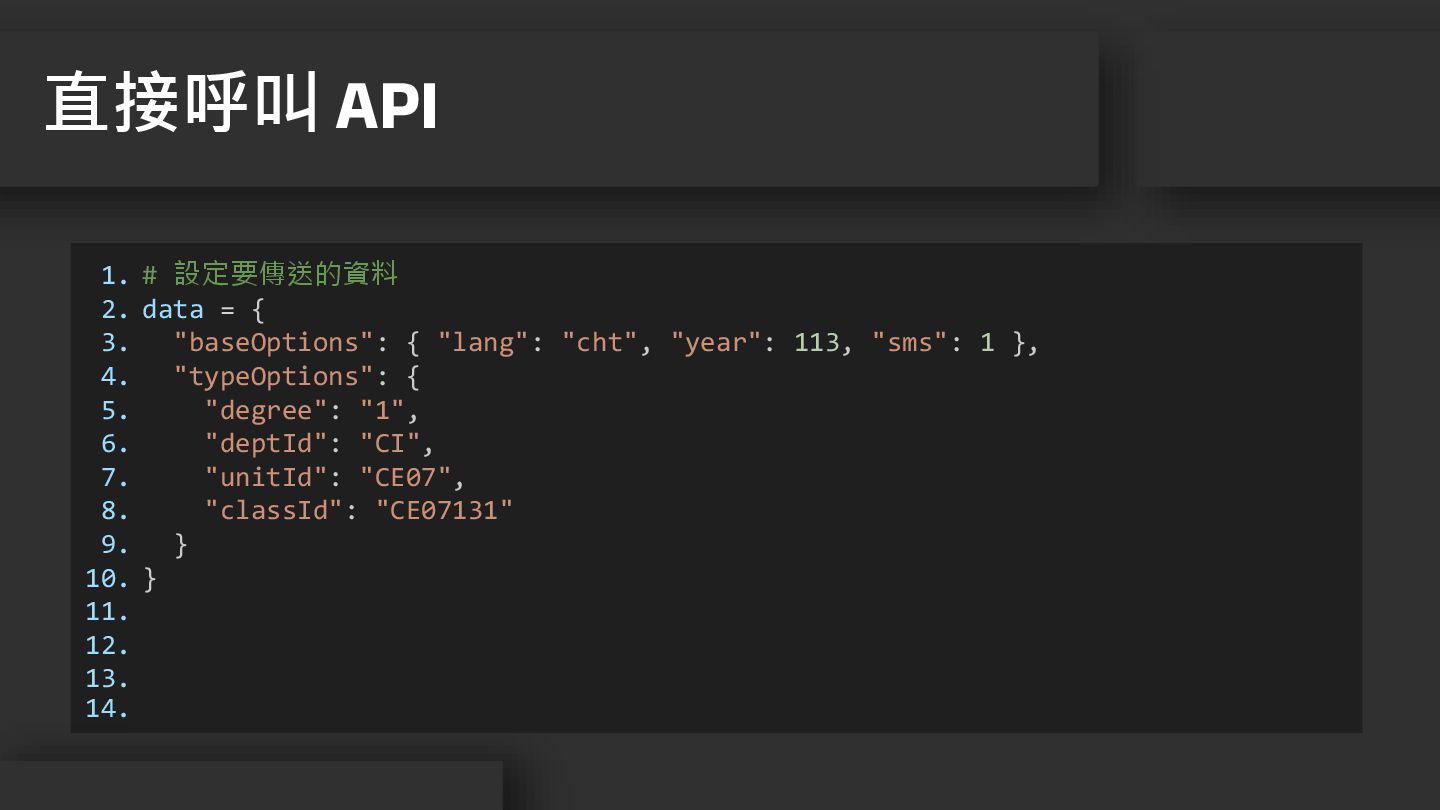
• 從 Payload 可以看到 Request 攜帶的資料 呼叫 API 獲取更多資料 lang
課程語言 sms 上/下學期 year 學年度 classId 班級 degree 學制 deptId 學院 unitId 系所
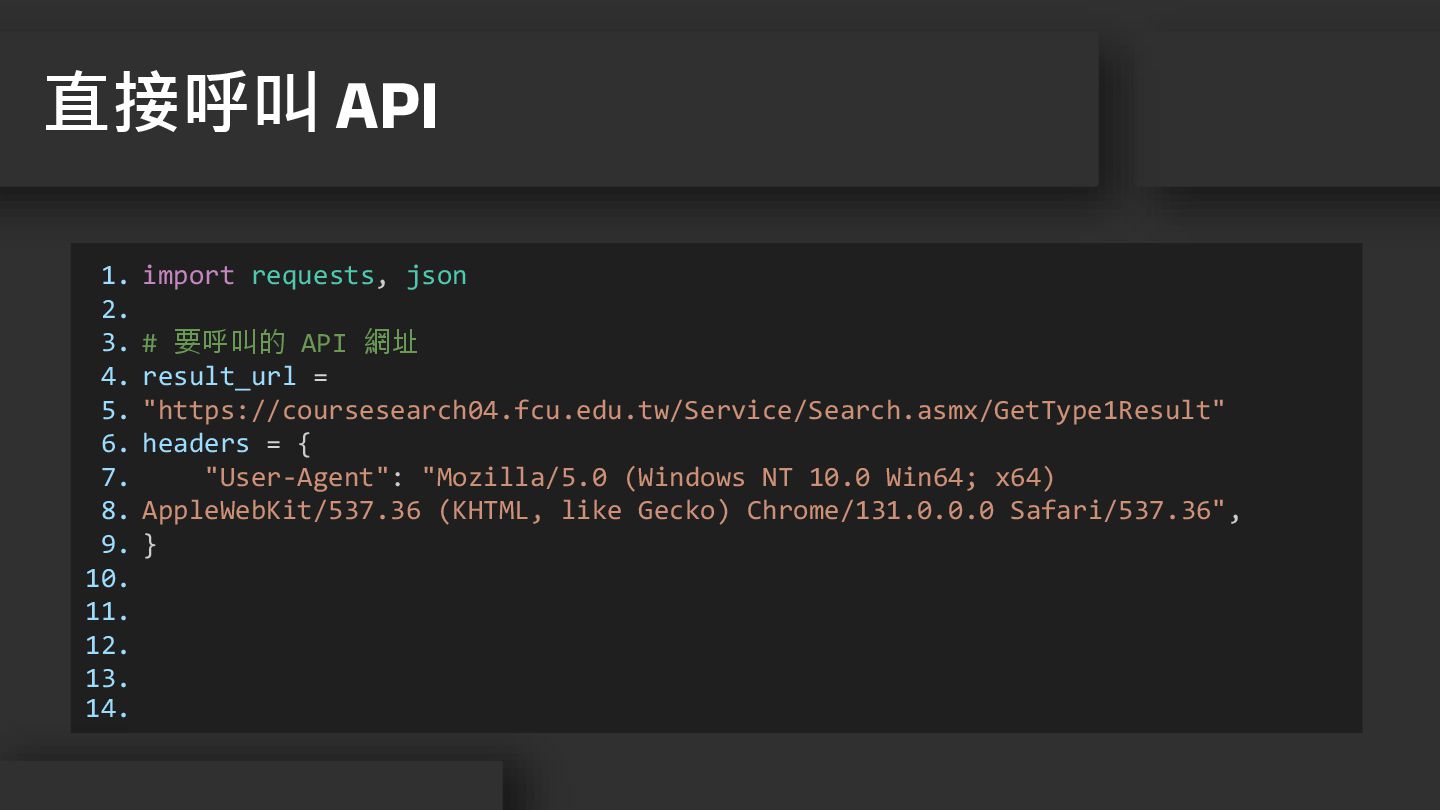
1. 2. 3. 4. 5. 6. 7. 8. 9. 10.
11. 12. 13. 14. import requests, json # 要呼叫的 API 網址 result_url = "https://coursesearch04.fcu.edu.tw/Service/Search.asmx/GetType1Result" headers = { "User-Agent": "Mozilla/5.0 (Windows NT 10.0 Win64; x64) AppleWebKit/537.36 (KHTML, like Gecko) Chrome/131.0.0.0 Safari/537.36", } 直接呼叫 API
1. 2. 3. 4. 5. 6. 7. 8. 9. 10.
11. 12. 13. 14. # 設定要傳送的資料 data = { "baseOptions": { "lang": "cht", "year": 113, "sms": 1 }, "typeOptions": { "degree": "1", "deptId": "CI", "unitId": "CE07", "classId": "CE07131" } } 直接呼叫 API
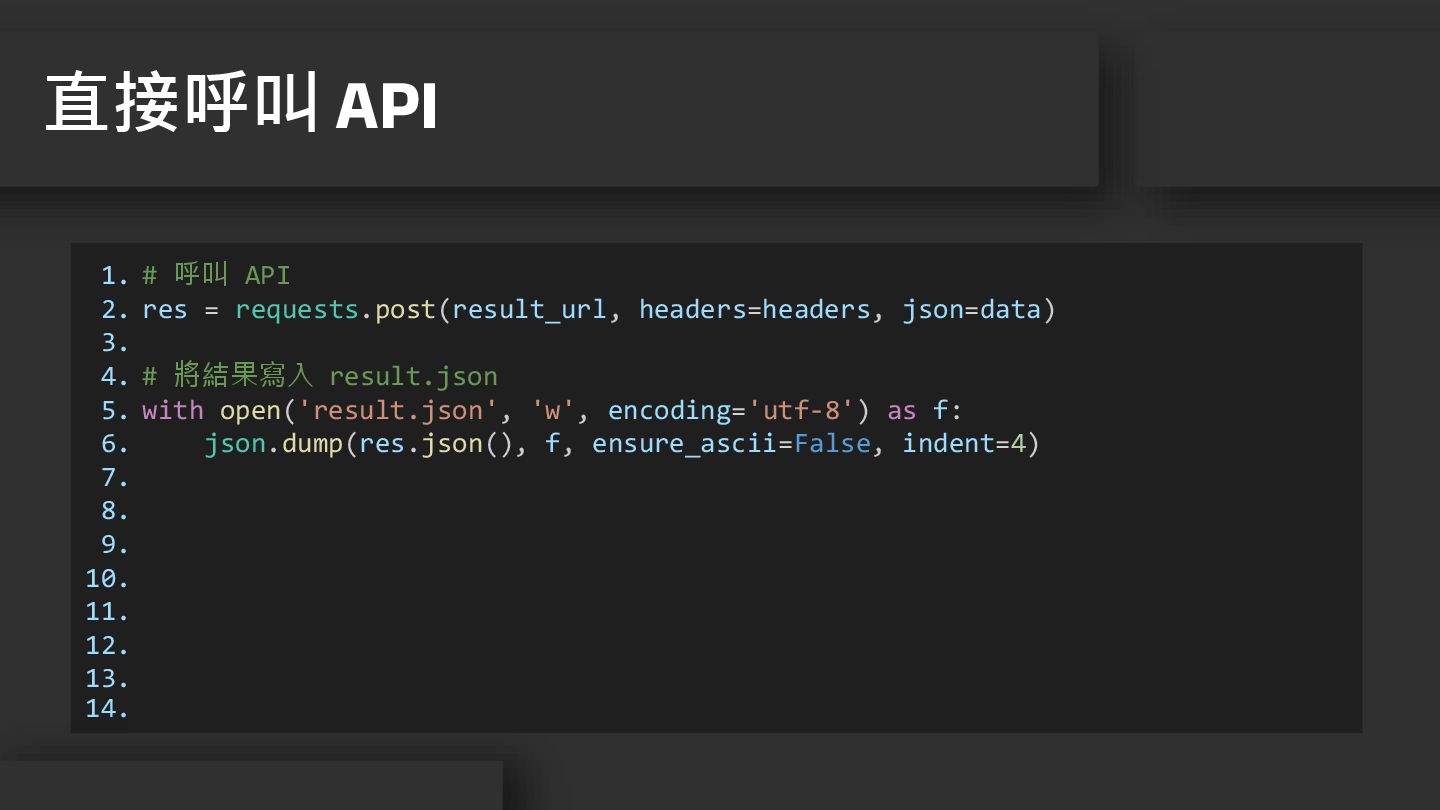
1. 2. 3. 4. 5. 6. 7. 8. 9. 10.
11. 12. 13. 14. # 呼叫 API res = requests.post(result_url, headers=headers, json=data) # 將結果寫入 result.json with open('result.json', 'w', encoding='utf-8') as f: json.dump(res.json(), f, ensure_ascii=False, indent=4) 直接呼叫 API
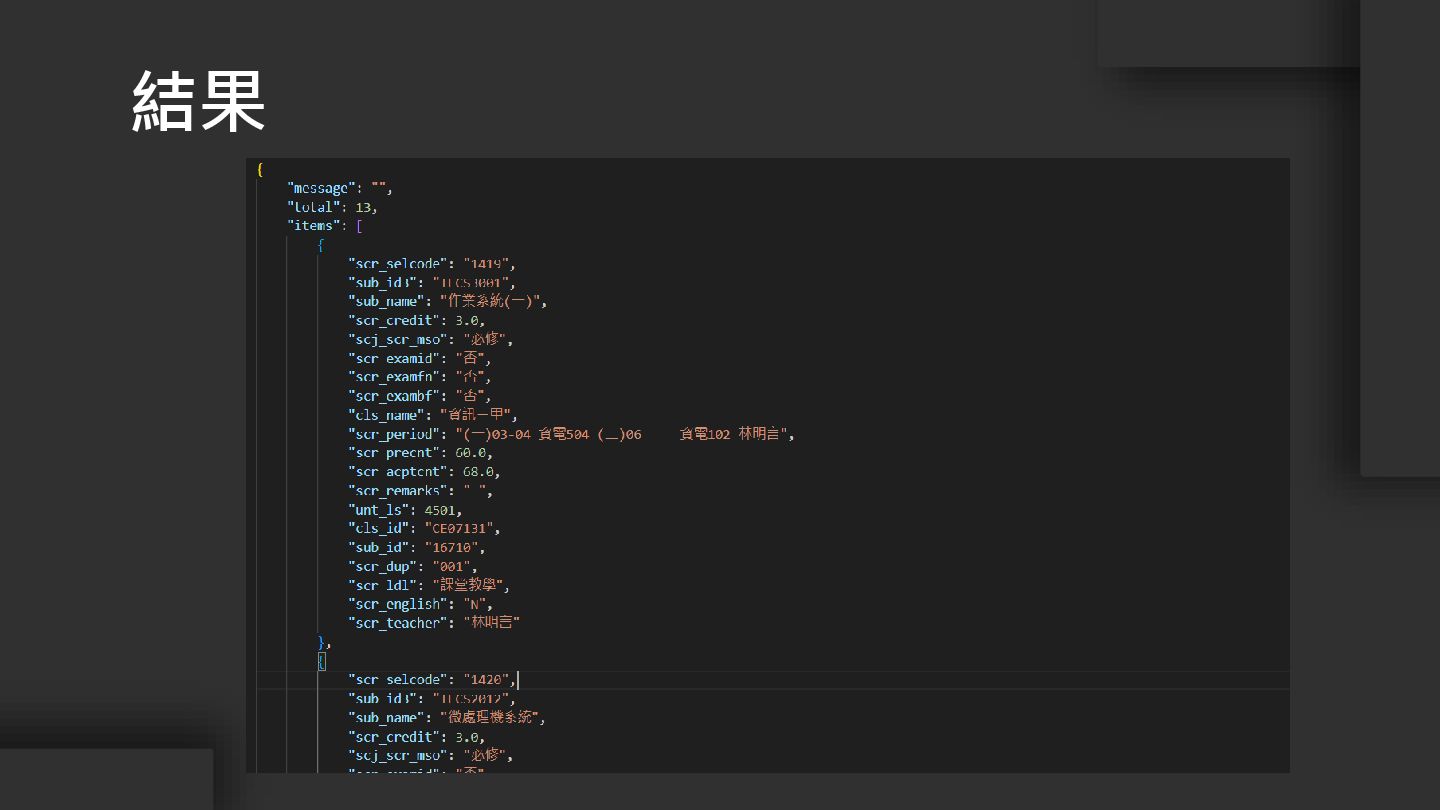
結果
More Web Scrawler 04 爬蟲比你想得更強大且困難
• 原本的用途:Web UI 自動化測試工具 • 實際上:模擬使用者操作的爬蟲工具 • 優點 • 可以模擬畫面滾動、點擊、輸入等一切使用者操作
• 展示性高 • 缺點:爬蟲效率較差,不適合用於快速爬蟲 Selenium
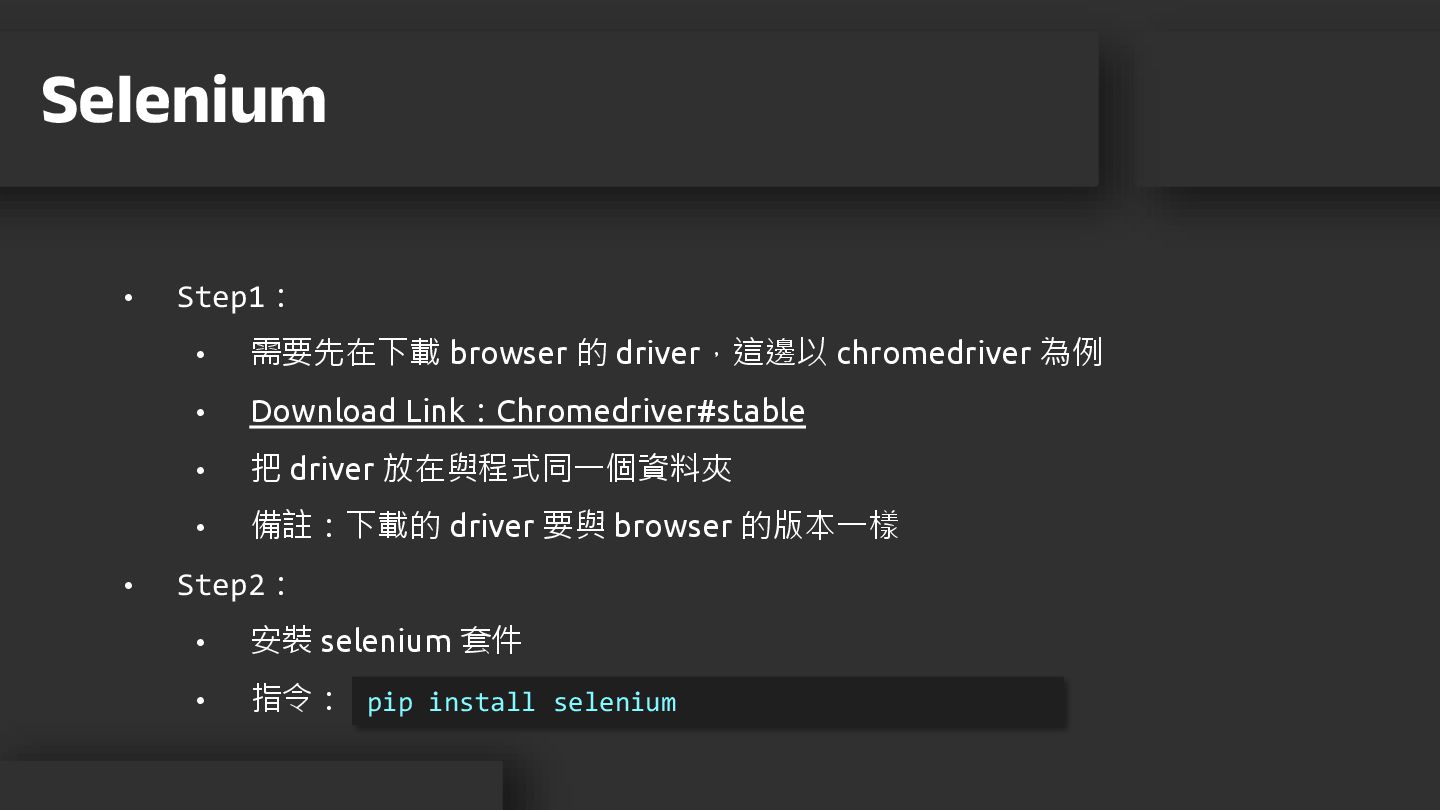
• Step1: • 需要先在下載 browser 的 driver,這邊以 chromedriver 為例 •
Download Link:Chromedriver#stable • 把 driver 放在與程式同一個資料夾 • 備註:下載的 driver 要與 browser 的版本一樣 • Step2: • 安裝 selenium 套件 • 指令: Selenium pip install selenium
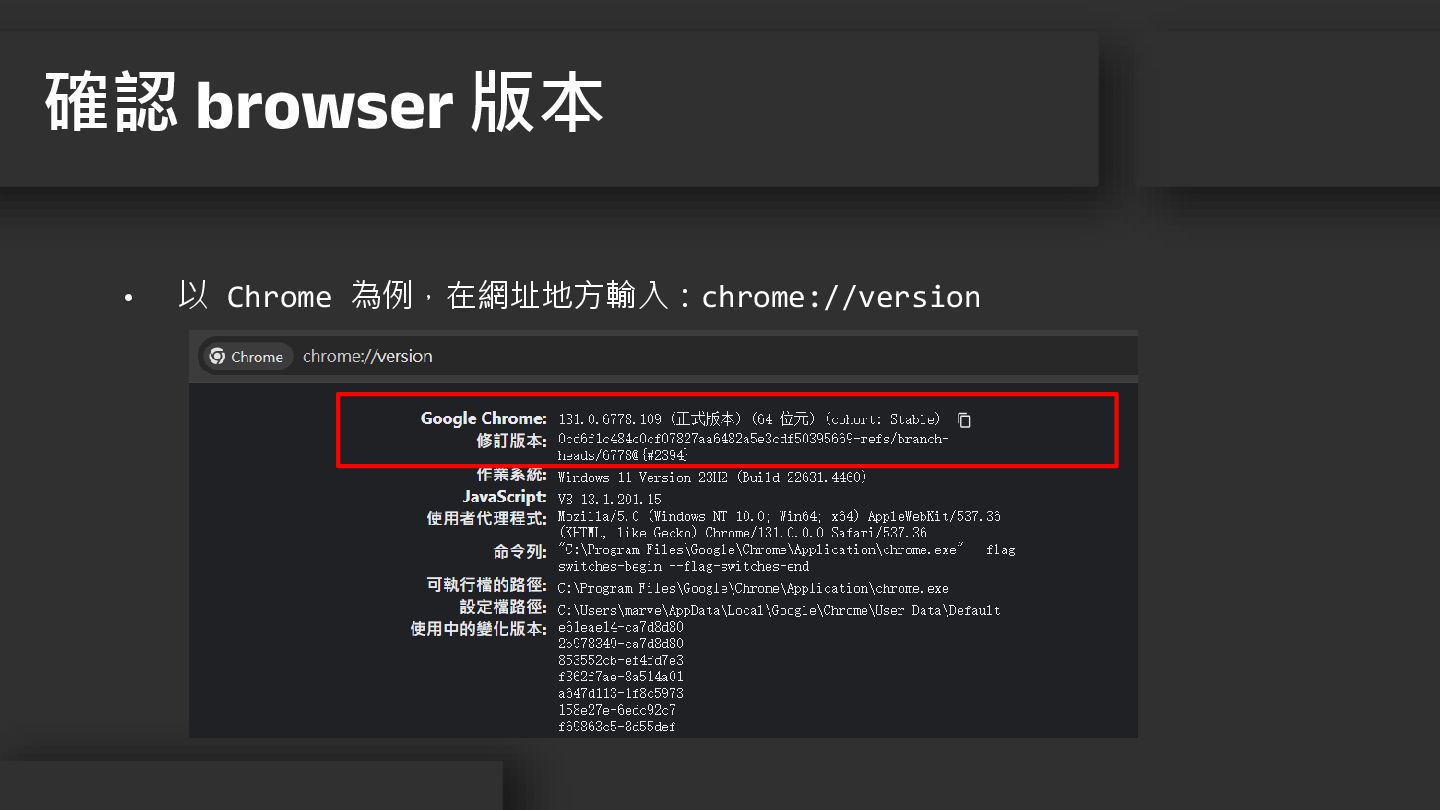
• 以 Chrome 為例,在網址地方輸入:chrome://version 確認 browser 版本
1. 2. 3. 4. 5. 6. 7. 8. 9. 10.
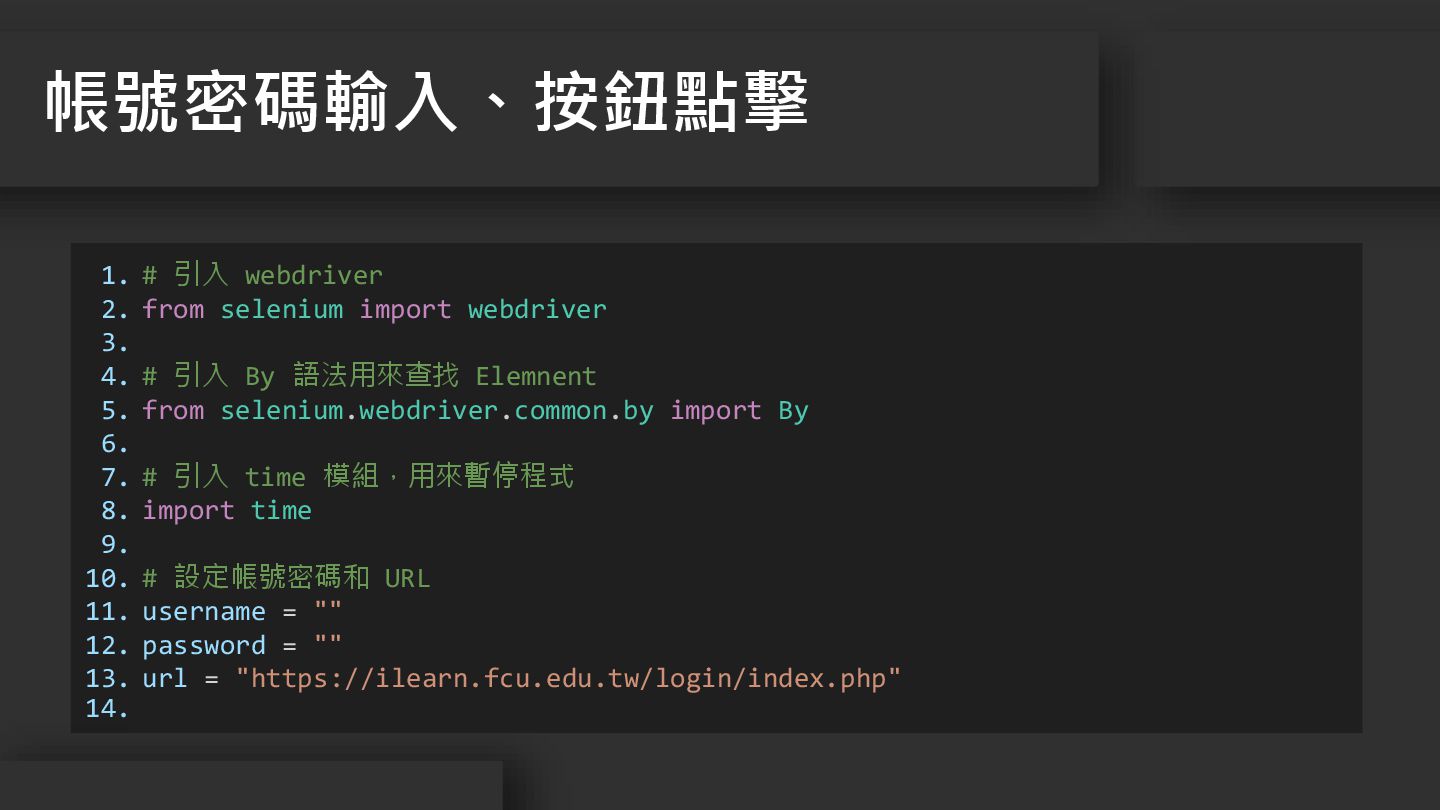
11. 12. 13. 14. # 引入 webdriver from selenium import webdriver # 引入 By 語法用來查找 Elemnent from selenium.webdriver.common.by import By # 引入 time 模組,用來暫停程式 import time # 設定帳號密碼和 URL username = "" password = "" url = "https://ilearn.fcu.edu.tw/login/index.php" 帳號密碼輸入、按鈕點擊
1. 2. 3. 4. 5. 6. 7. 8. 9. 10.
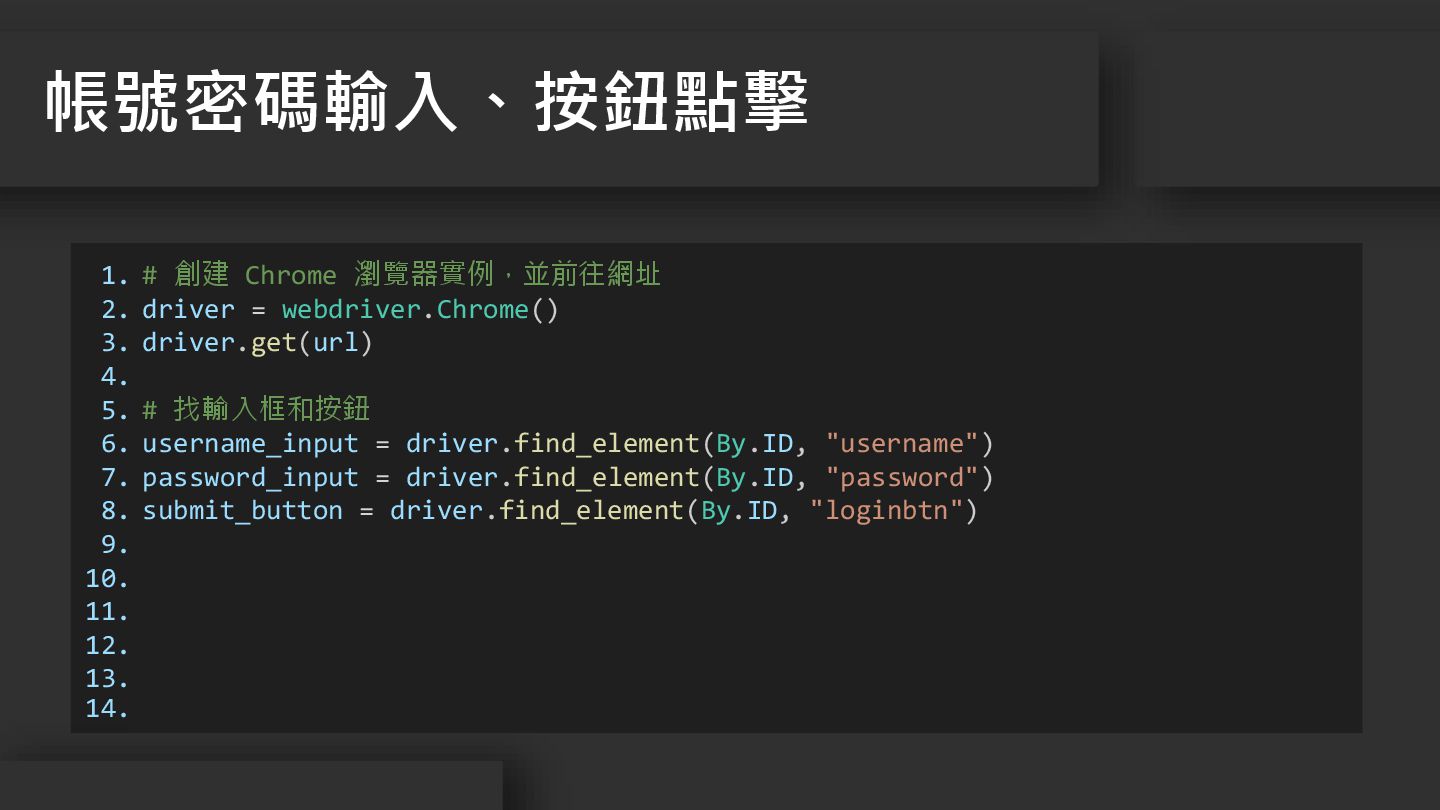
11. 12. 13. 14. # 創建 Chrome 瀏覽器實例,並前往網址 driver = webdriver.Chrome() driver.get(url) # 找輸入框和按鈕 username_input = driver.find_element(By.ID, "username") password_input = driver.find_element(By.ID, "password") submit_button = driver.find_element(By.ID, "loginbtn") 帳號密碼輸入、按鈕點擊
1. 2. 3. 4. 5. 6. 7. 8. 9. 10.
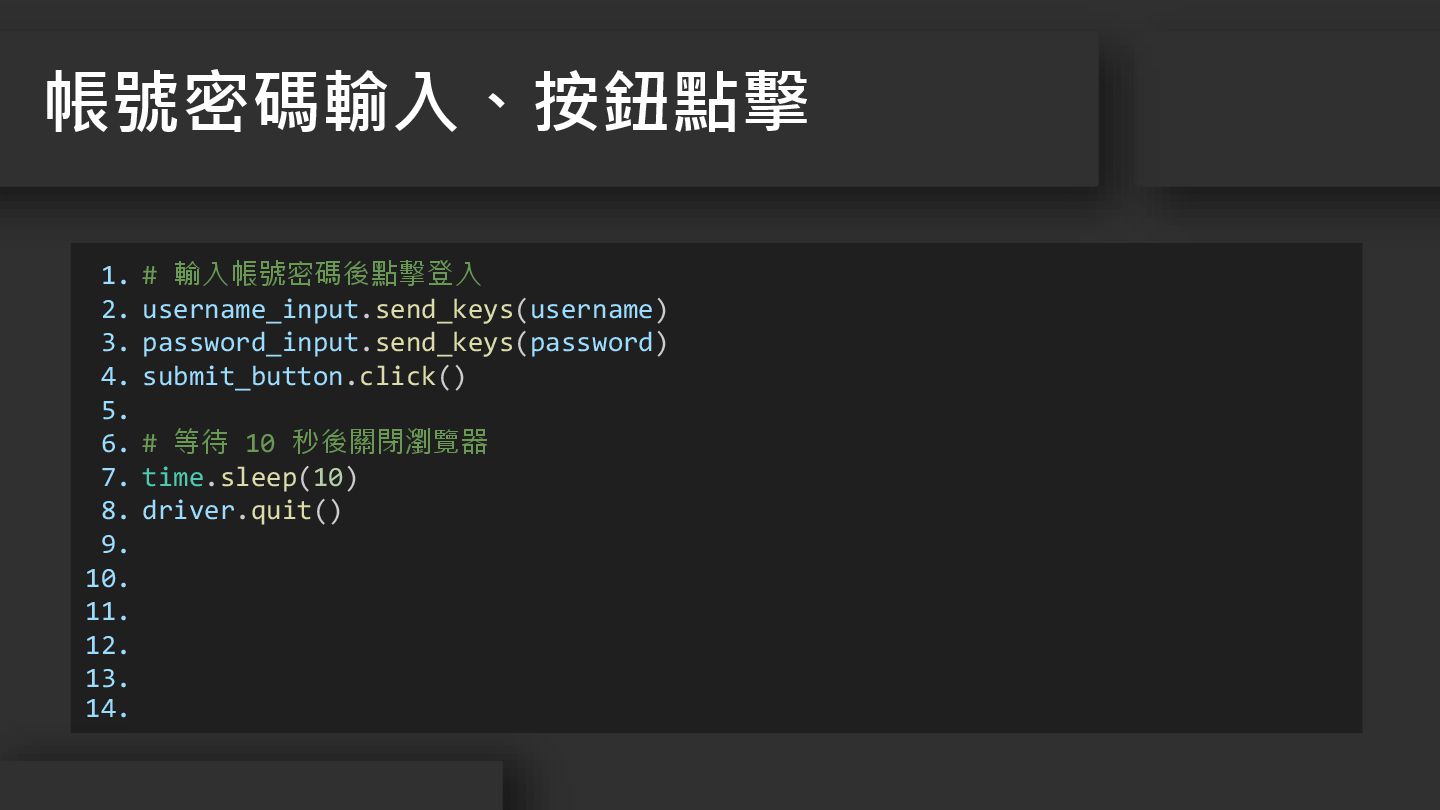
11. 12. 13. 14. # 輸入帳號密碼後點擊登入 username_input.send_keys(username) password_input.send_keys(password) submit_button.click() # 等待 10 秒後關閉瀏覽器 time.sleep(10) driver.quit() 帳號密碼輸入、按鈕點擊
1. 2. 3. 4. 5. 6. 7. 8. 9. 10.
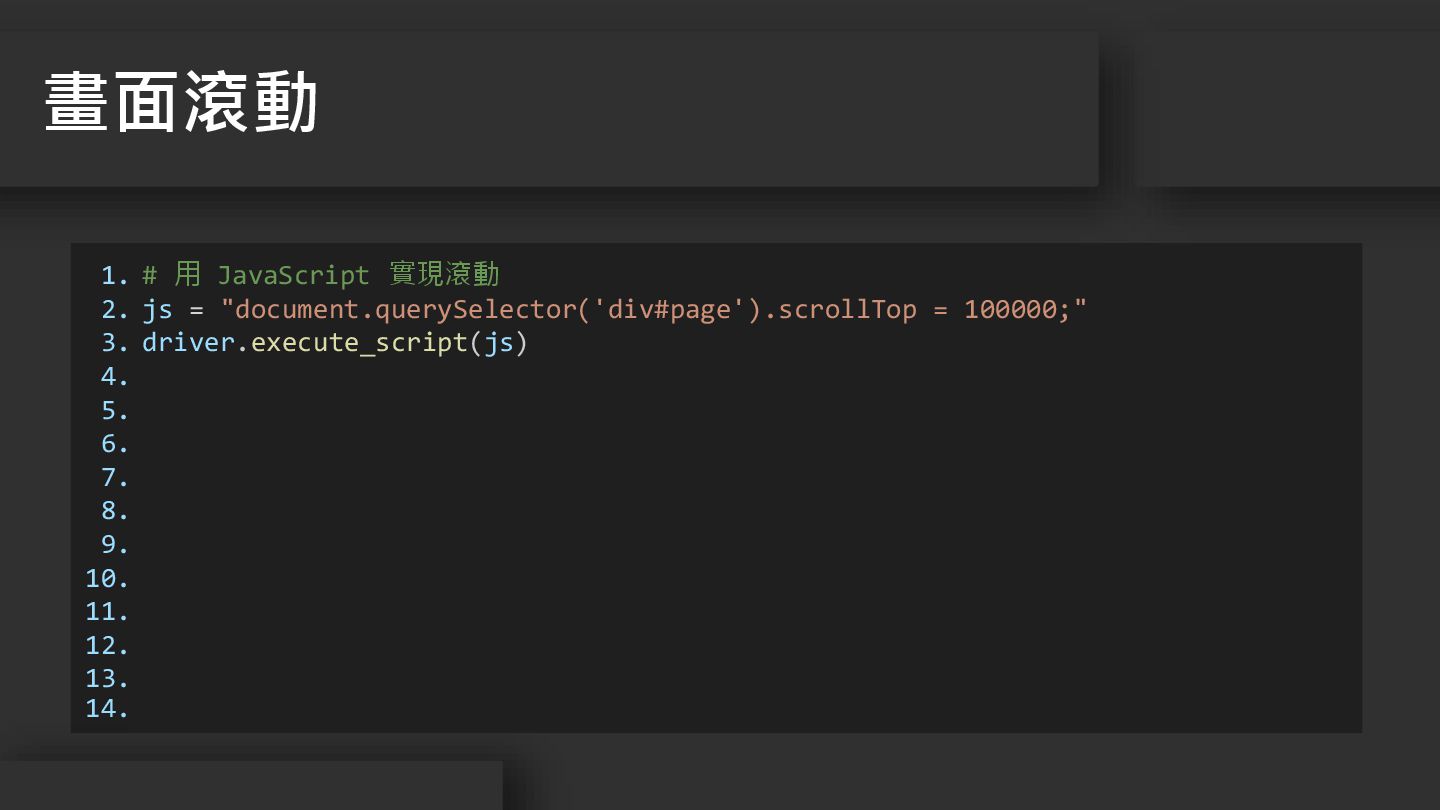
11. 12. 13. 14. # 用 JavaScript 實現滾動 js = "document.querySelector('div#page').scrollTop = 100000;" driver.execute_script(js) 畫面滾動
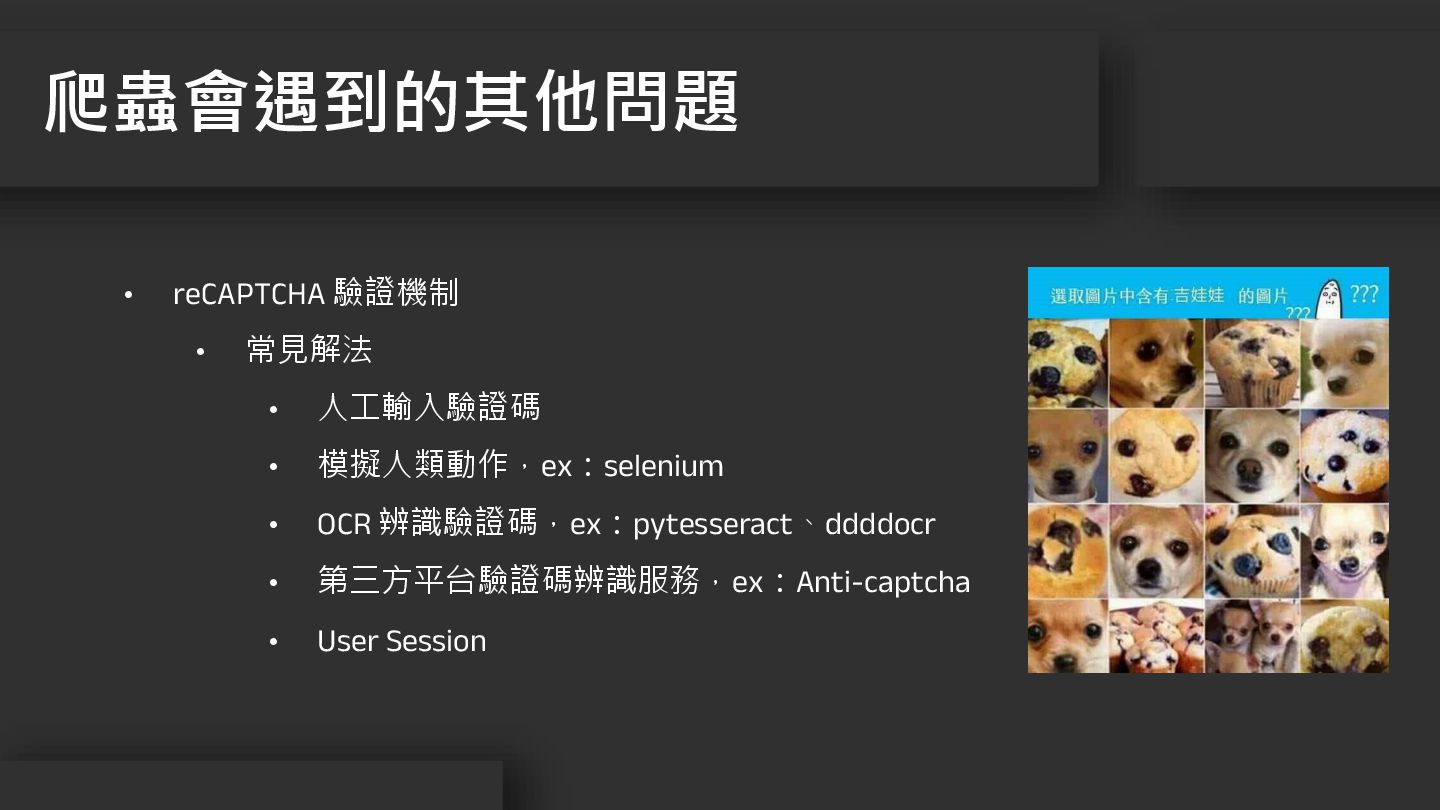
• reCAPTCHA 驗證機制 • 常見解法 • 人工輸入驗證碼 • 模擬人類動作,ex:selenium •
OCR 辨識驗證碼,ex:pytesseract、ddddocr • 第三方平台驗證碼辨識服務,ex:Anti-captcha • User Session 爬蟲會遇到的其他問題
• Rate Limit / Throttle(頻率限制) • 常見解法 • 設定隨機延遲時間 •
輪流切換 IP 位址 • 更換 User-Agent 爬蟲會遇到的其他問題
None