▸ Reviewed Generators and what they gave us. ▸ Generated post model, controller and view ▸ Added Ex-Machina for test data ▸ Built Authorization from scratch ▸ User Model/Controller ▸ Registration Model/Controller/View ▸ Session Model/Controller ▸ Cleaned Up Views to show current user and log-out
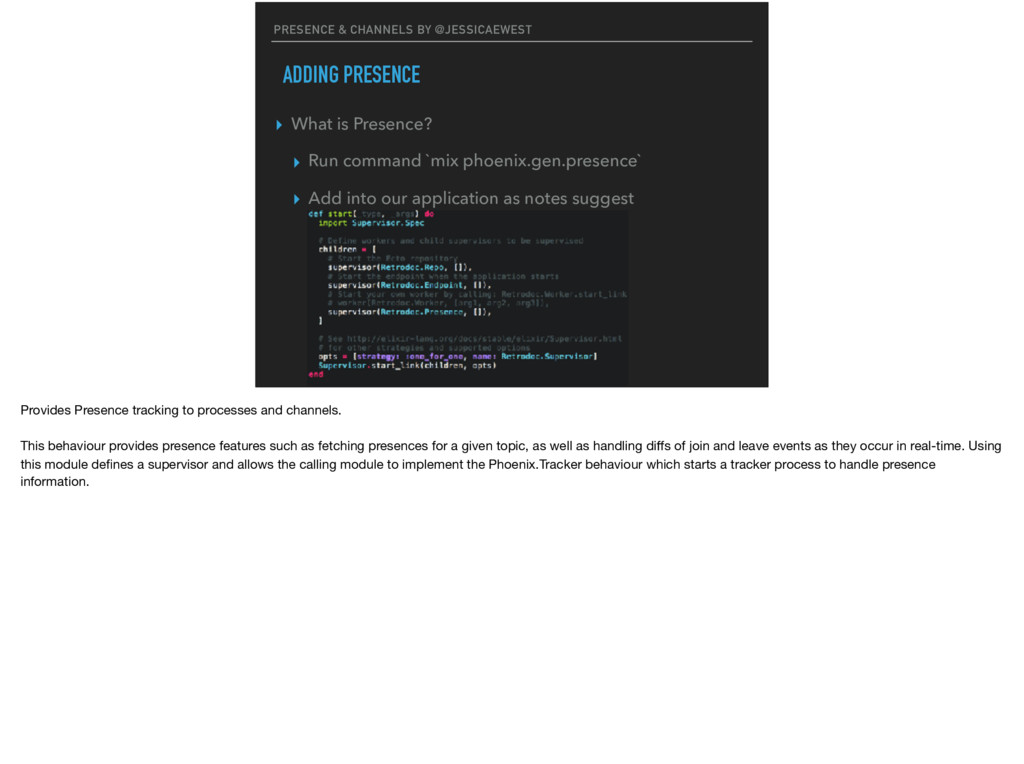
phoenix.gen.presence` ▸ Add into our application as notes suggest PRESENCE & CHANNELS BY @JESSICAEWEST Provides Presence tracking to processes and channels. This behaviour provides presence features such as fetching presences for a given topic, as well as handling diffs of join and leave events as they occur in real-time. Using this module defines a supervisor and allows the calling module to implement the Phoenix.Tracker behaviour which starts a tracker process to handle presence information.
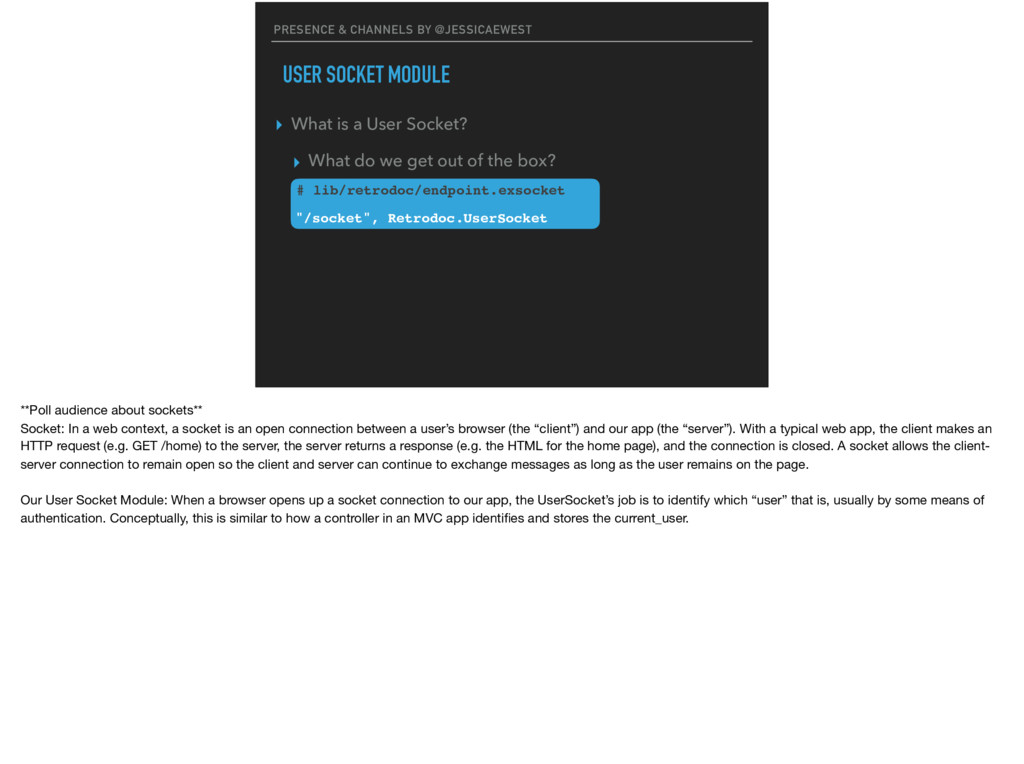
What do we get out of the box? PRESENCE & CHANNELS BY @JESSICAEWEST # lib/retrodoc/endpoint.exsocket "/socket", Retrodoc.UserSocket **Poll audience about sockets** Socket: In a web context, a socket is an open connection between a user’s browser (the “client”) and our app (the “server”). With a typical web app, the client makes an HTTP request (e.g. GET /home) to the server, the server returns a response (e.g. the HTML for the home page), and the connection is closed. A socket allows the client- server connection to remain open so the client and server can continue to exchange messages as long as the user remains on the page. Our User Socket Module: When a browser opens up a socket connection to our app, the UserSocket’s job is to identify which “user” that is, usually by some means of authentication. Conceptually, this is similar to how a controller in an MVC app identifies and stores the current_user.
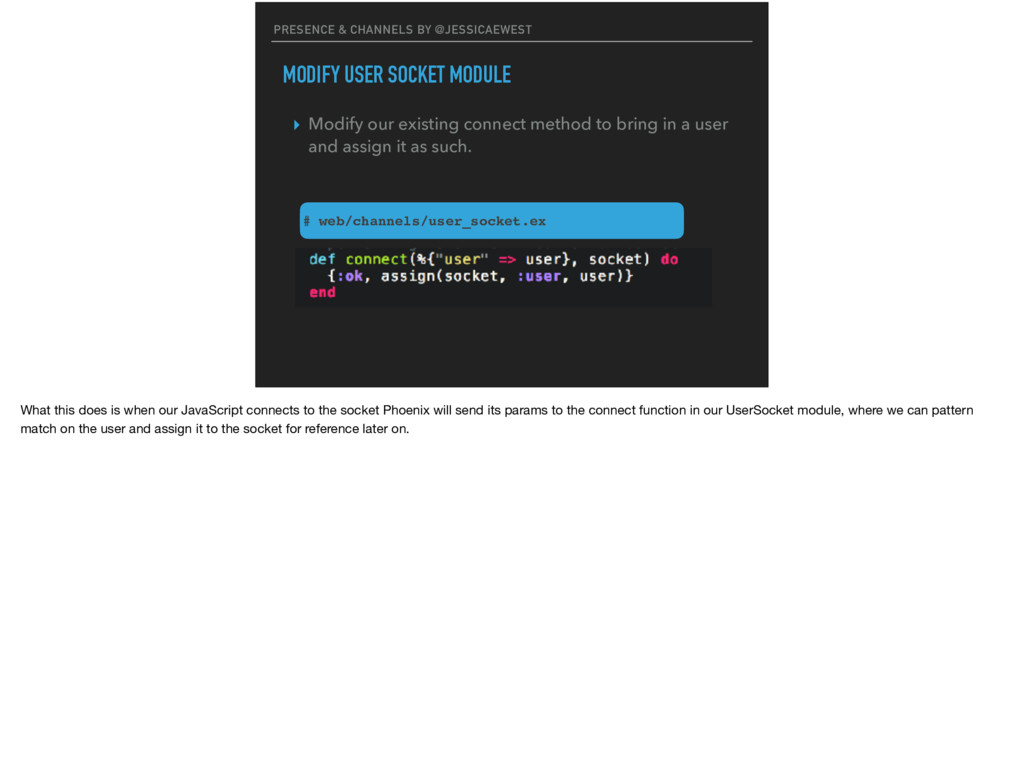
to bring in a user and assign it as such. PRESENCE & CHANNELS BY @JESSICAEWEST # web/channels/user_socket.ex What this does is when our JavaScript connects to the socket Phoenix will send its params to the connect function in our UserSocket module, where we can pattern match on the user and assign it to the socket for reference later on.
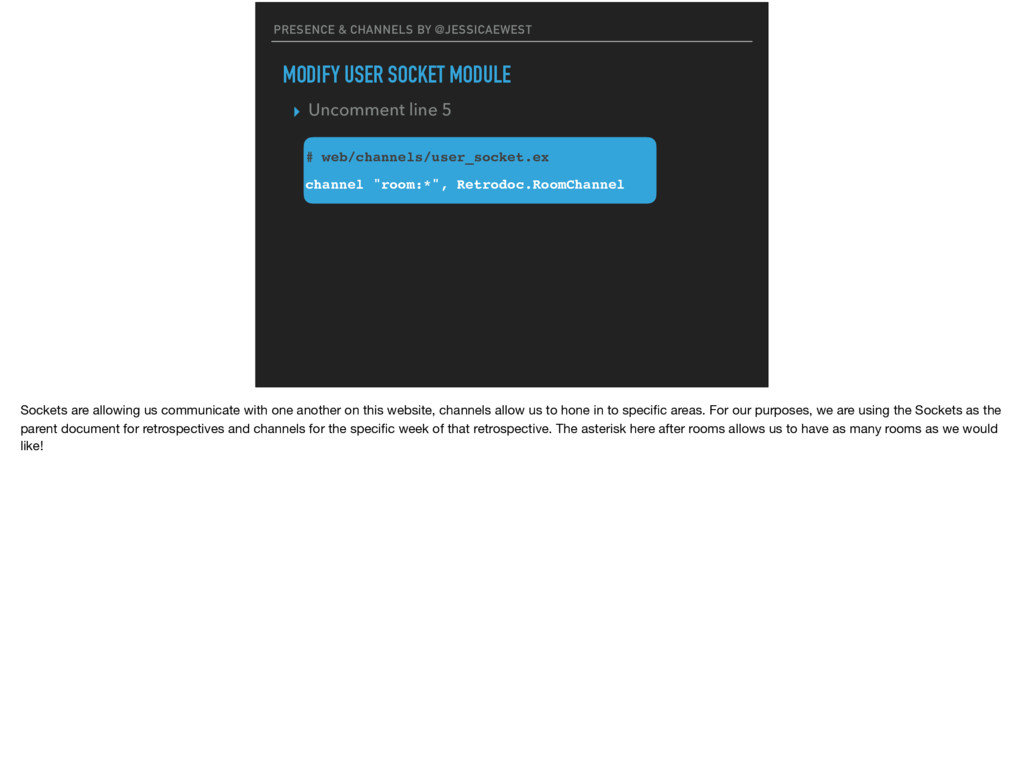
CHANNELS BY @JESSICAEWEST # web/channels/user_socket.ex channel "room:*", Retrodoc.RoomChannel Sockets are allowing us communicate with one another on this website, channels allow us to hone in to specific areas. For our purposes, we are using the Sockets as the parent document for retrospectives and channels for the specific week of that retrospective. The asterisk here after rooms allows us to have as many rooms as we would like!
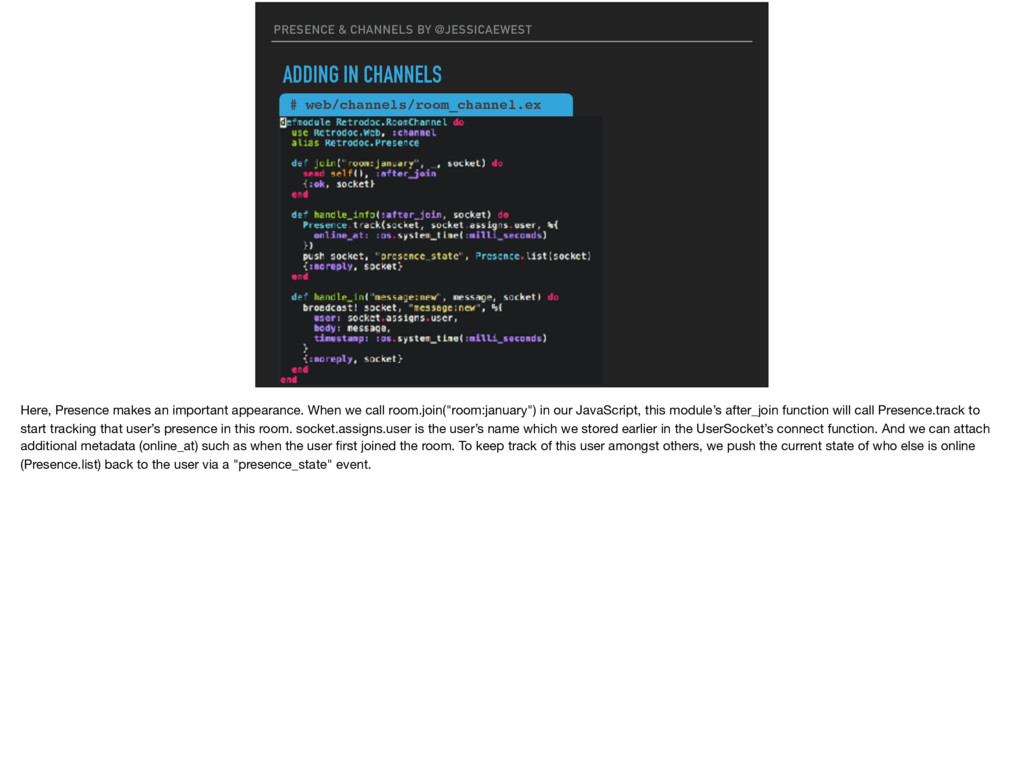
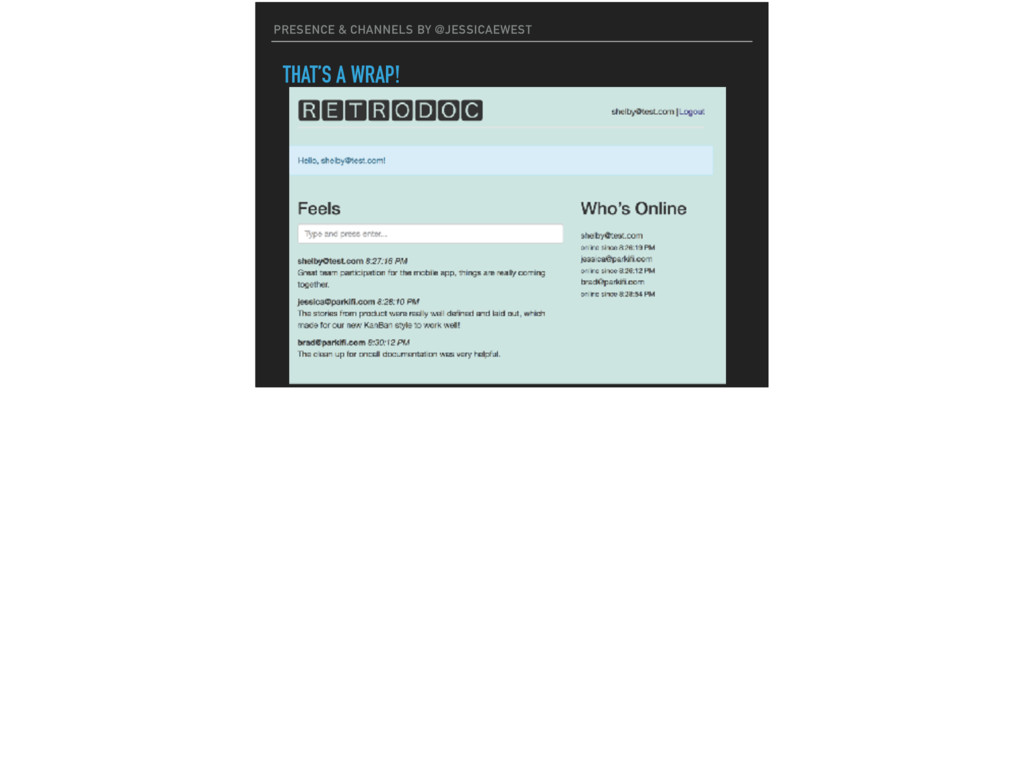
Here, Presence makes an important appearance. When we call room.join("room:january") in our JavaScript, this module’s after_join function will call Presence.track to start tracking that user’s presence in this room. socket.assigns.user is the user’s name which we stored earlier in the UserSocket’s connect function. And we can attach additional metadata (online_at) such as when the user first joined the room. To keep track of this user amongst others, we push the current state of who else is online (Presence.list) back to the user via a "presence_state" event.
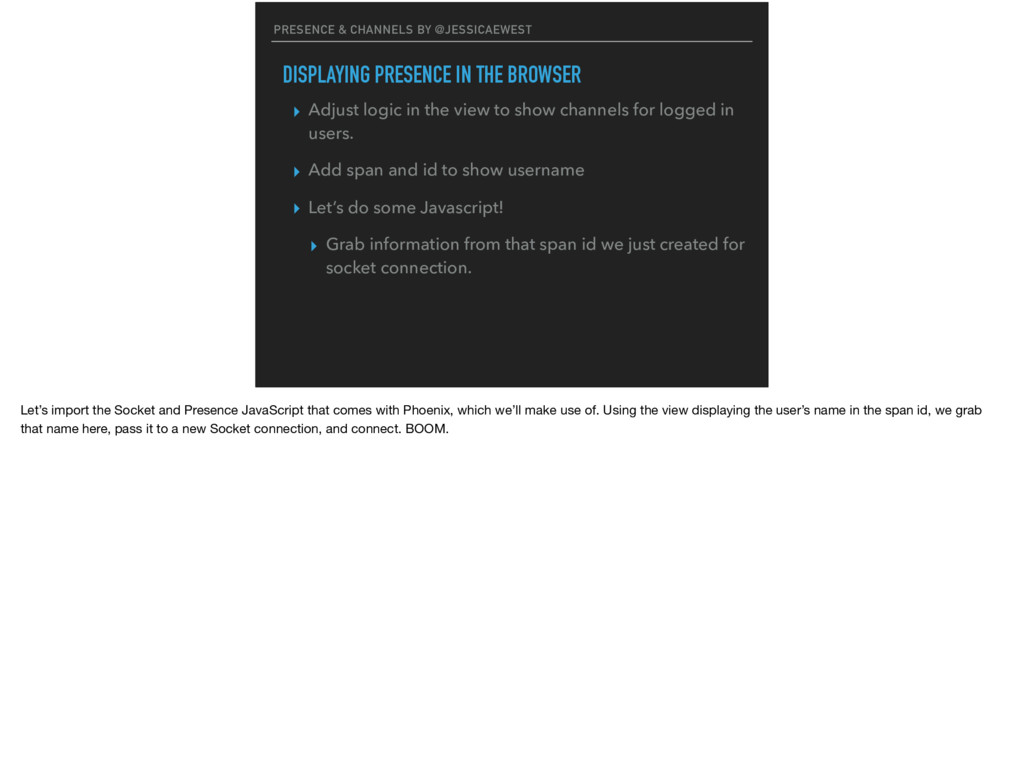
view to show channels for logged in users. ▸ Add span and id to show username ▸ Let’s do some Javascript! ▸ Grab information from that span id we just created for socket connection. PRESENCE & CHANNELS BY @JESSICAEWEST Let’s import the Socket and Presence JavaScript that comes with Phoenix, which we’ll make use of. Using the view displaying the user’s name in the span id, we grab that name here, pass it to a new Socket connection, and connect. BOOM.
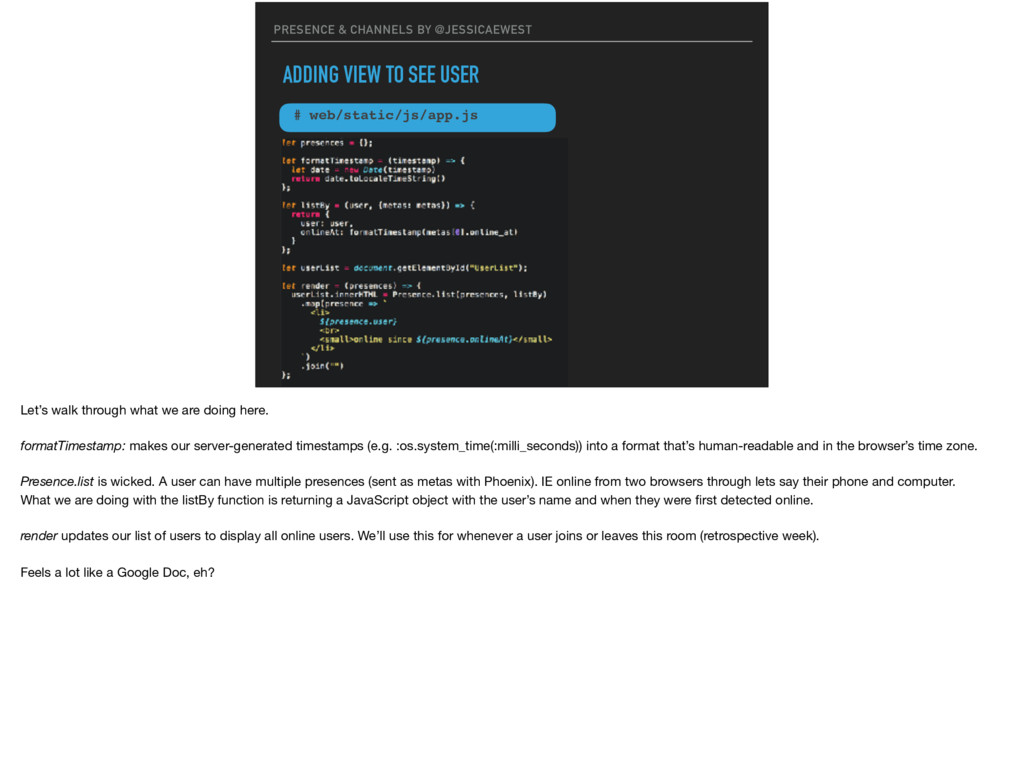
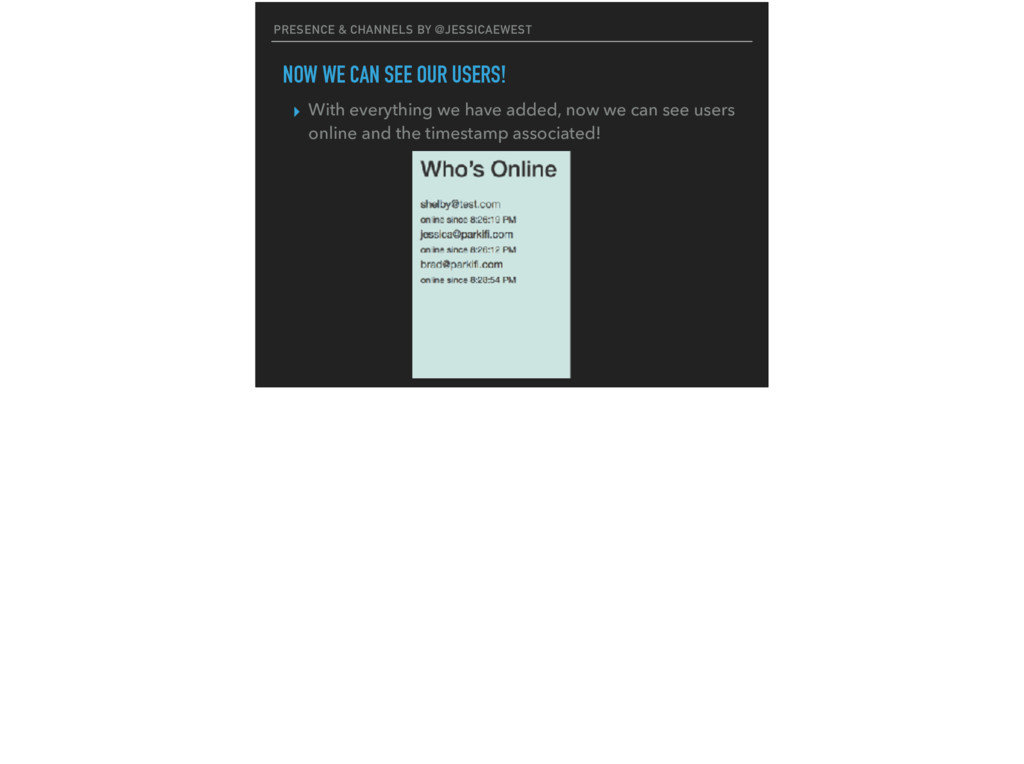
# web/static/js/app.js Let’s walk through what we are doing here. formatTimestamp: makes our server-generated timestamps (e.g. :os.system_time(:milli_seconds)) into a format that’s human-readable and in the browser’s time zone. Presence.list is wicked. A user can have multiple presences (sent as metas with Phoenix). IE online from two browsers through lets say their phone and computer. What we are doing with the listBy function is returning a JavaScript object with the user’s name and when they were first detected online. render updates our list of users to display all online users. We’ll use this for whenever a user joins or leaves this room (retrospective week). Feels a lot like a Google Doc, eh?
@JESSICAEWEST # web/static/js/app.js Channels… We are using JS to connect to our room:january. Right now we are only doing one, but ideally in future cases we would have this as a variable we pass in through. We need to handle two events as far as Presence is concerned. "presence_state" and “presence_diff” Presence State: when the server sends us the state of everyone online, which happens when we first connect and if we ever disconnect. Presence Diff: the server will send when someone joins or leaves and contains the difference we need to adjust for. In both cases, Phoenix’s Presence JavaScript has special functions to do the heavy lifting for us: both syncState and syncDiff will set our presences object to the current state of who’s online, which we then render as HTML for display.
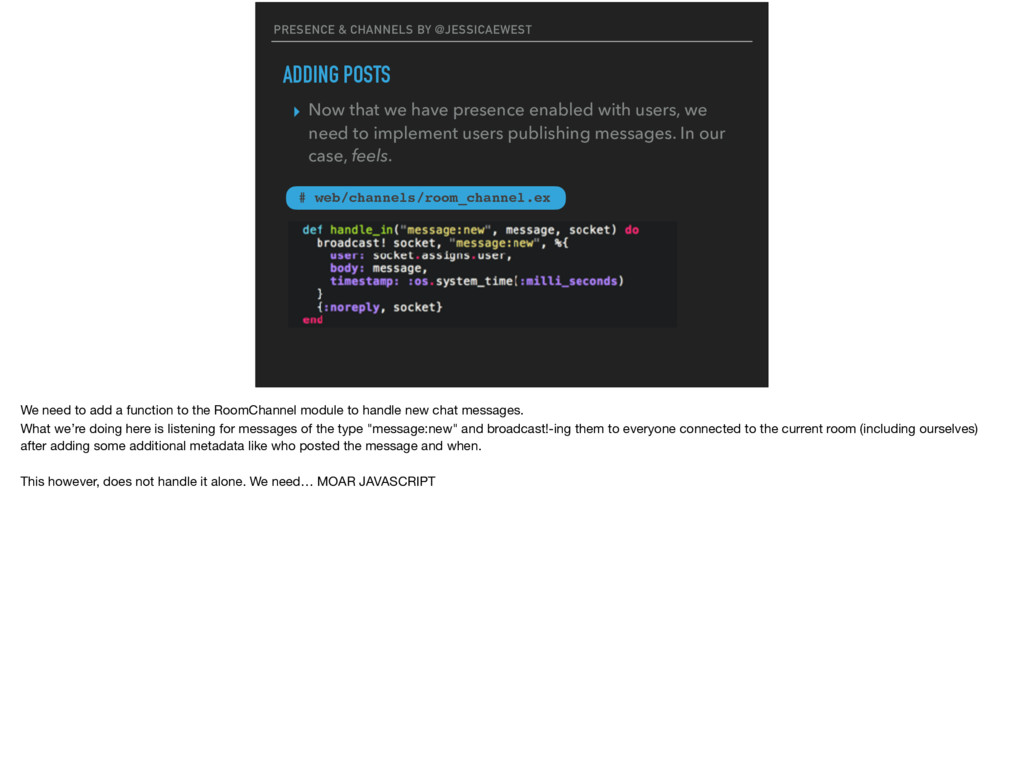
users, we need to implement users publishing messages. In our case, feels. PRESENCE & CHANNELS BY @JESSICAEWEST # web/channels/room_channel.ex We need to add a function to the RoomChannel module to handle new chat messages. What we’re doing here is listening for messages of the type "message:new" and broadcast!-ing them to everyone connected to the current room (including ourselves) after adding some additional metadata like who posted the message and when. This however, does not handle it alone. We need… MOAR JAVASCRIPT
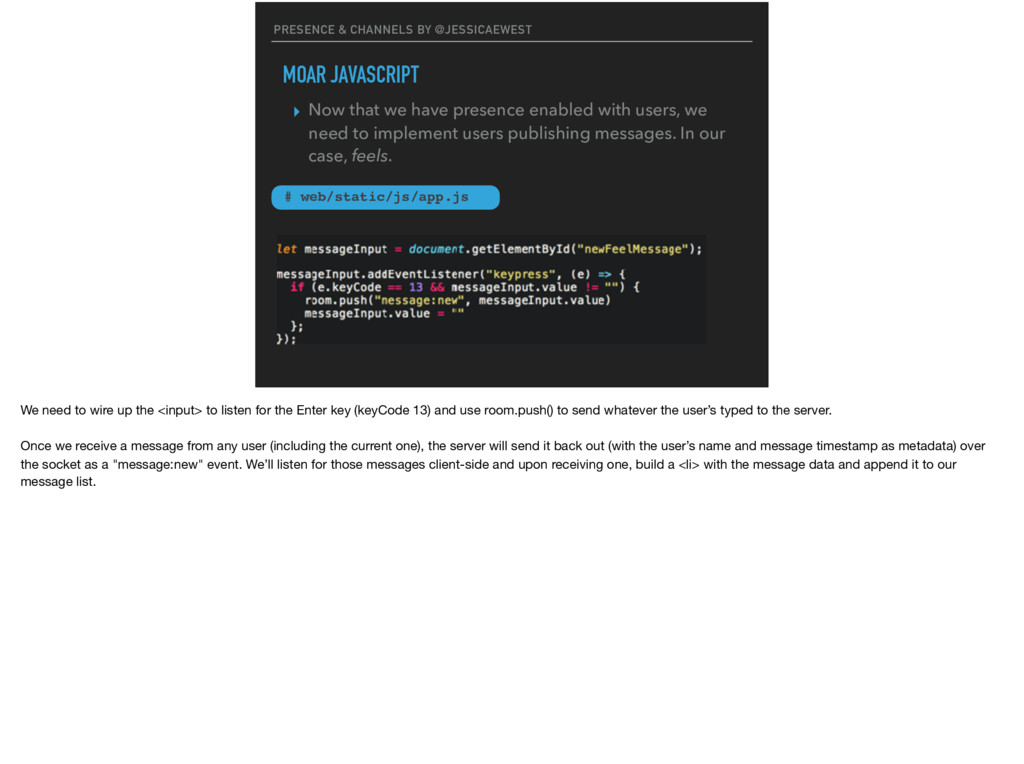
users, we need to implement users publishing messages. In our case, feels. PRESENCE & CHANNELS BY @JESSICAEWEST # web/static/js/app.js We need to wire up the <input> to listen for the Enter key (keyCode 13) and use room.push() to send whatever the user’s typed to the server. Once we receive a message from any user (including the current one), the server will send it back out (with the user’s name and message timestamp as metadata) over the socket as a "message:new" event. We’ll listen for those messages client-side and upon receiving one, build a <li> with the message data and append it to our message list.
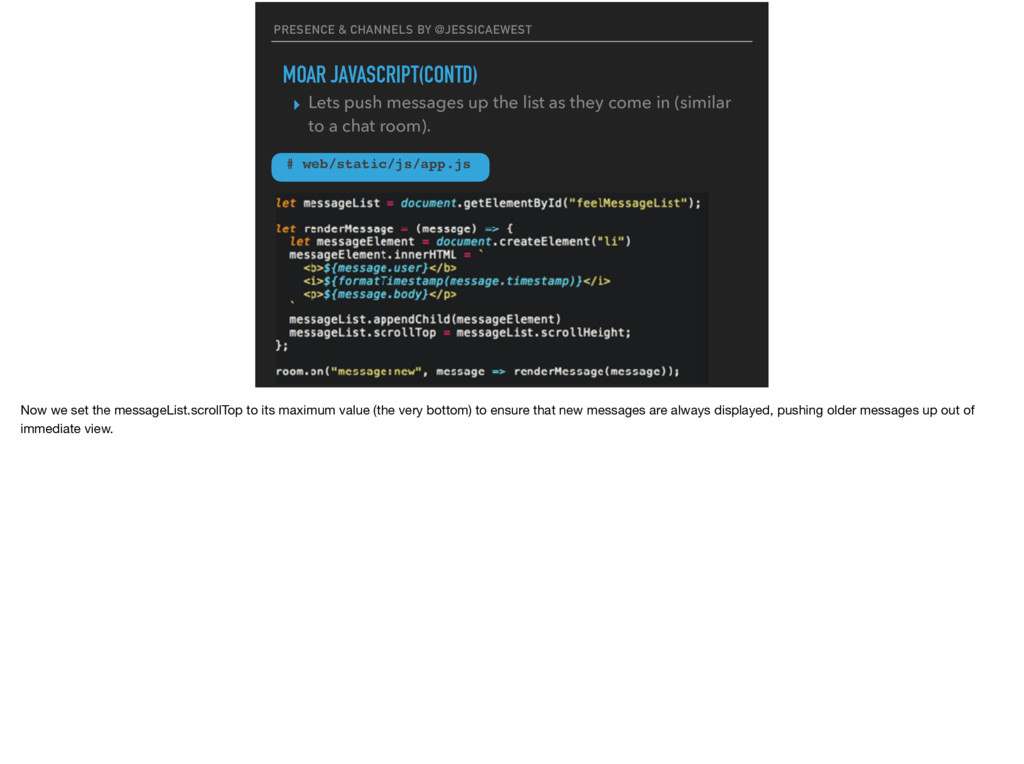
they come in (similar to a chat room). PRESENCE & CHANNELS BY @JESSICAEWEST # web/static/js/app.js Now we set the messageList.scrollTop to its maximum value (the very bottom) to ensure that new messages are always displayed, pushing older messages up out of immediate view.