Kuma Meshes Part I - The basics. Explaining the basics of how Meshes and Kuma Meshes work. It goes through how to get a cluster ready to start making tests with Kuma by diving into kubernetes concepts and quick installation command installations.
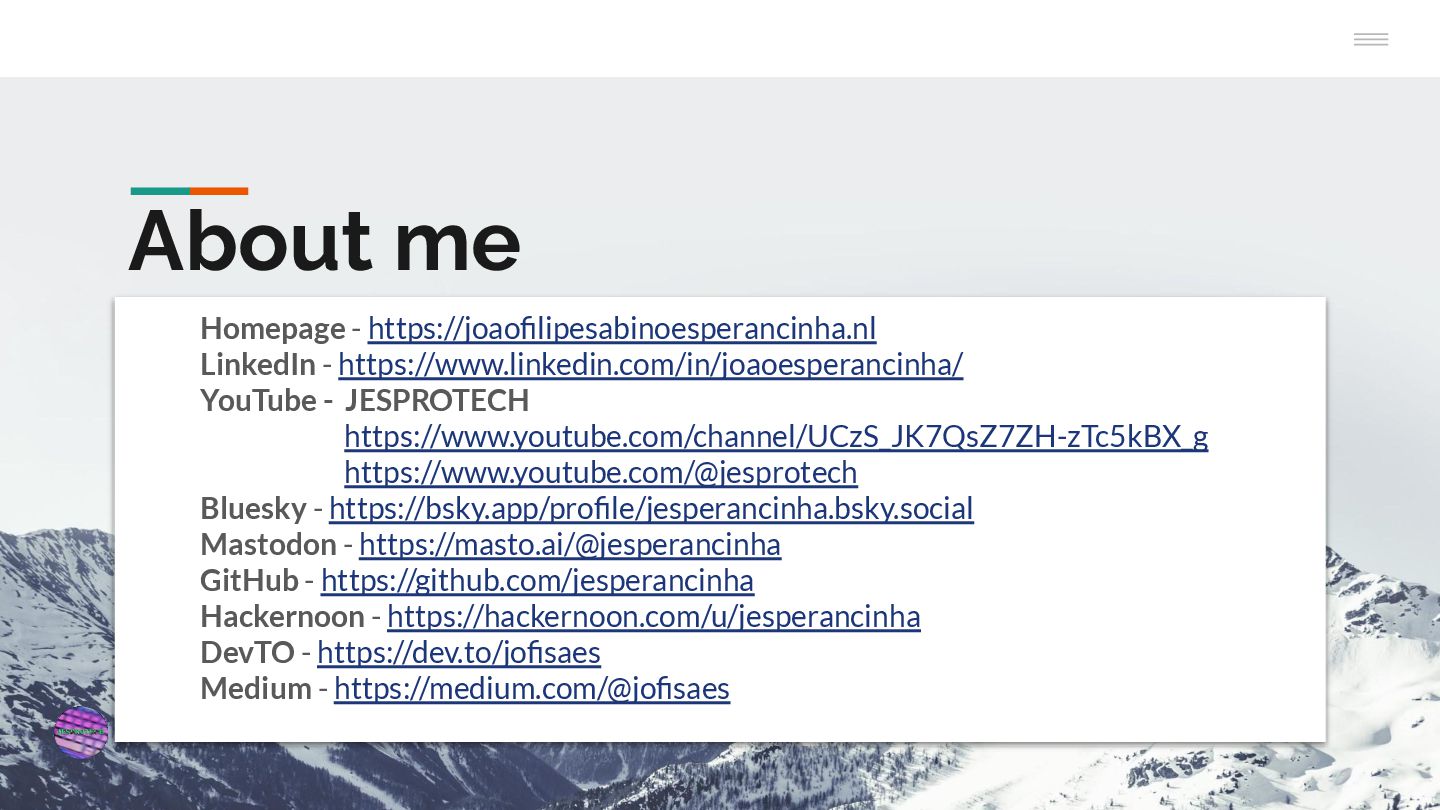
audience Market trends Cycle diagram João Esperancinha • Java • Kotlin • Groovy • Scala • Software Engineer 10+ years • JESPROTECH owner for 1 year • Kong Champion • Java Professional • Spring Professional
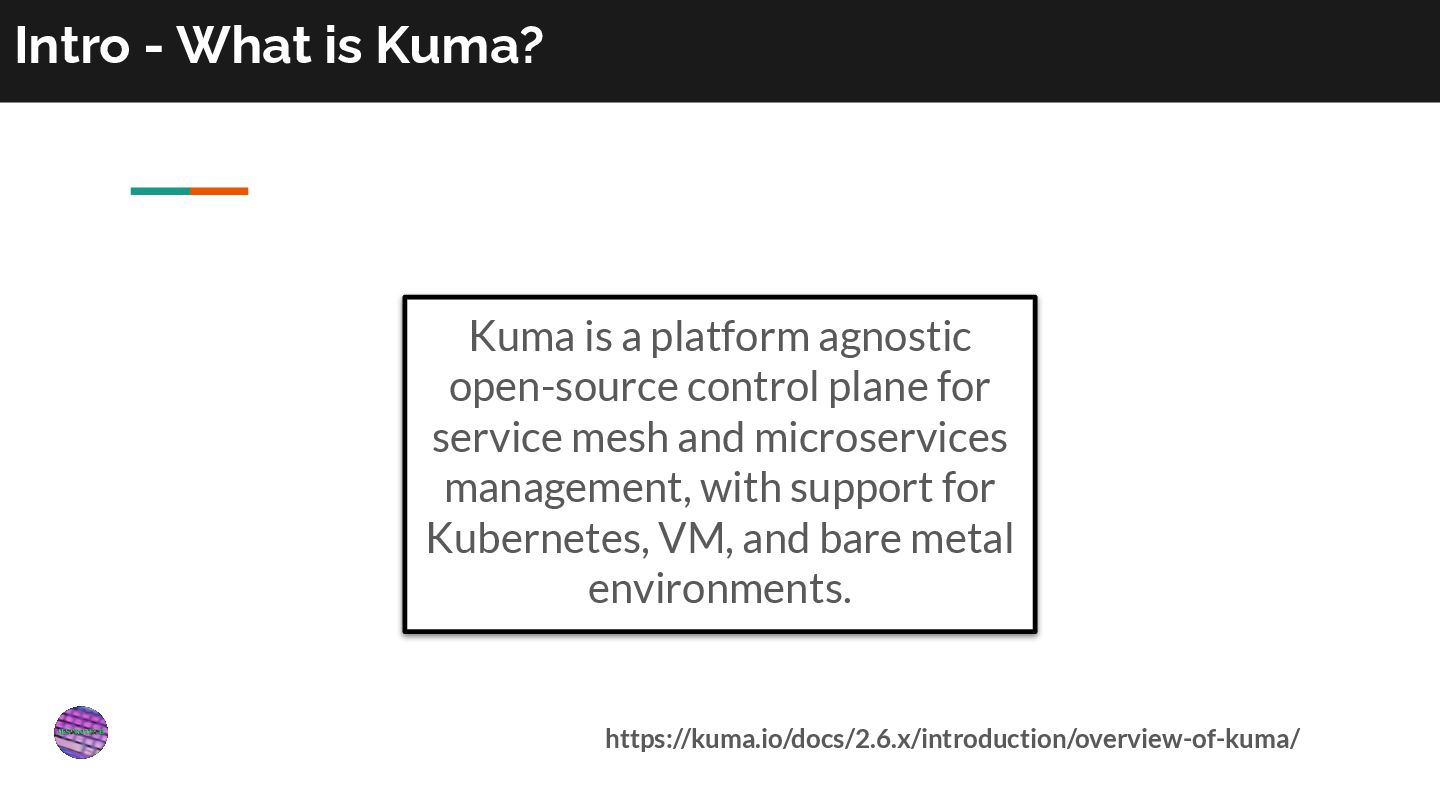
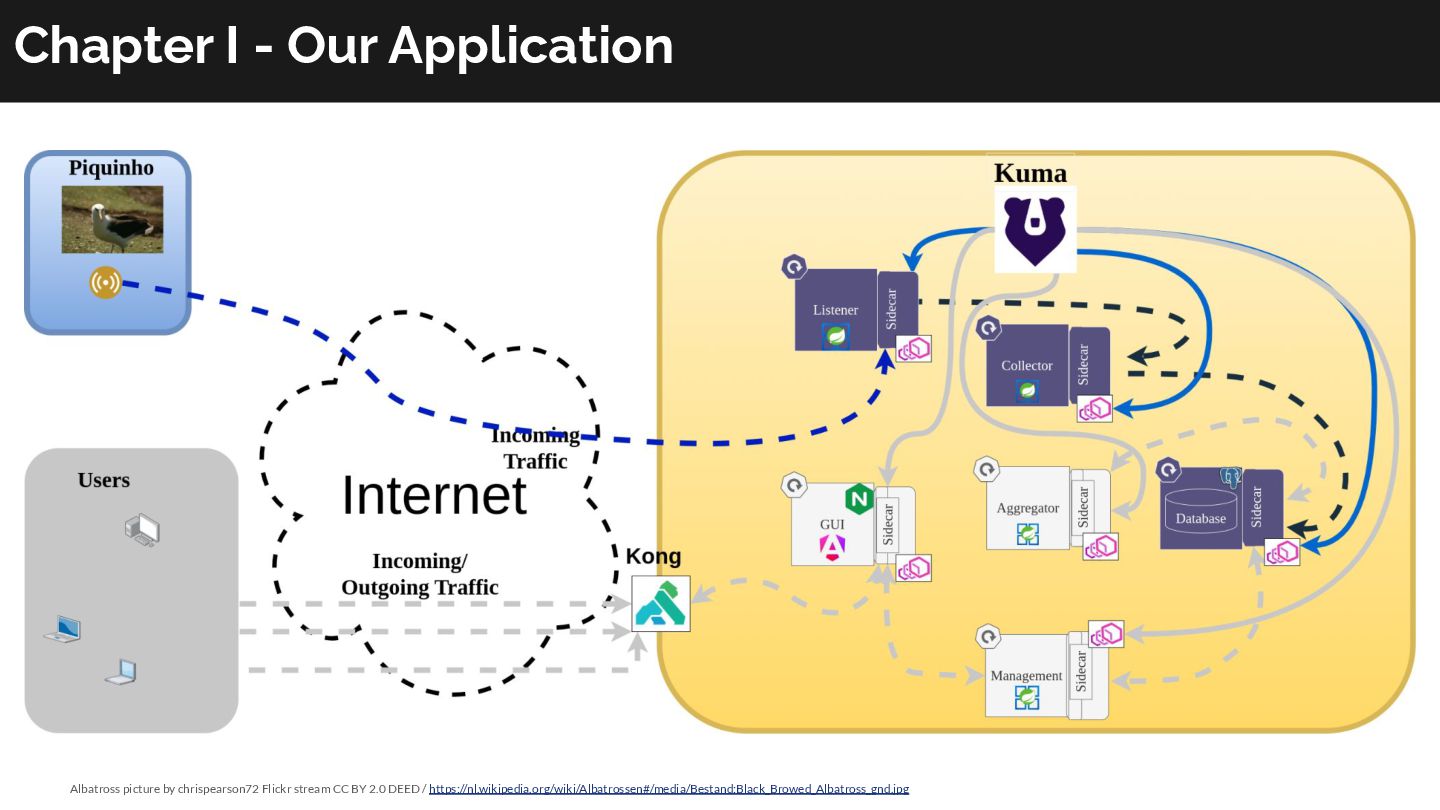
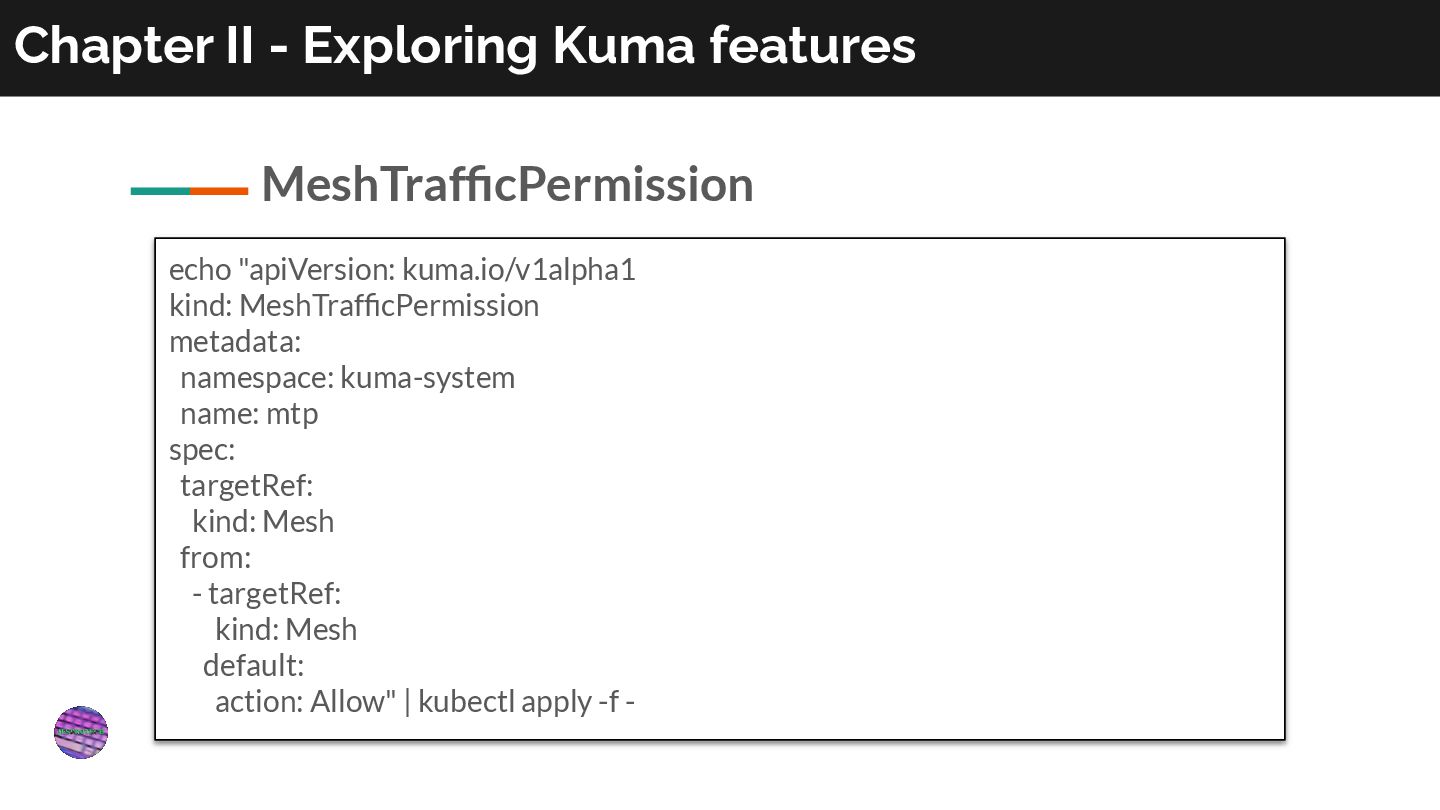
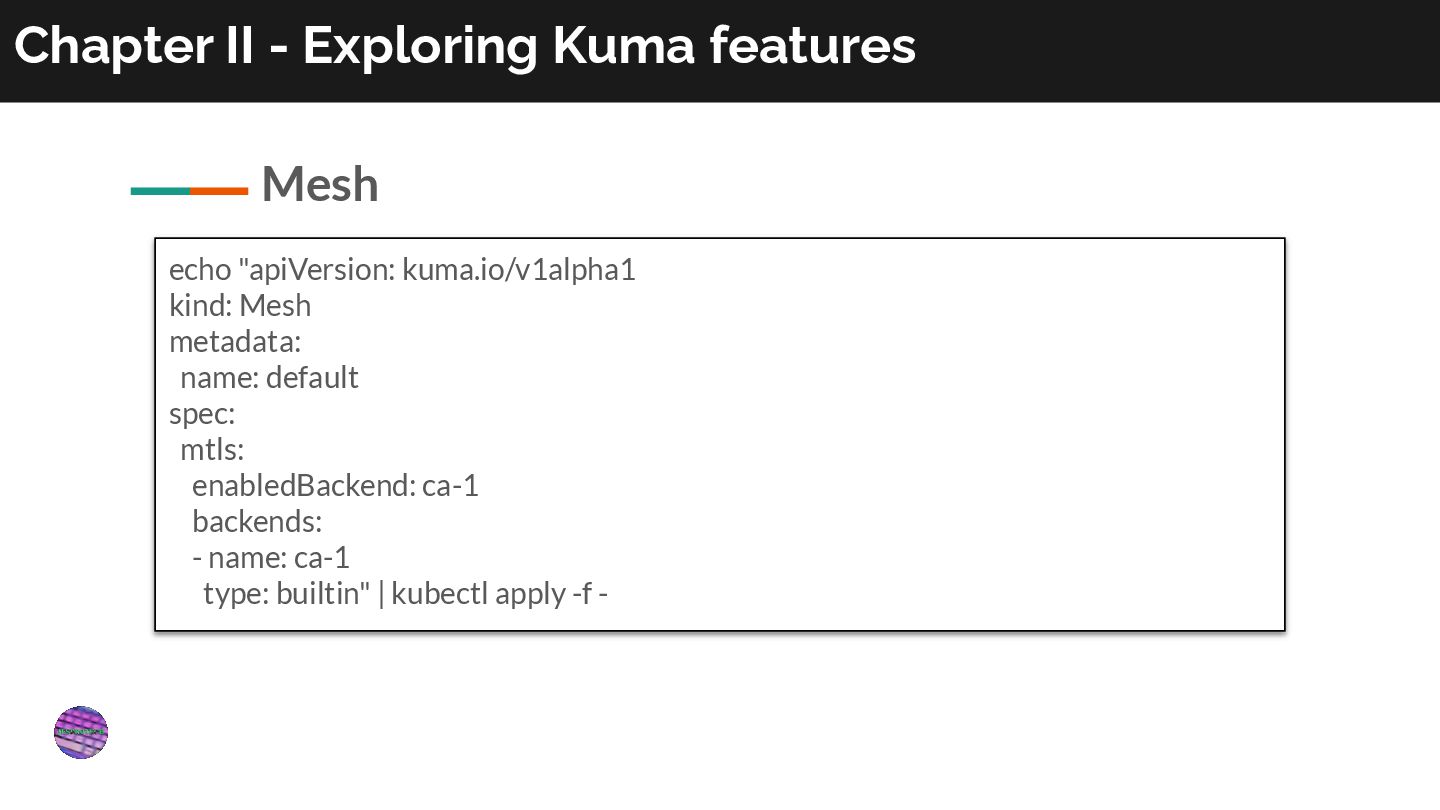
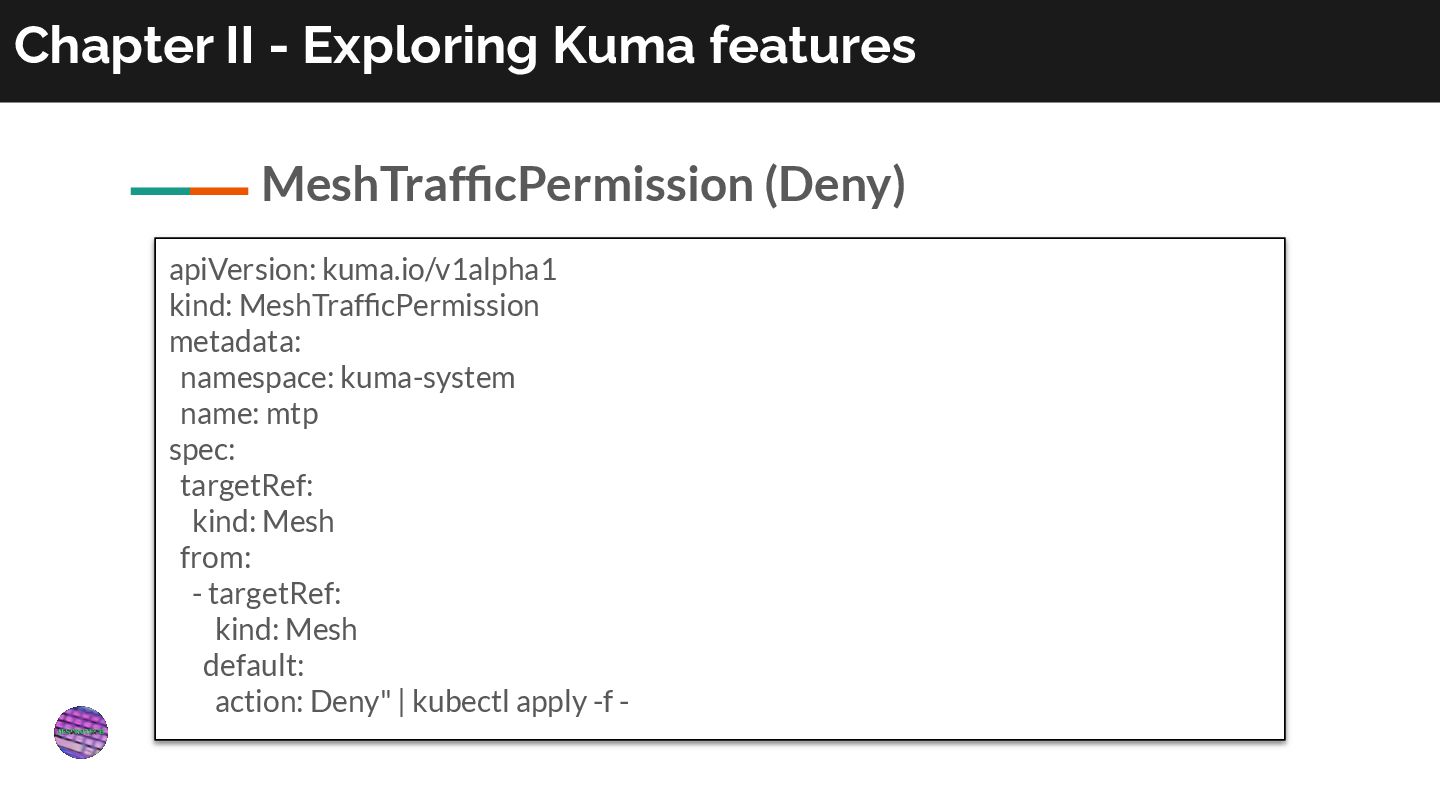
open-source control plane for service mesh and microservices management, with support for Kubernetes, VM, and bare metal environments. https://kuma.io/docs/2.6.x/introduction/overview-of-kuma/
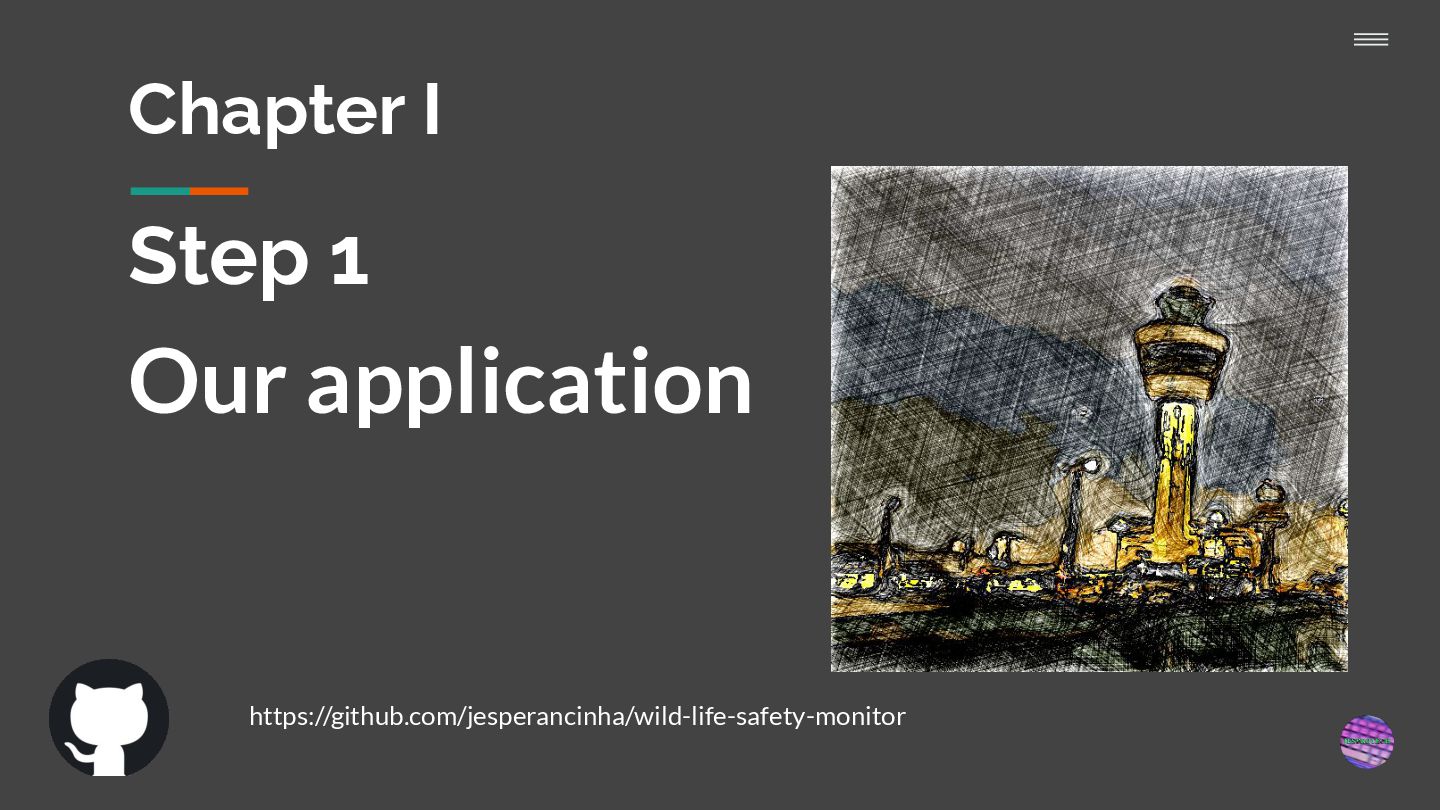
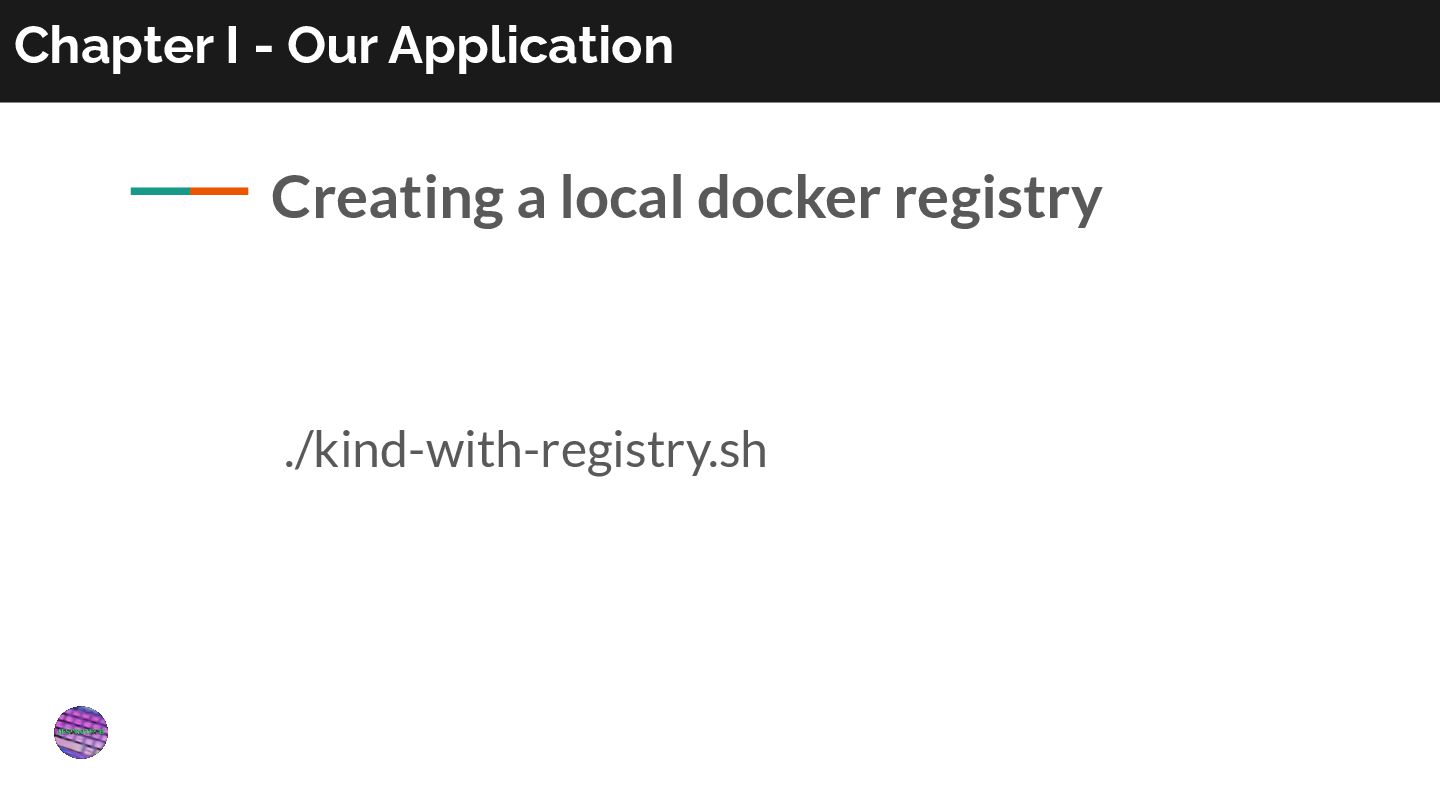
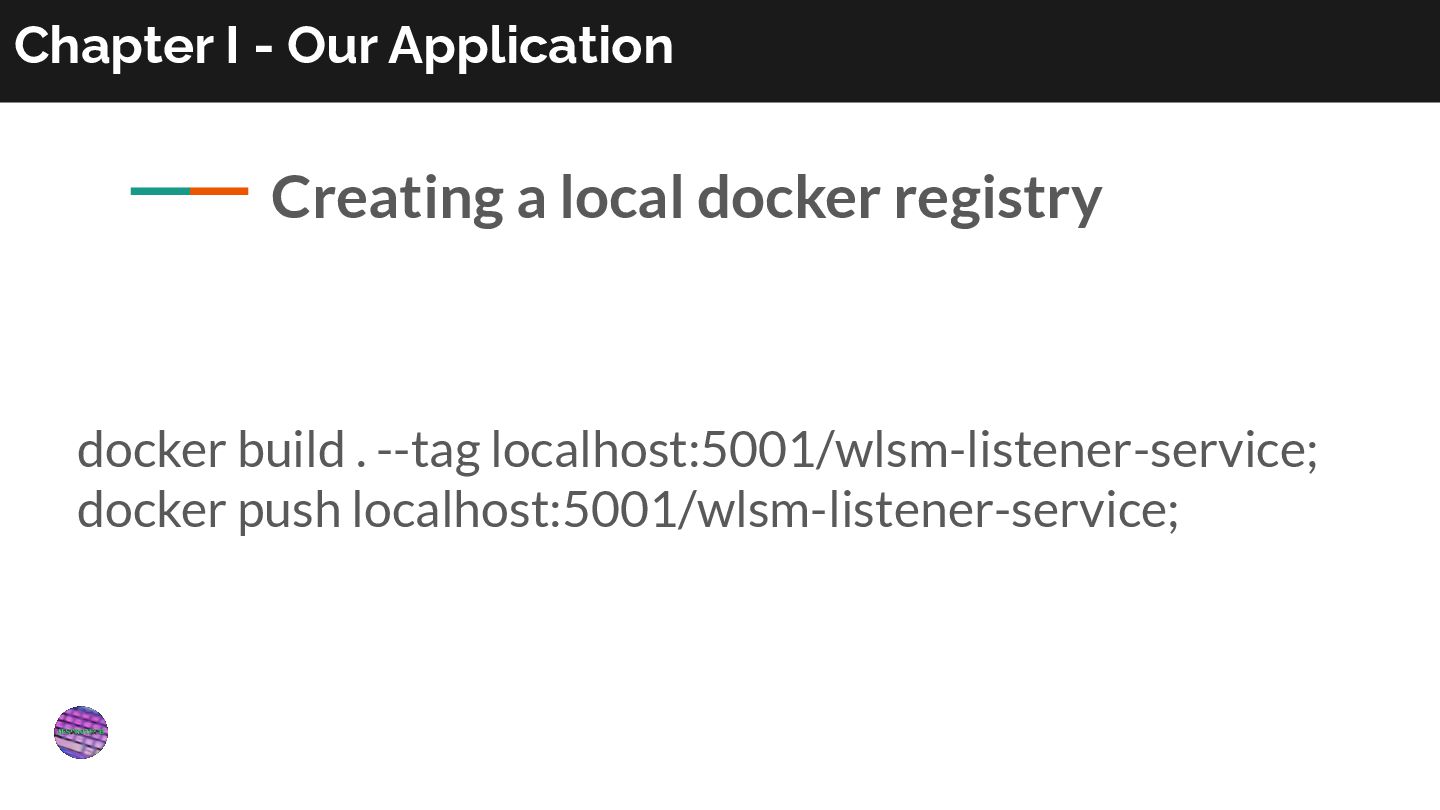
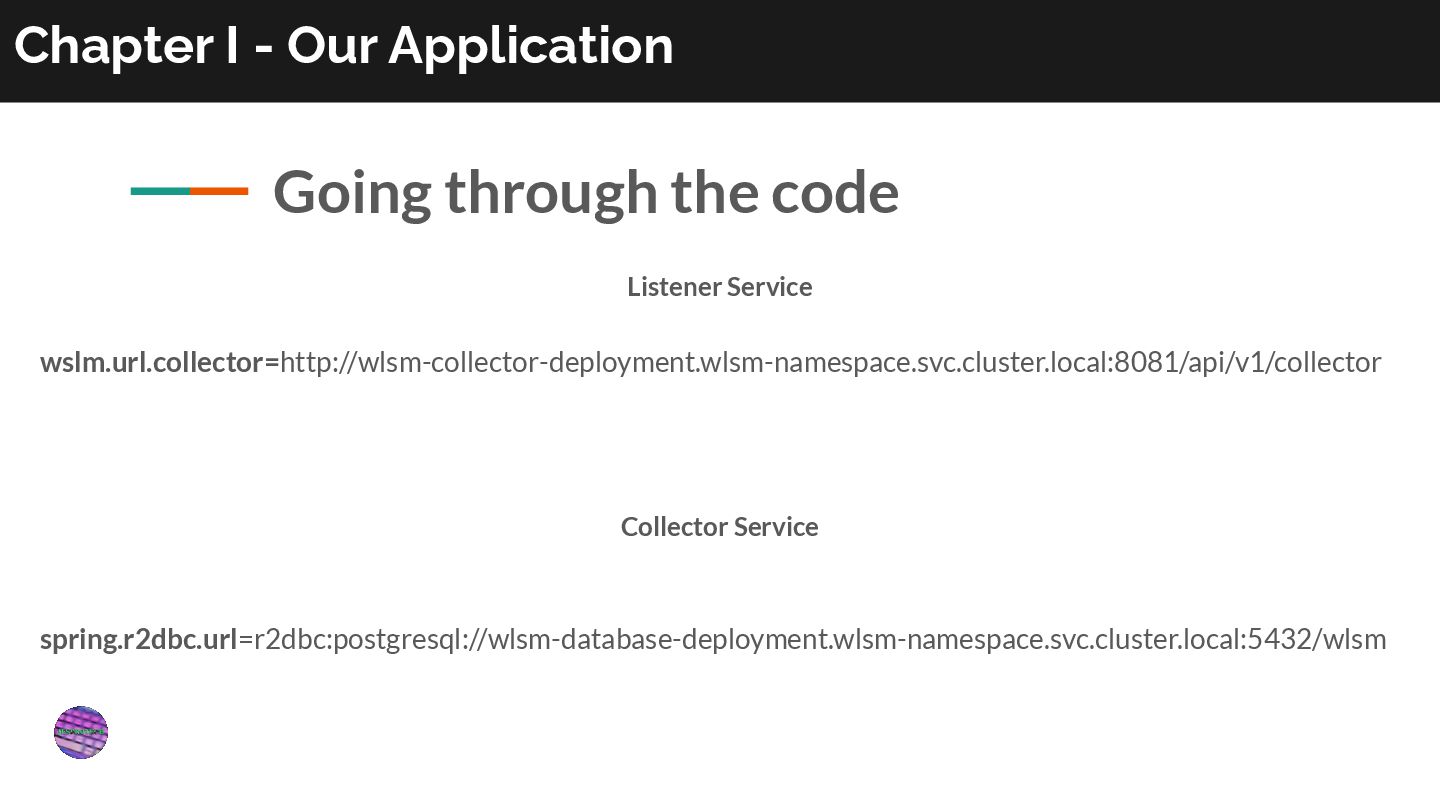
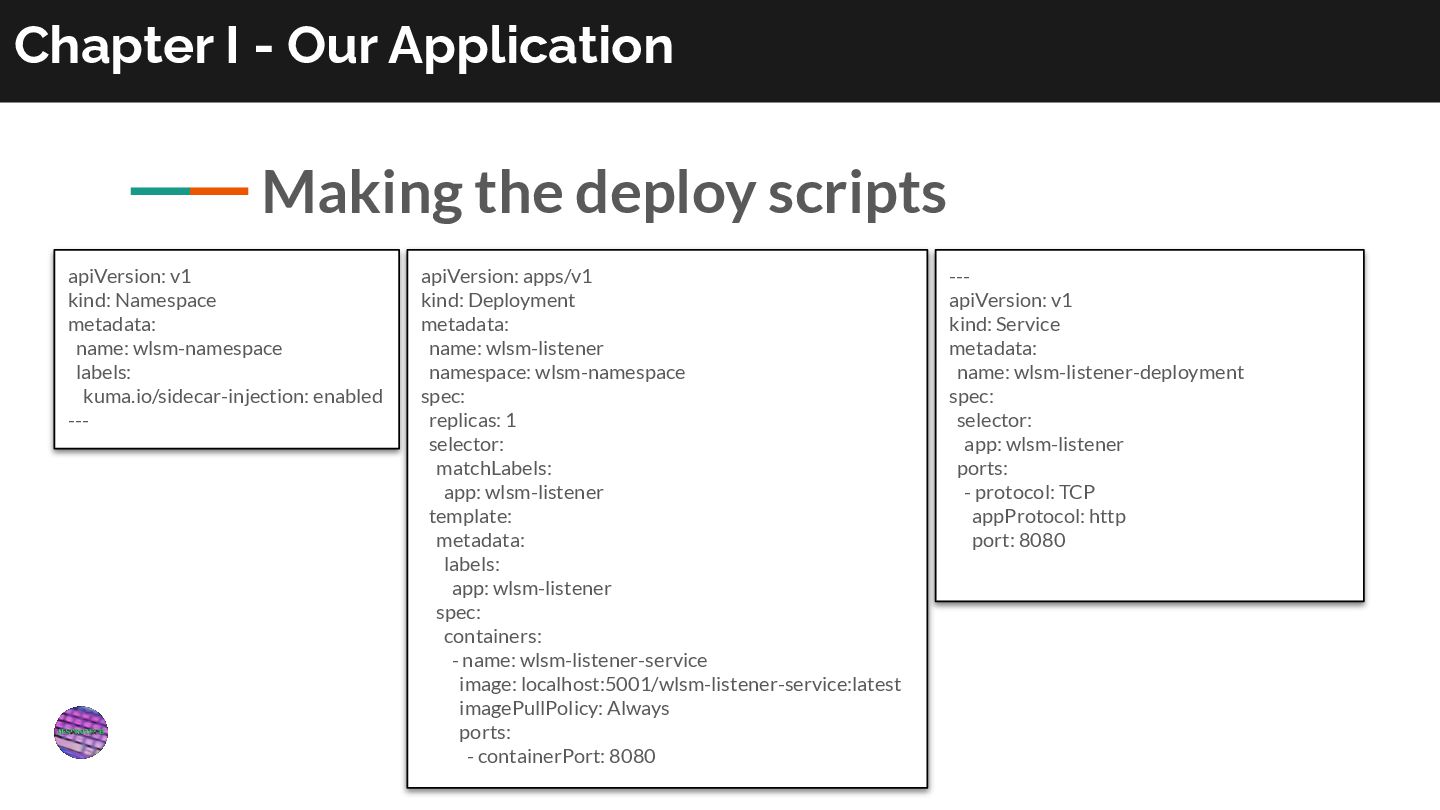
need a complete cluster and a functional application system 01 | Our application 02 | Installing all commands 03 | Creating a Cluster 04 | Creating a local docker registry 05 | Going through the code 06 | Making the deploy scripts 07 | Running the Demo application
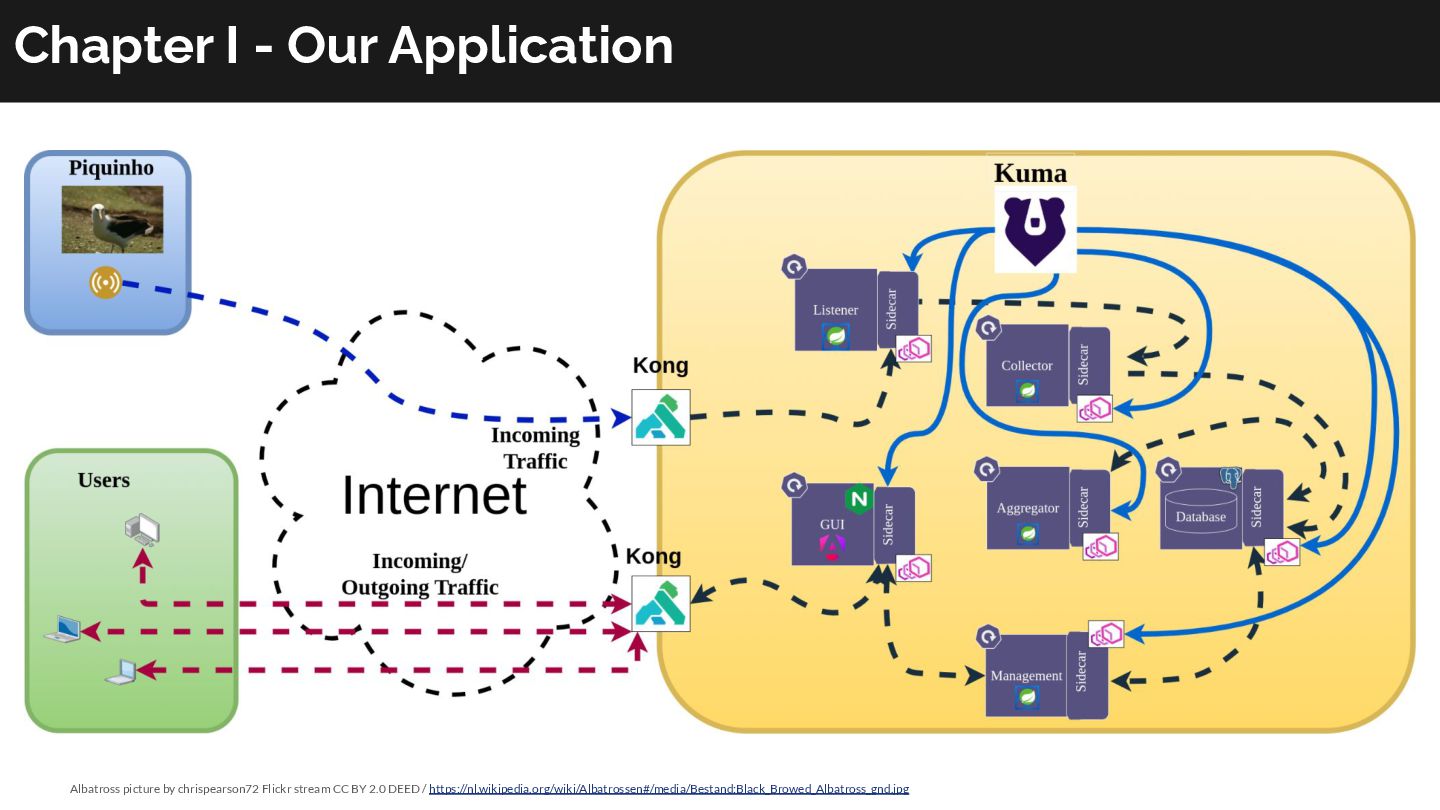
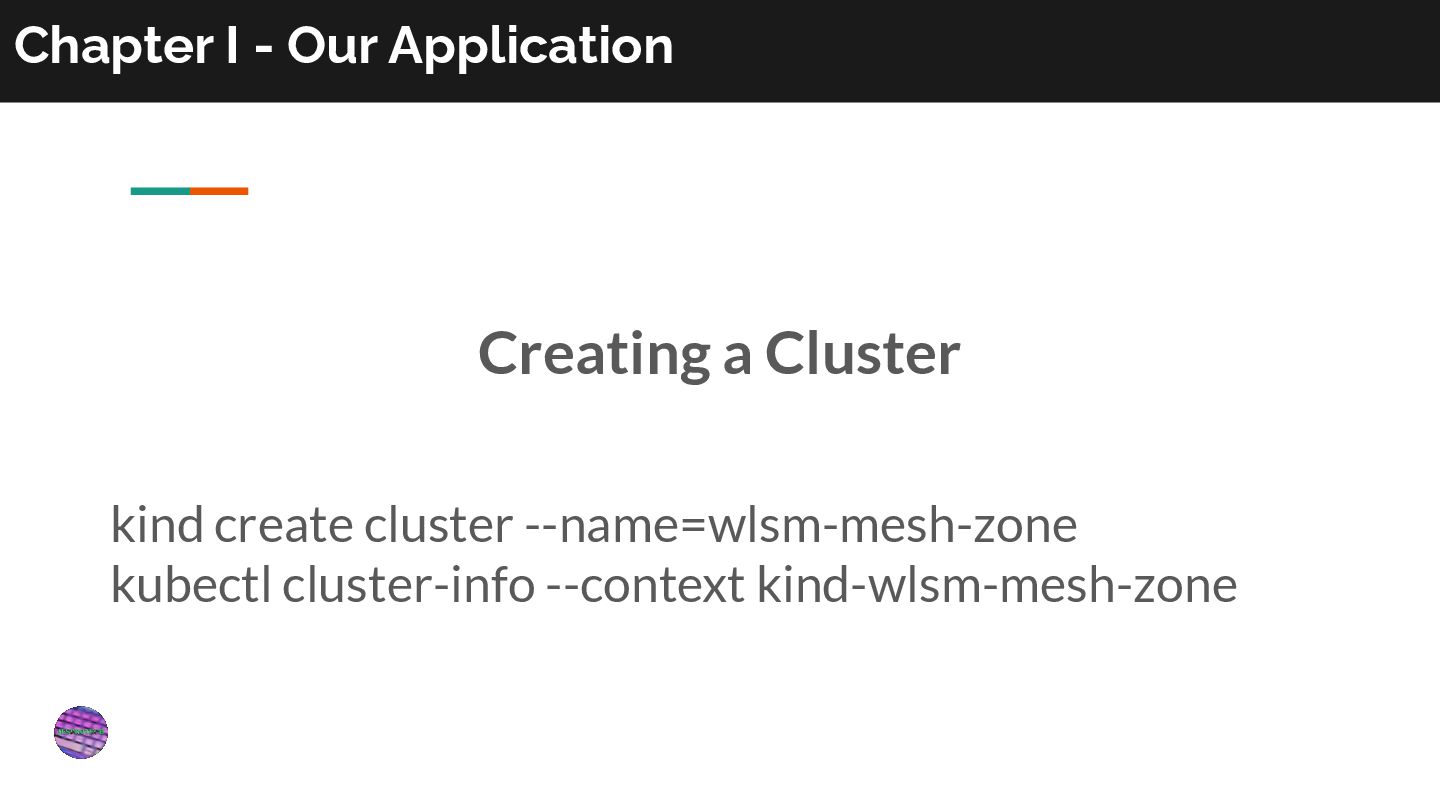
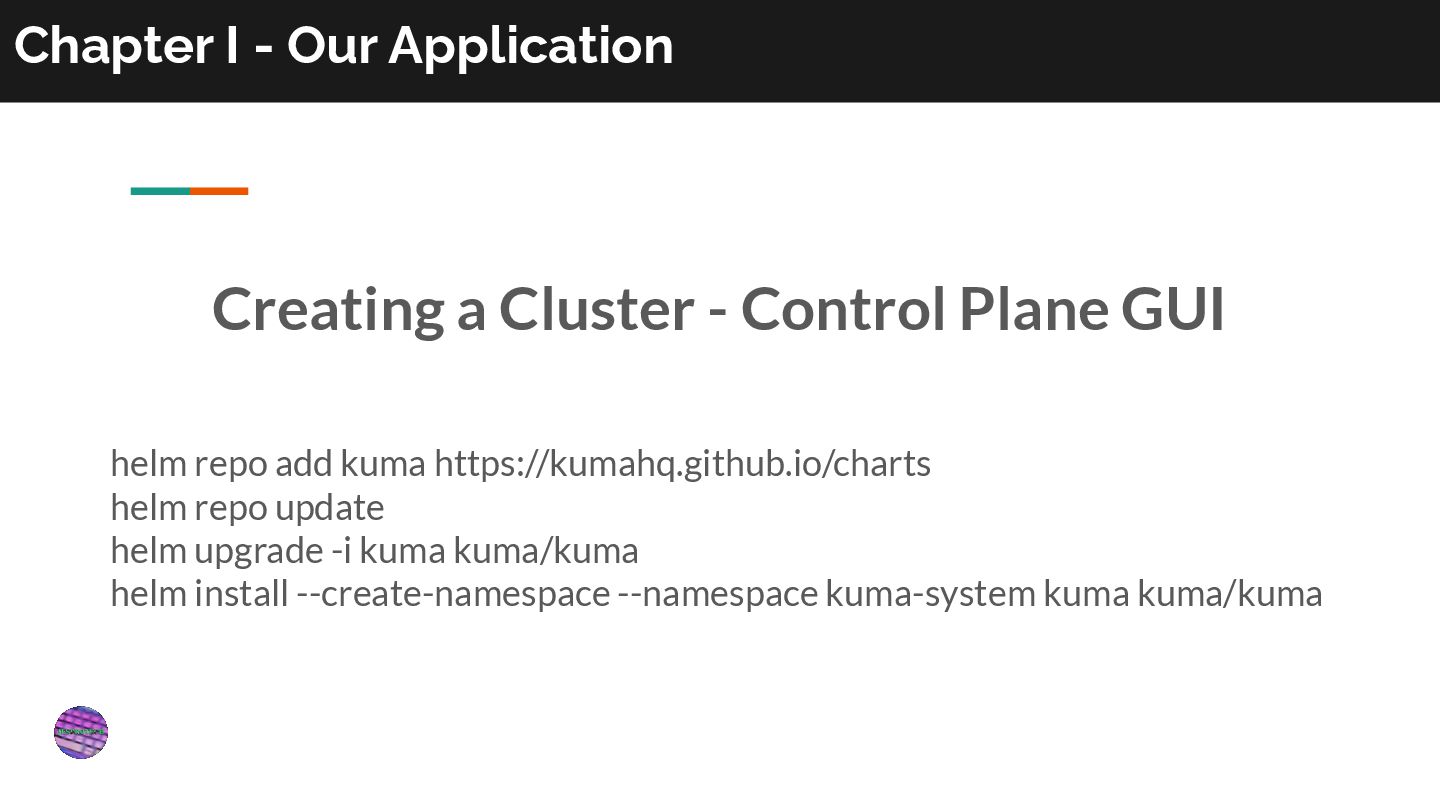
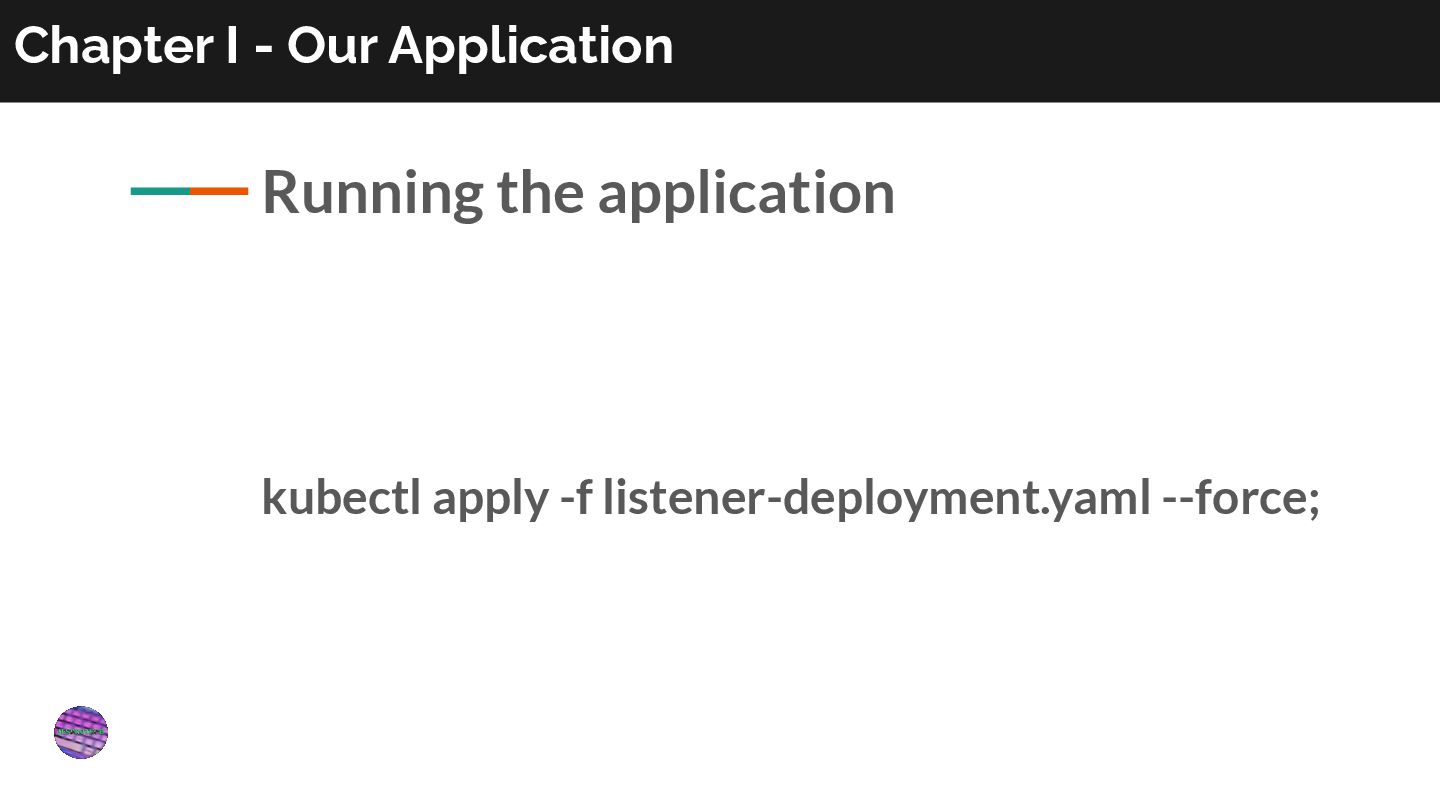
get our pods running. This will be achieved with kind. (kubernetes in docker) 3 A way to manage and configure our pods. This will be achieved with kubectl 2 A local registry that we can access inside our deployment environment. This will be achieved with kind 4 A command to allow Kuma to install the environment and inject the sidecars. This will be achieved with kumactl. Chapter I - Our Application
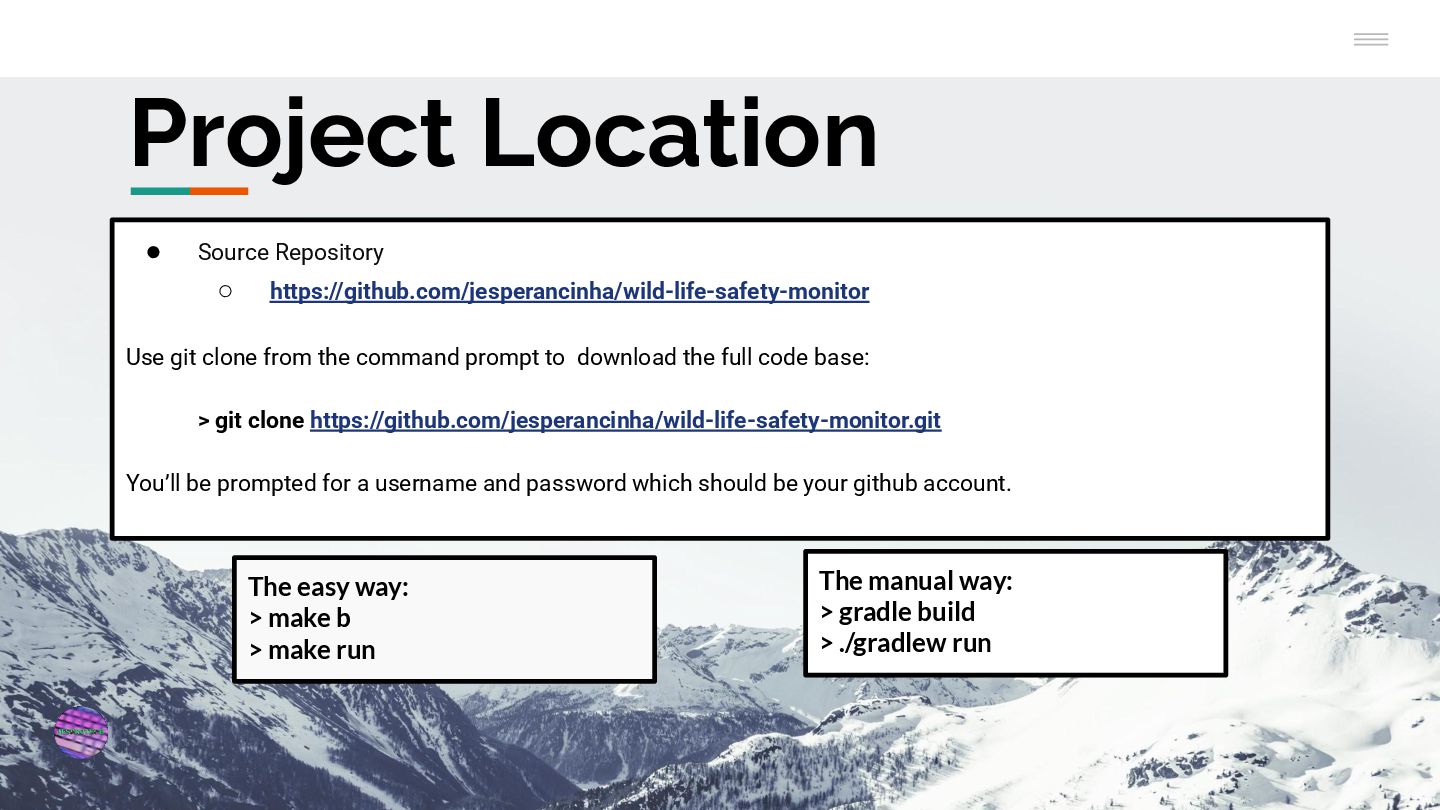
command prompt to download the full code base: > git clone https://github.com/jesperancinha/wild-life-safety-monitor.git You’ll be prompted for a username and password which should be your github account. The easy way: > make b > make run The manual way: > gradle build > ./gradlew run Project Location