Share
Embed
Using Apollo with ReactJS and GraphQL
Slides for a talk that I gave at the TalkJS Singapore June Meetup: https://www.meetup.com/Singapore-JS/events/240521034/
Code can be found here: https://github.com/mbrochh/react-apollo-graphql-demo
Video can be found here: https://engineers.sg/video/using-apollo-with-reactjs-and-graphql-singaporejs--1821
Martin Brochhaus
June 21, 2017
Transcript
27 slides
-
WHOAMI ▸ Martin Brochhaus ▸ CTO of The Artling ▸
Founder of Bitlab Studio ▸ @mbrochh ▸ [email protected] ▸ [email protected] 2 -
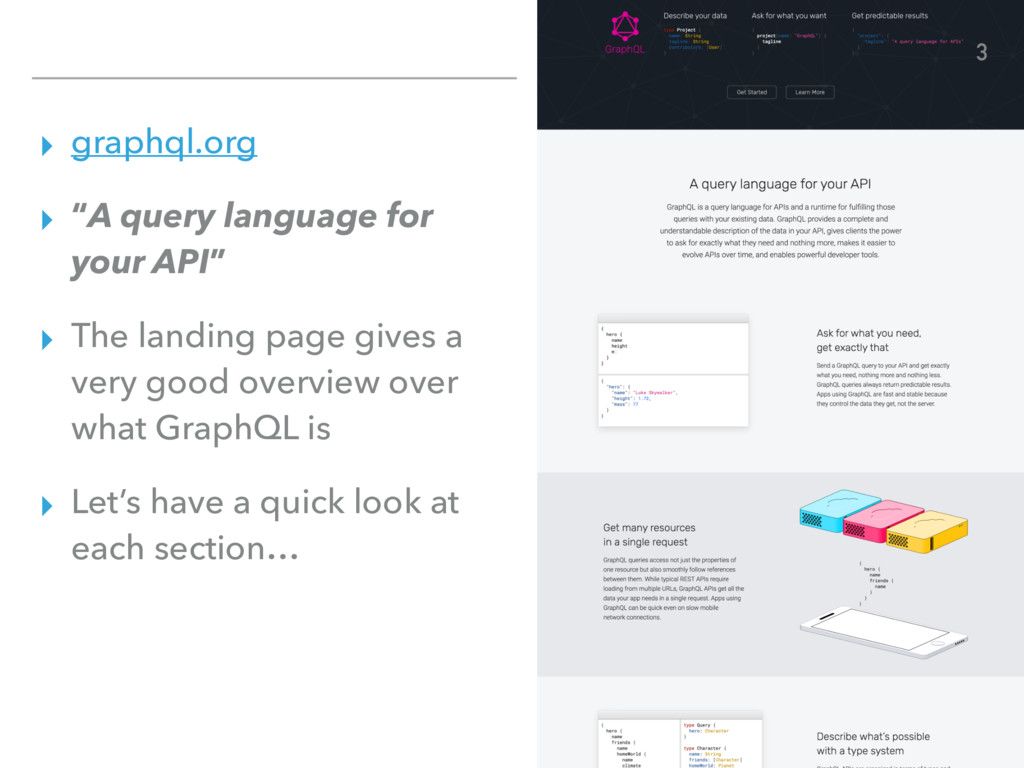
▸ graphql.org ▸ “A query language for your API” ▸
The landing page gives a very good overview over what GraphQL is ▸ Let’s have a quick look at each section… 3 -
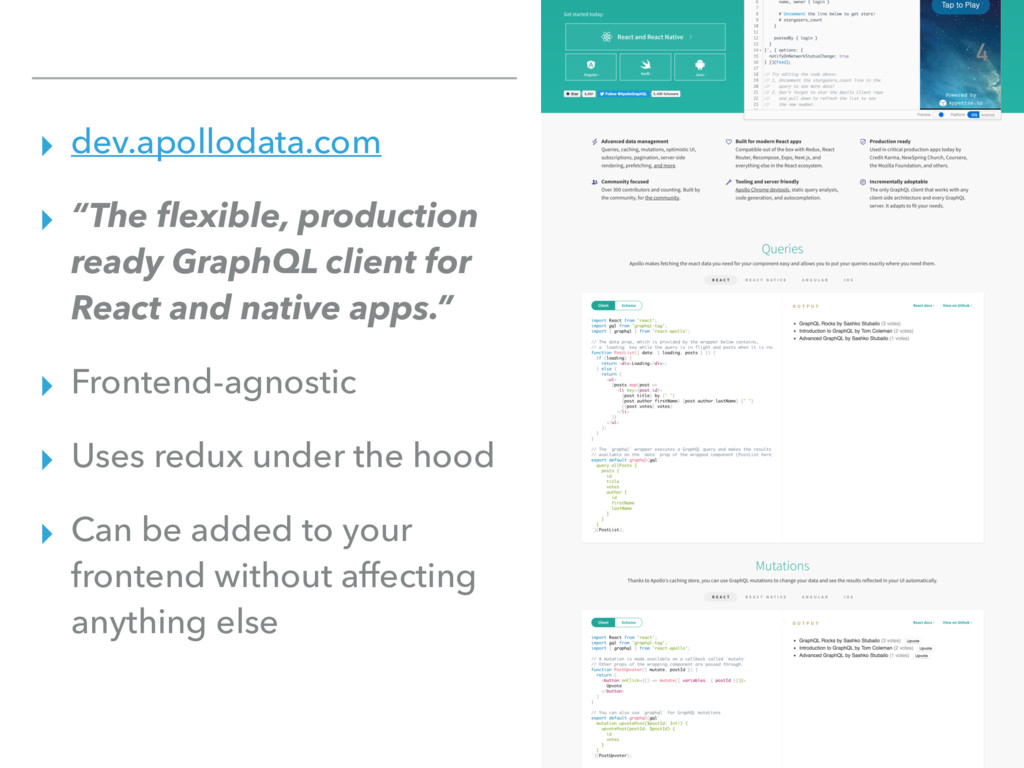
▸ dev.apollodata.com ▸ “The flexible, production ready GraphQL client for
React and native apps.” ▸ Frontend-agnostic ▸ Uses redux under the hood ▸ Can be added to your frontend without affecting anything else 4 -
First, let’s get a local GraphQL backend server I like
using Django, so I prepared one that you can simply clone and run… 5 -
CLONE REPOSITORY cd ~/Projects/ git clone [email protected]:mbrochh/react-apollo-graphql-demo.git cd react—apollo—graphql-demo/backend mkvirtualenv
react-apollo-graphql-demo pip install -r requirements.txt ./manage.py runserver 0.0.0.0:8000 6 ▸ After these steps, you should be able to browse to “0.0.0.0:8000/graphiql” -
Next, let’s create a new project for our ReactJS frontend
You can start using Apollo today! It will not affect your existing code and you can migrate gradually, one component at a time 7 -
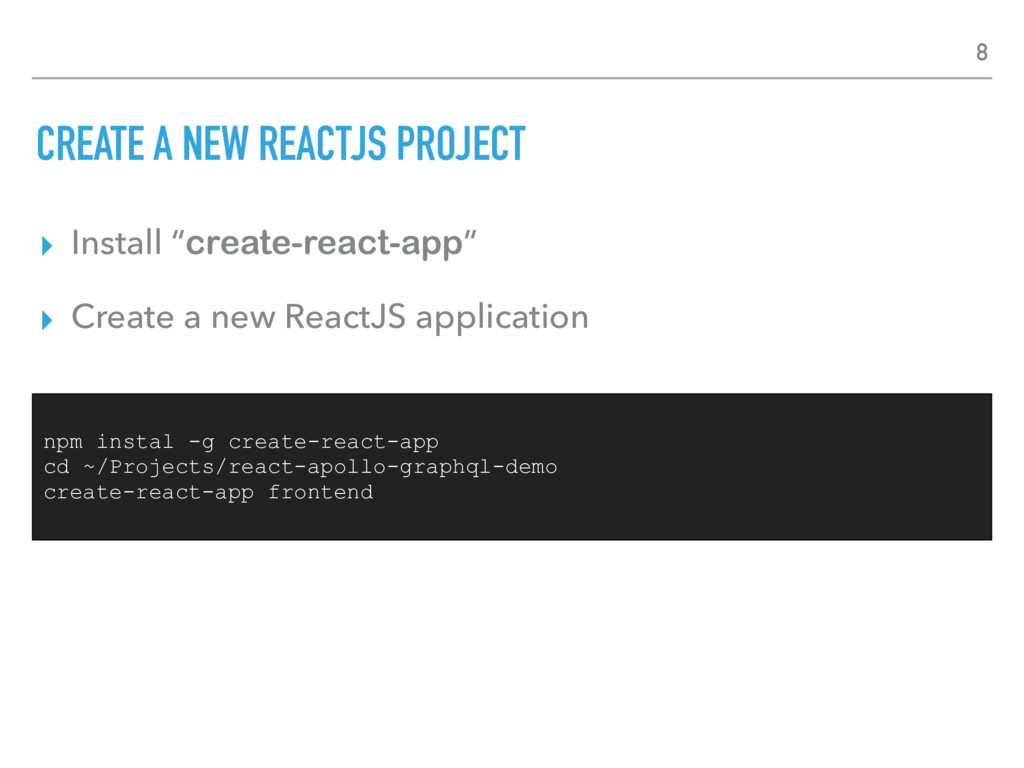
CREATE A NEW REACTJS PROJECT ▸ Install “create-react-app” ▸ Create
a new ReactJS application npm instal -g create-react-app cd ~/Projects/react-apollo-graphql-demo create-react-app frontend 8 -
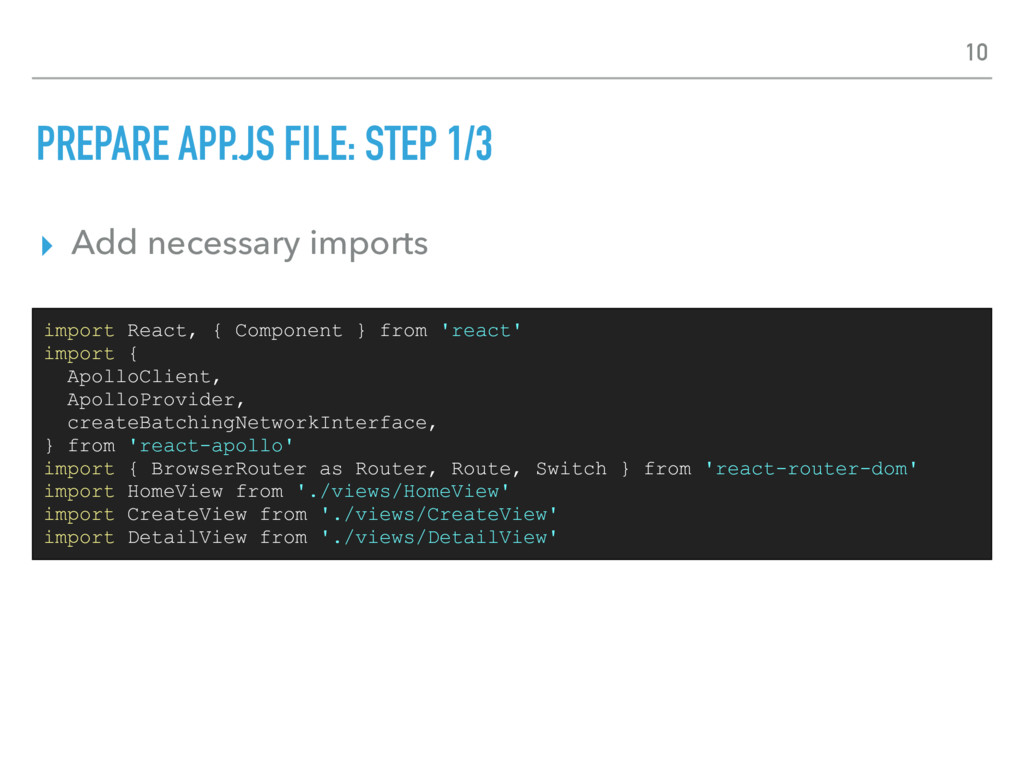
PREPARE APP.JS FILE: STEP 1/3 ▸ Add necessary imports import
React, { Component } from 'react' import { ApolloClient, ApolloProvider, createBatchingNetworkInterface, } from 'react-apollo' import { BrowserRouter as Router, Route, Switch } from 'react-router-dom' import HomeView from './views/HomeView' import CreateView from './views/CreateView' import DetailView from './views/DetailView' 10 -
PREPARE APP.JS FILE: STEP 2/3 ▸ Setup the Apollo client
const networkInterface = createBatchingNetworkInterface({ uri: ‘http://0.0.0.0:8000/gql/', batchInterval: 10, opts: { credentials: 'same-origin', }, }) const client = new ApolloClient({ networkInterface: networkInterface, }) 11 -
PREPARE APP.JS FILE: STEP 3/3 ▸ Setup your Routes class
App extends Component { render() { return ( <ApolloProvider client={client}> <Router> <div> <Route exact path="/" component={HomeView} /> <Switch> <Route exact path="/messages/create/" component={CreateView} /> <Route exact path="/messages/:id/" component={DetailView} /> </Switch> </div> </Router> </ApolloProvider> ) } } export default App 12 -
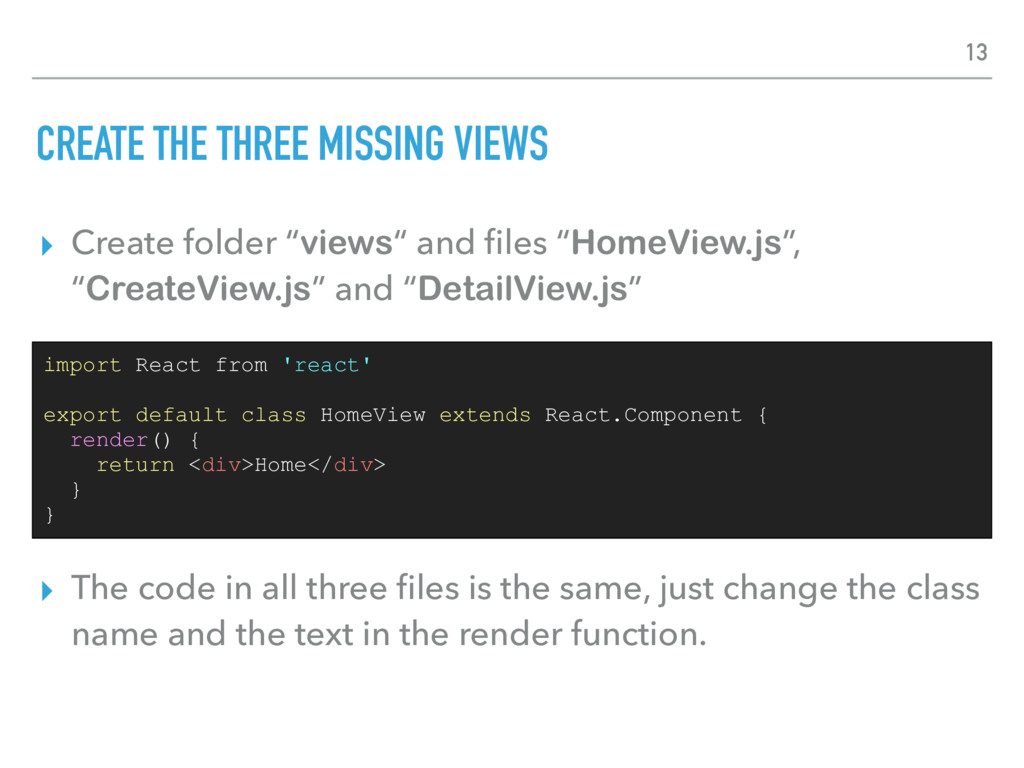
CREATE THE THREE MISSING VIEWS ▸ Create folder “views“ and
files “HomeView.js”, “CreateView.js” and “DetailView.js” import React from 'react' export default class HomeView extends React.Component { render() { return <div>Home</div> } } 13 ▸ The code in all three files is the same, just change the class name and the text in the render function. -
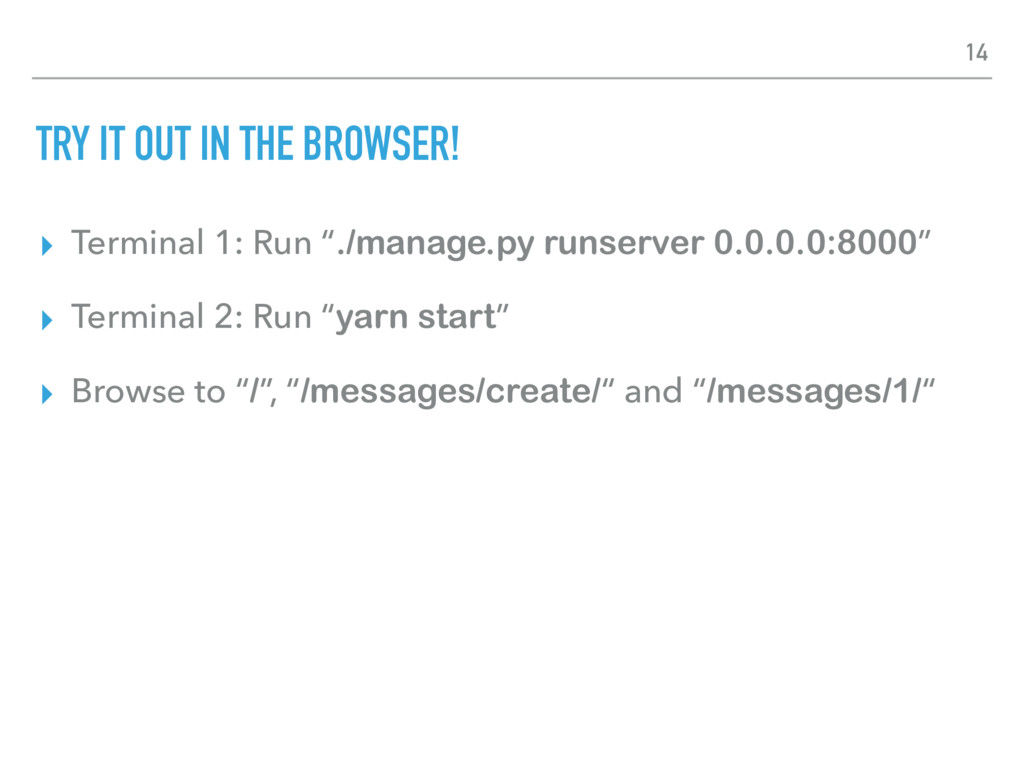
TRY IT OUT IN THE BROWSER! ▸ Terminal 1: Run
“./manage.py runserver 0.0.0.0:8000” ▸ Terminal 2: Run “yarn start” ▸ Browse to “/”, “/messages/create/“ and “/messages/1/“ 14 -
How to query data? 15 slides and still no GraphQL?
Let’s get going! 15 -
ADD A QUERY TO YOUR HOMEVIEW COMPONENT ▸ Import “gql”
and “graphql” and create the query # File: HomeView.js import { gql, graphql } from 'react-apollo' const query = gql`{ allMessages { edges { node { id message } } } }` 16 -
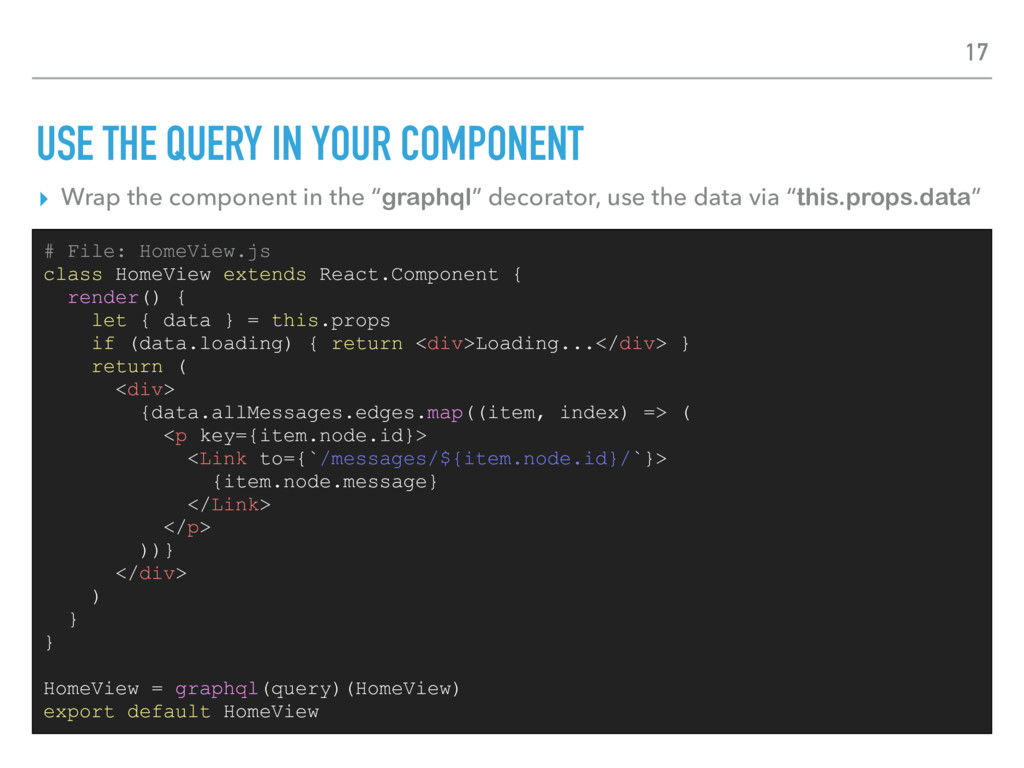
USE THE QUERY IN YOUR COMPONENT ▸ Wrap the component
in the “graphql” decorator, use the data via “this.props.data” # File: HomeView.js class HomeView extends React.Component { render() { let { data } = this.props if (data.loading) { return <div>Loading...</div> } return ( <div> {data.allMessages.edges.map((item, index) => ( <p key={item.node.id}> <Link to={`/messages/${item.node.id}/`}> {item.node.message} </Link> </p> ))} </div> ) } } HomeView = graphql(query)(HomeView) export default HomeView 17 -
How to query data with variables? What if I don’t
want a list of all items, but one specific item? 18 -
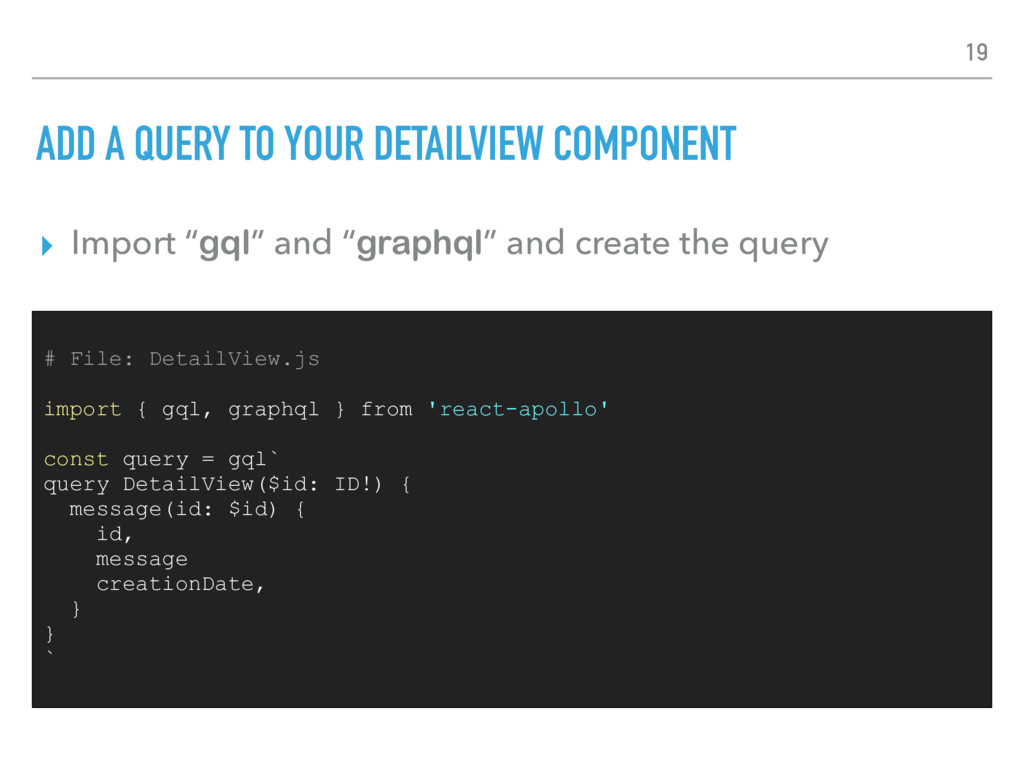
ADD A QUERY TO YOUR DETAILVIEW COMPONENT ▸ Import “gql”
and “graphql” and create the query # File: DetailView.js import { gql, graphql } from 'react-apollo' const query = gql` query DetailView($id: ID!) { message(id: $id) { id, message creationDate, } } ` 19 -
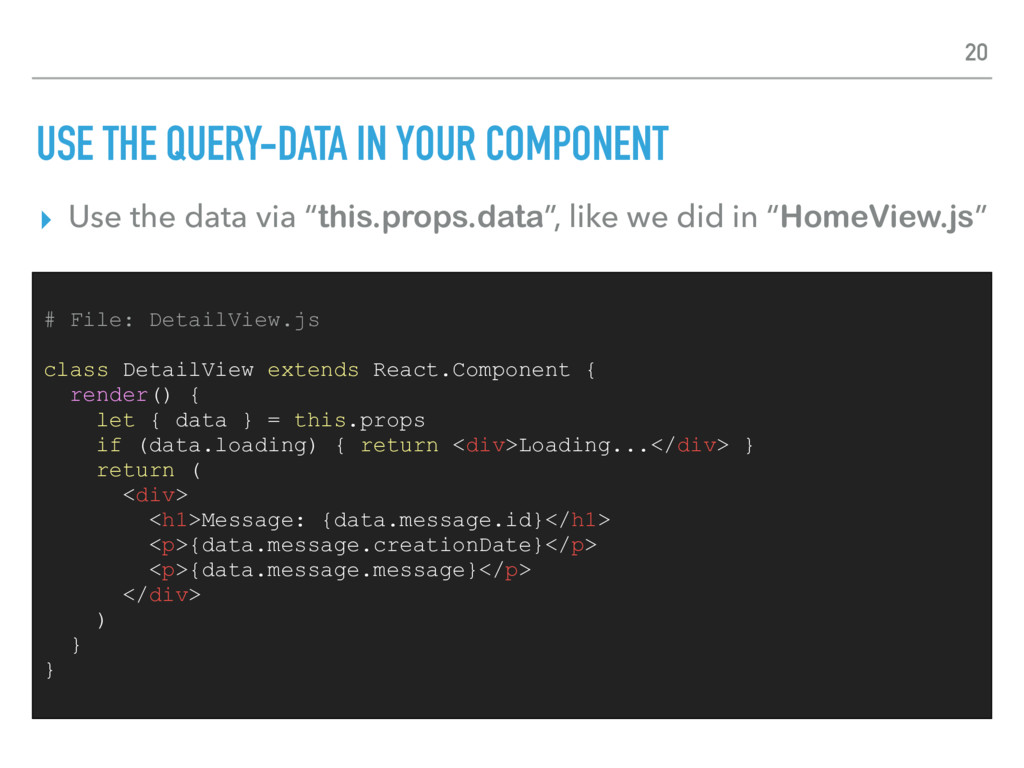
USE THE QUERY-DATA IN YOUR COMPONENT ▸ Use the data
via “this.props.data”, like we did in “HomeView.js” # File: DetailView.js class DetailView extends React.Component { render() { let { data } = this.props if (data.loading) { return <div>Loading...</div> } return ( <div> <h1>Message: {data.message.id}</h1> <p>{data.message.creationDate}</p> <p>{data.message.message}</p> </div> ) } } 20 -
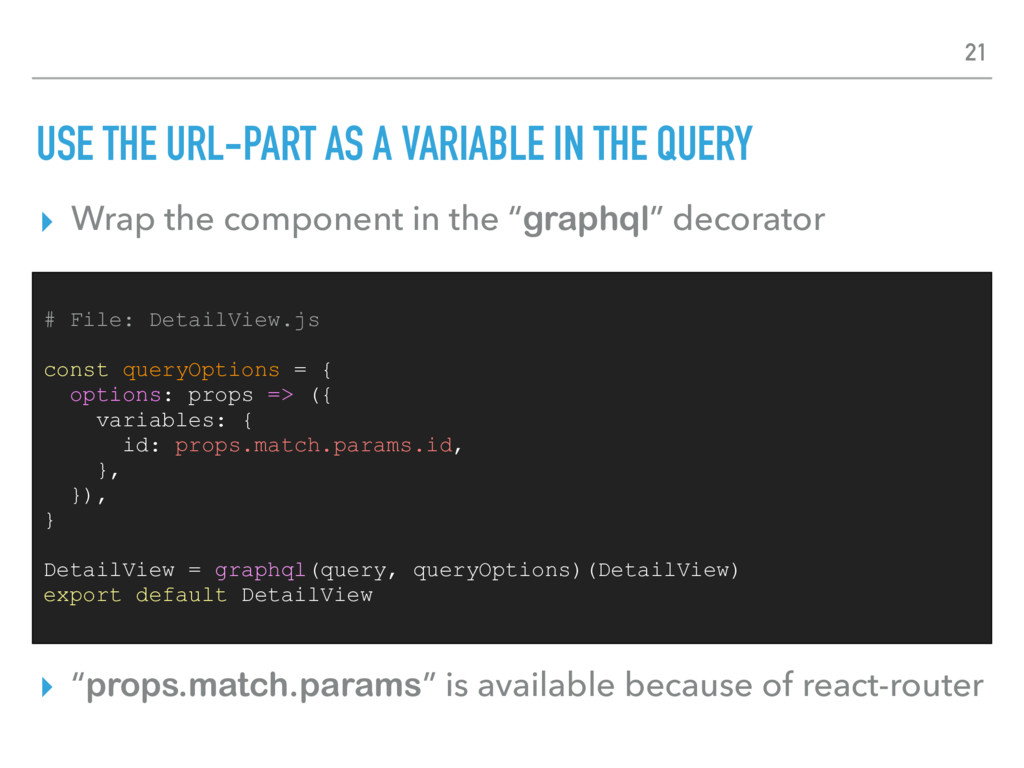
USE THE URL-PART AS A VARIABLE IN THE QUERY ▸
Wrap the component in the “graphql” decorator # File: DetailView.js const queryOptions = { options: props => ({ variables: { id: props.match.params.id, }, }), } DetailView = graphql(query, queryOptions)(DetailView) export default DetailView 21 ▸ “props.match.params” is available because of react-router -
How to write data? In GraphQL-land, we call that a
“Mutation”. 22 -
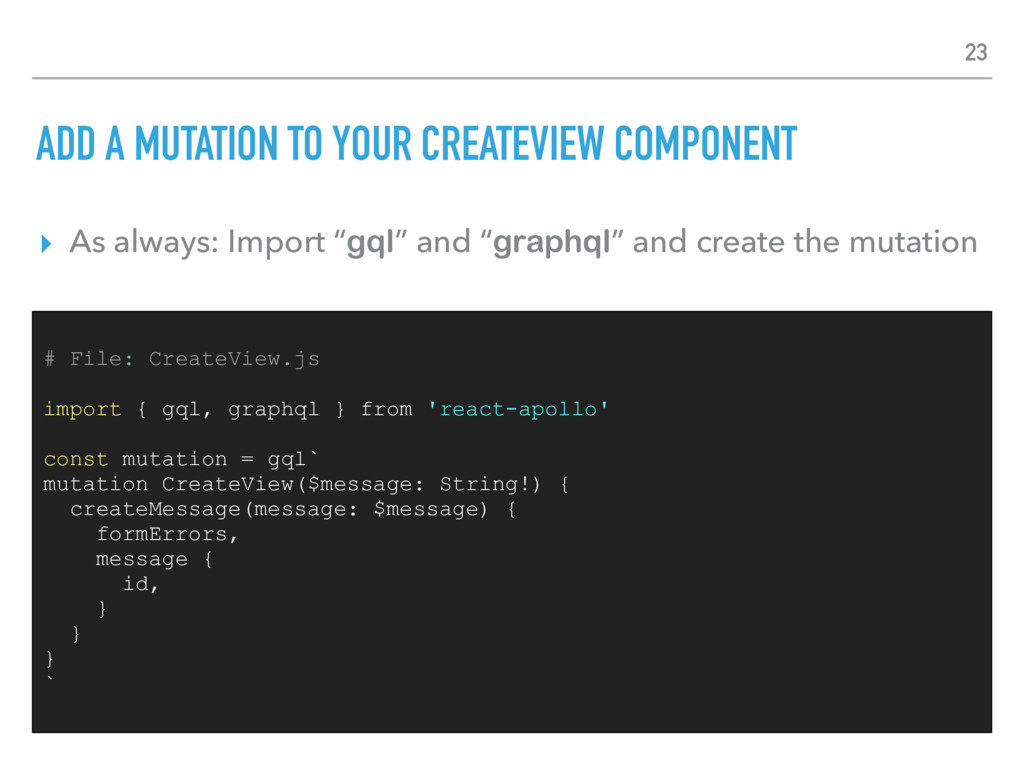
ADD A MUTATION TO YOUR CREATEVIEW COMPONENT ▸ As always:
Import “gql” and “graphql” and create the mutation # File: CreateView.js import { gql, graphql } from 'react-apollo' const mutation = gql` mutation CreateView($message: String!) { createMessage(message: $message) { formErrors, message { id, } } } ` 23 -
ADD A SUBMIT HANDLER TO YOUR COMPONENT # File: CreateView.js
class CreateView extends React.Component { handleSubmit(e) { e.preventDefault() let formData = new FormData(this.form) this.props .mutate({ variables: { message: formData.get('message') } }) .then(res => { if (res.data.createMessage.formErrors === null) { window.location.replace(`/`) } else { console.log(res.data.createMessage.formErrors) } }) .catch(err => { console.log('Network error!') }) } 24 -
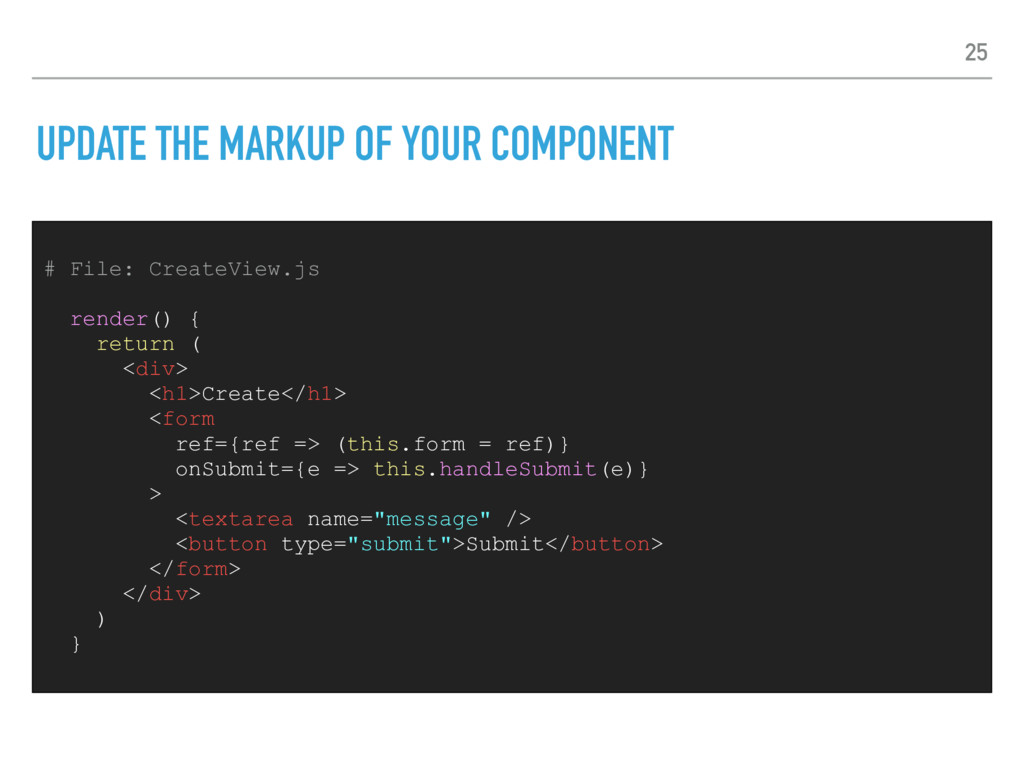
UPDATE THE MARKUP OF YOUR COMPONENT # File: CreateView.js render()
{ return ( <div> <h1>Create</h1> <form ref={ref => (this.form = ref)} onSubmit={e => this.handleSubmit(e)} > <textarea name="message" /> <button type="submit">Submit</button> </form> </div> ) } 25 -
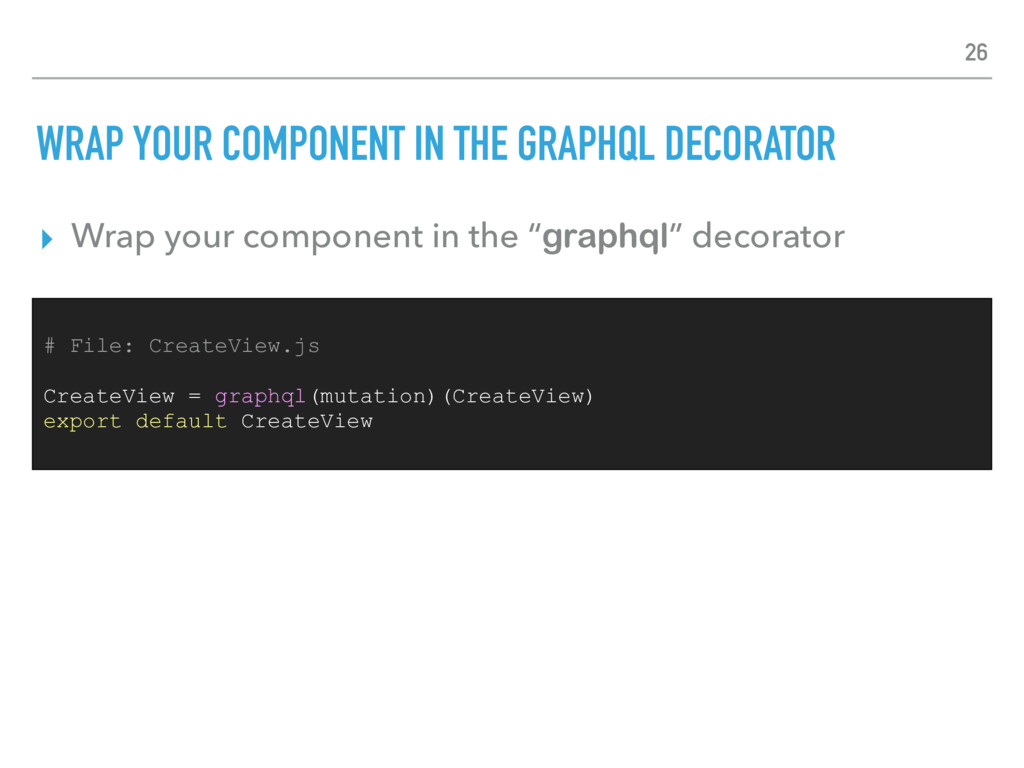
WRAP YOUR COMPONENT IN THE GRAPHQL DECORATOR ▸ Wrap your
component in the “graphql” decorator # File: CreateView.js CreateView = graphql(mutation)(CreateView) export default CreateView 26