Upgrade to Pro
— share decks privately, control downloads, hide ads and more …
Speaker Deck
Sign up for free
Menu
Search
Features
All features
Private URLs
Password Protection
Custom URLS
Scheduled publishing
Remove Branding
Restrict embedding
Deck Collections
Notes
Features
All features
Private URLs
Password Protection
Custom URLS
Scheduled publishing
Remove Branding
Restrict embedding
Deck Collections
Notes
Explore
Featured decks
Featured speakers
Programming
Technology
Storyboards
Explore
Featured decks
Featured speakers
Programming
Technology
Storyboards
Pricing
Search
Sign in
Sign up for free
モダンフロントエンド 開発研修
Search
Sponsored
·
SiteGround - Reliable hosting with speed, security, and support you can count on.
→
Recruit
PRO
August 28, 2025
Technology
10k
18
Share
Embed
Copy iframe code
Copy JS code
Copy link
Start on current slide
モダンフロントエンド 開発研修
2025年度リクルート エンジニアコース新人研修の講義資料です
Recruit
PRO
August 28, 2025
Transcript
65 slides
モダンフロントエンド 開発研修 フロントエンド界隈の当たり前を知る
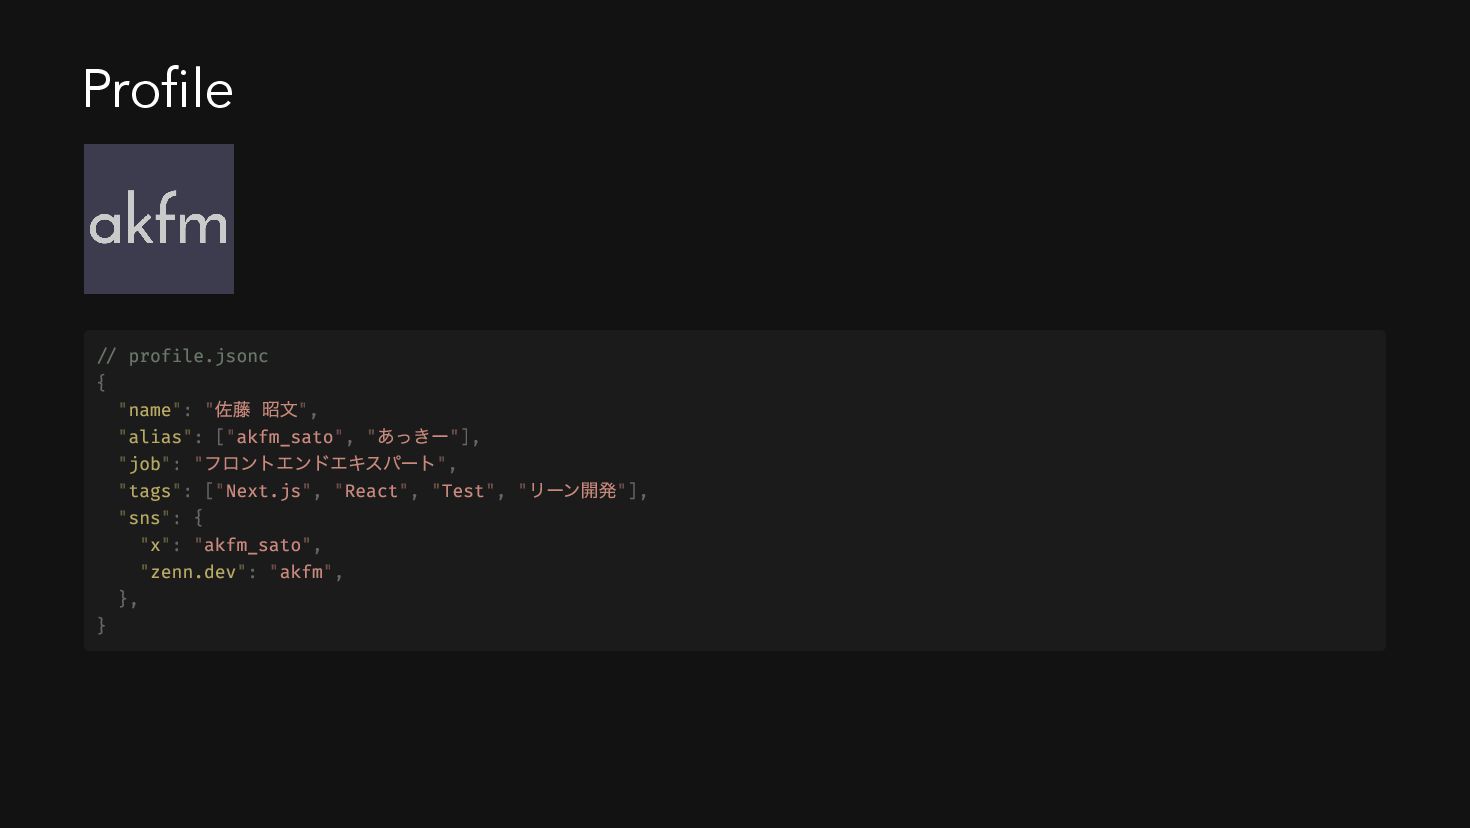
Profile // profile.jsonc { "name": " 佐藤 昭文", "alias": ["akfm_sato",
" あっきー"], "job": " フロントエンドエキスパート", "tags": ["Next.js", "React", "Test", " リーン開発"], "sns": { "x": "akfm_sato", "zenn.dev": "akfm", }, }
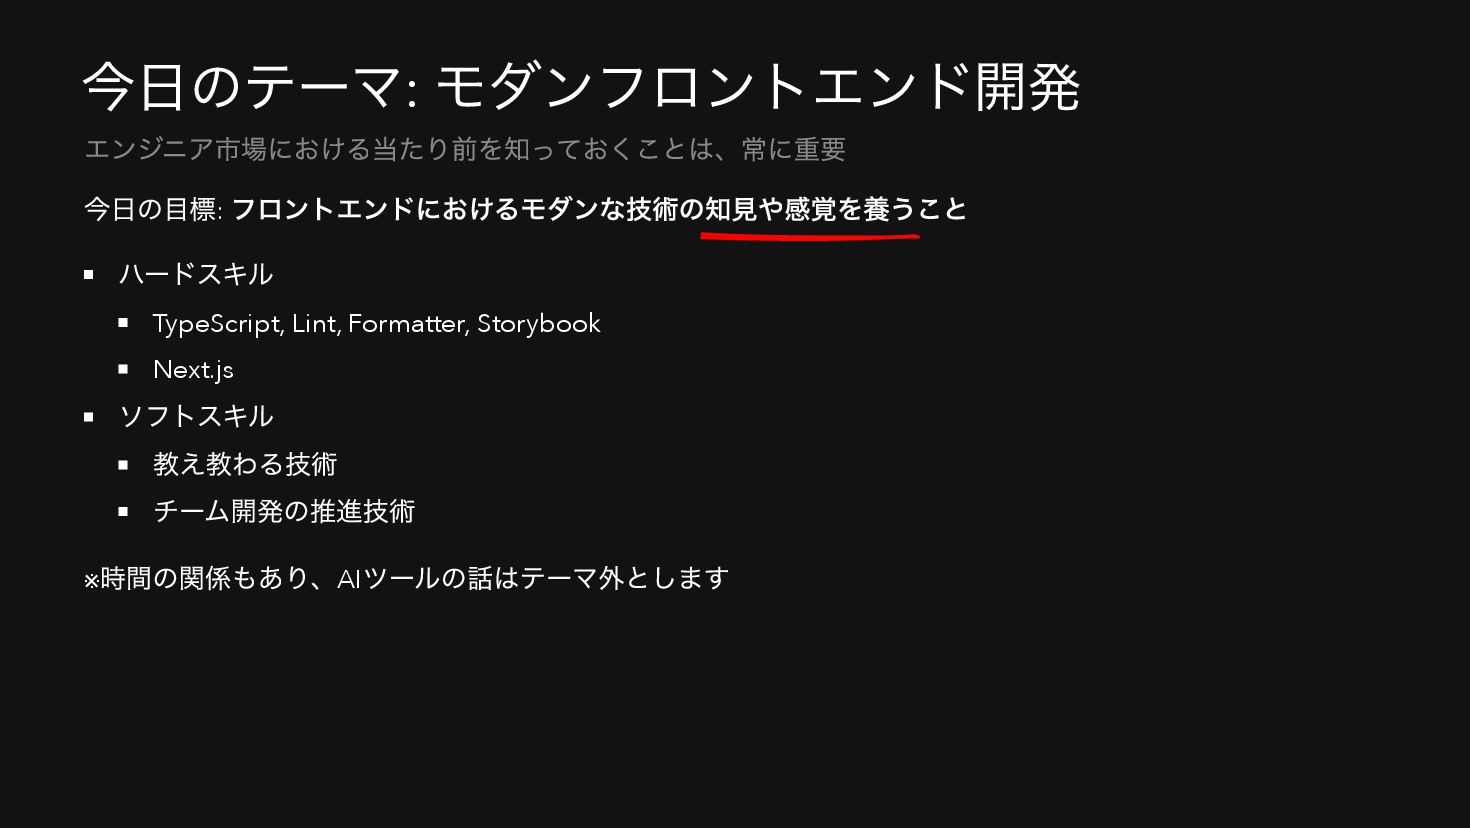
今日のテーマ: モダンフロントエンド開発 今日の目標: フロントエンドにおけるモダンな技術の知見や感覚を養うこと ハードスキル TypeScript, Lint, Formatter, Storybook Next.js
ソフトスキル 教え教わる技術 チーム開発の推進技術 ※ 時間の関係もあり、AI ツールの話はテーマ外とします エンジニア市場における当たり前を知っておくことは、常に重要
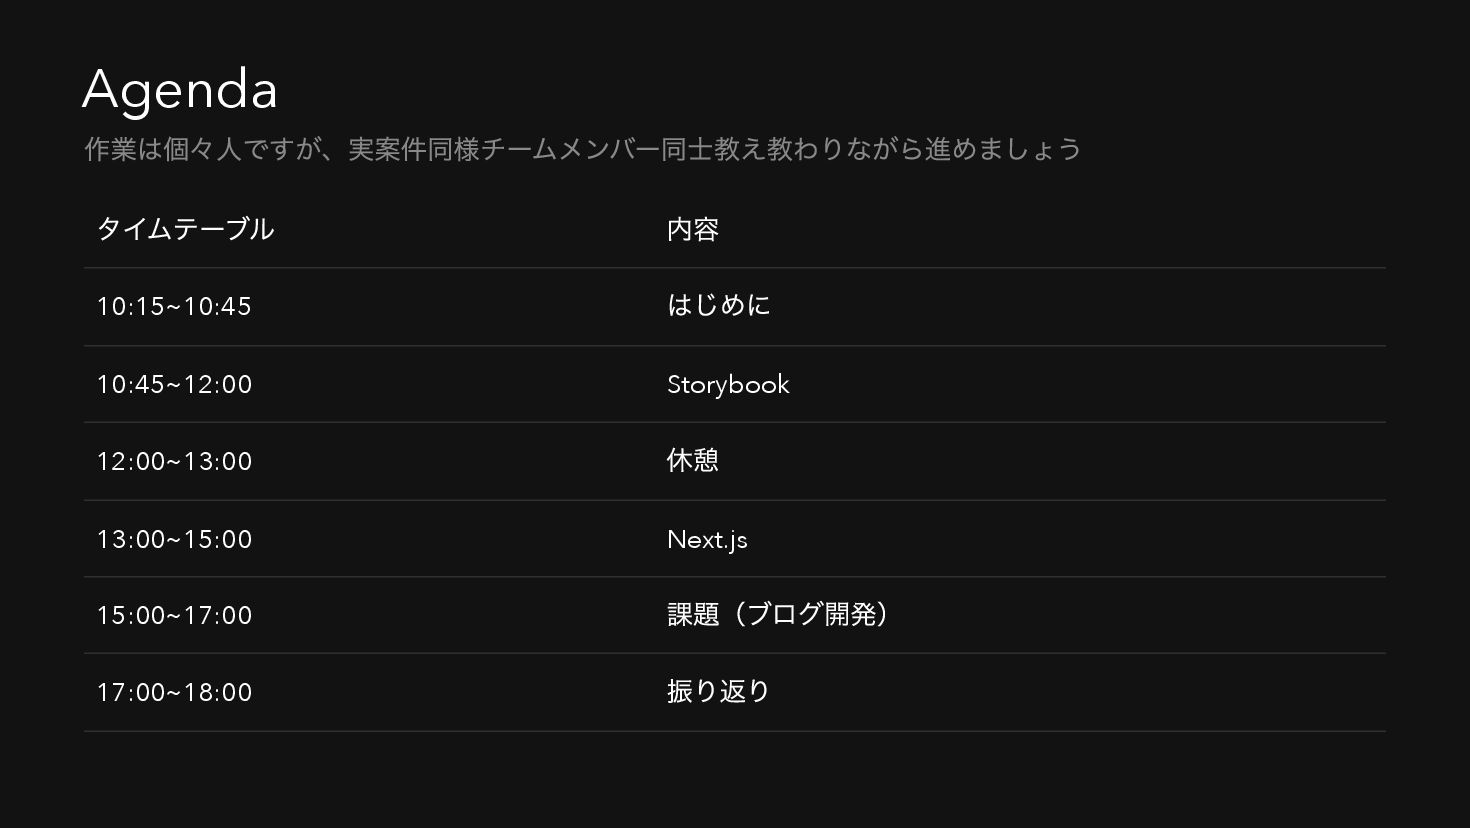
Agenda タイムテーブル 内容 10:15~10:45 はじめに 10:45~12:00 Storybook 12:00~13:00 休憩 13:00~15:00
Next.js 15:00~17:00 課題(ブログ開発) 17:00~18:00 振り返り 作業は個々人ですが、実案件同様チームメンバー同士教え教わりながら進めましょう
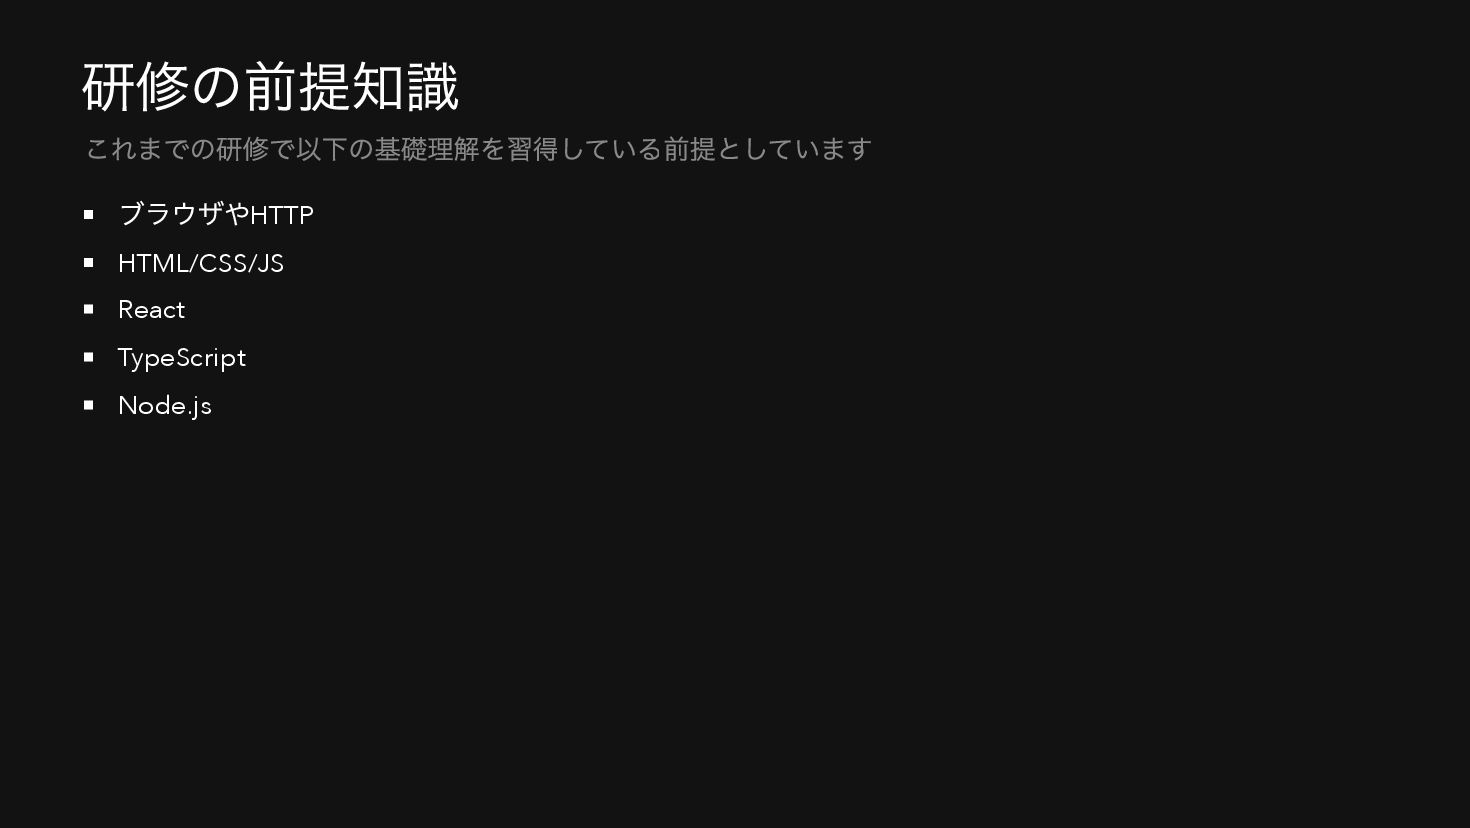
研修の前提知識 ブラウザやHTTP HTML/CSS/JS React TypeScript Node.js これまでの研修で以下の基礎理解を習得している前提としています
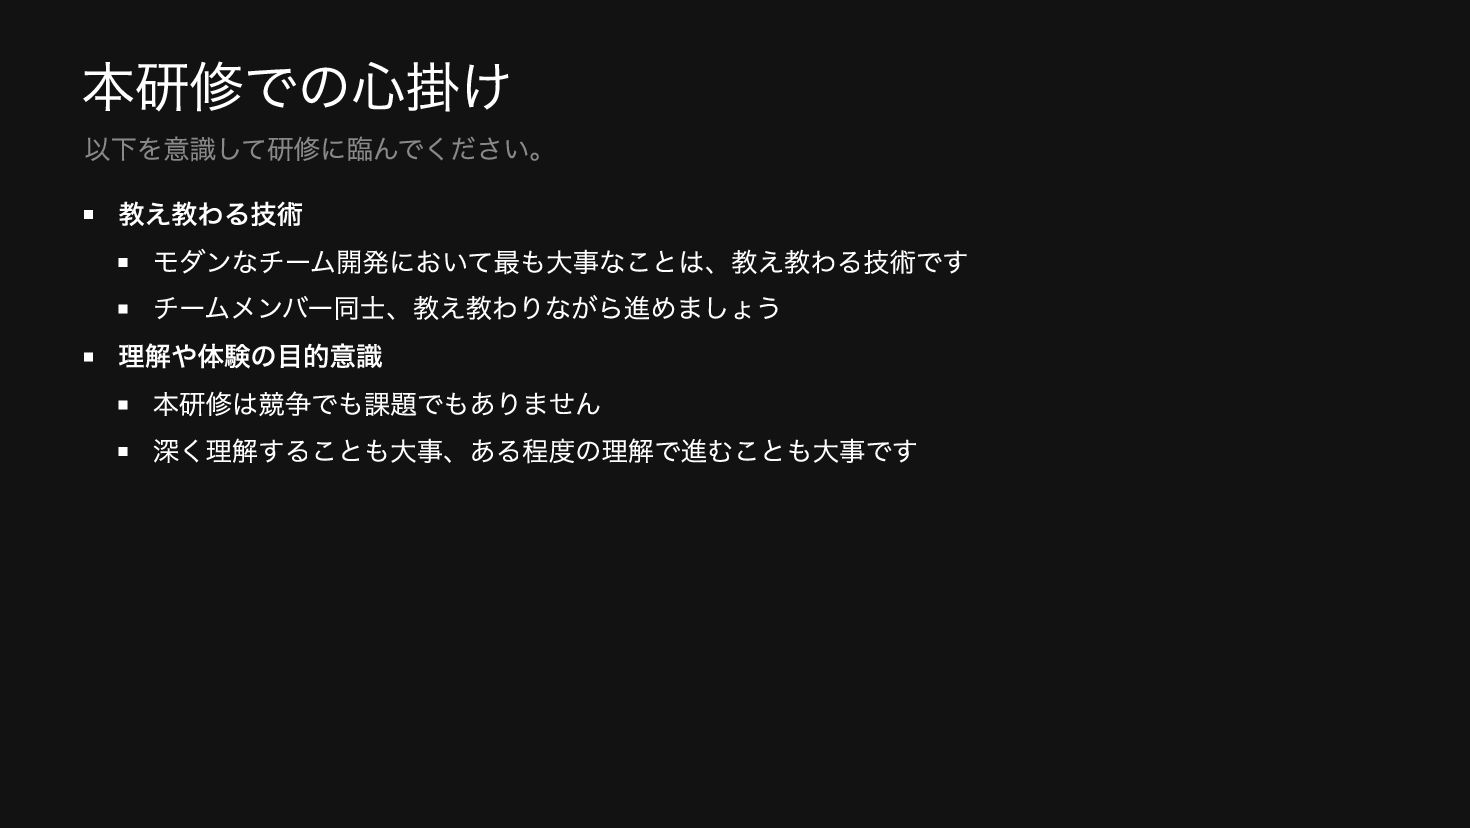
本研修での心掛け 教え教わる技術 モダンなチーム開発において最も大事なことは、教え教わる技術です チームメンバー同士、教え教わりながら進めましょう 理解や体験の目的意識 本研修は競争でも課題でもありません 深く理解することも大事、ある程度の理解で進むことも大事です 以下を意識して研修に臨んでください。
はじめに 我々はなぜモダンな技術を学ばなければならないのか
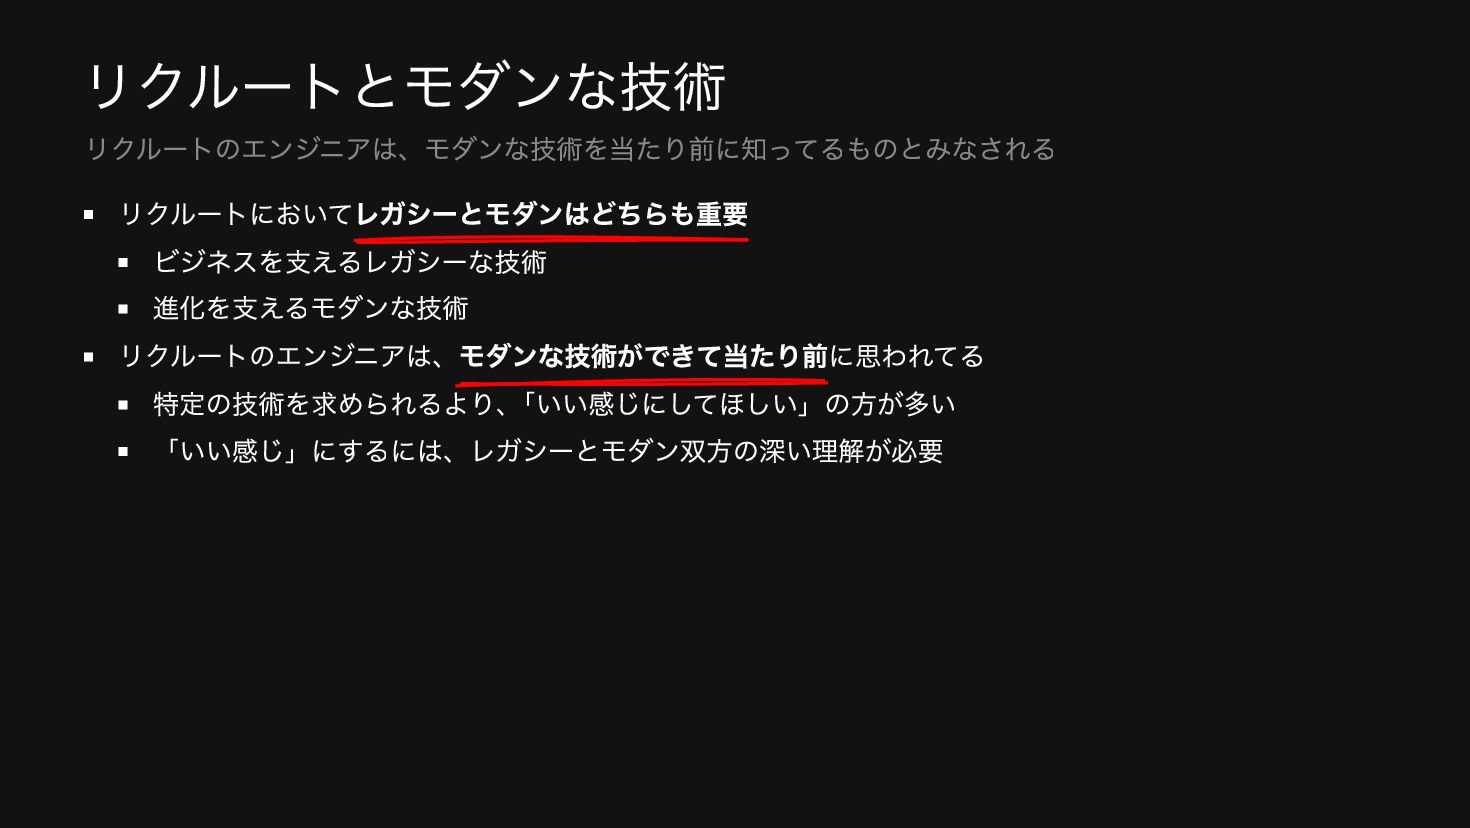
リクルートとモダンな技術 リクルートにおいてレガシーとモダンはどちらも重要 ビジネスを支えるレガシーな技術 進化を支えるモダンな技術 リクルートのエンジニアは、モダンな技術ができて当たり前に思われてる 特定の技術を求められるより、 「いい感じにしてほしい」の方が多い 「いい感じ」にするには、レガシーとモダン双方の深い理解が必要 リクルートのエンジニアは、モダンな技術を当たり前に知ってるものとみなされる
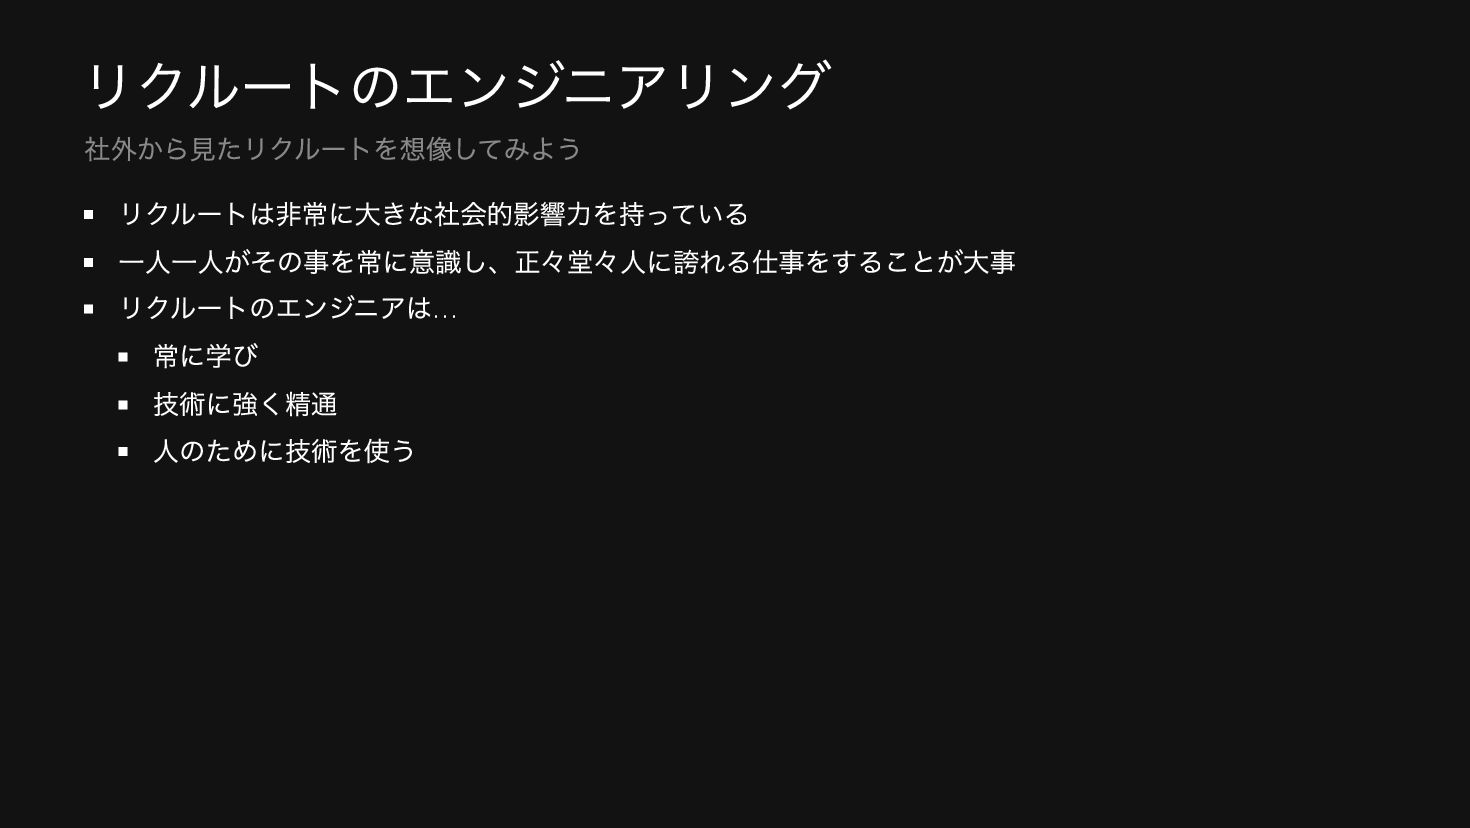
リクルートのエンジニアリング リクルートは非常に大きな社会的影響力を持っている 一人一人がその事を常に意識し、正々堂々人に誇れる仕事をすることが大事 リクルートのエンジニアは… 常に学び 技術に強く精通 人のために技術を使う 社外から見たリクルートを想像してみよう
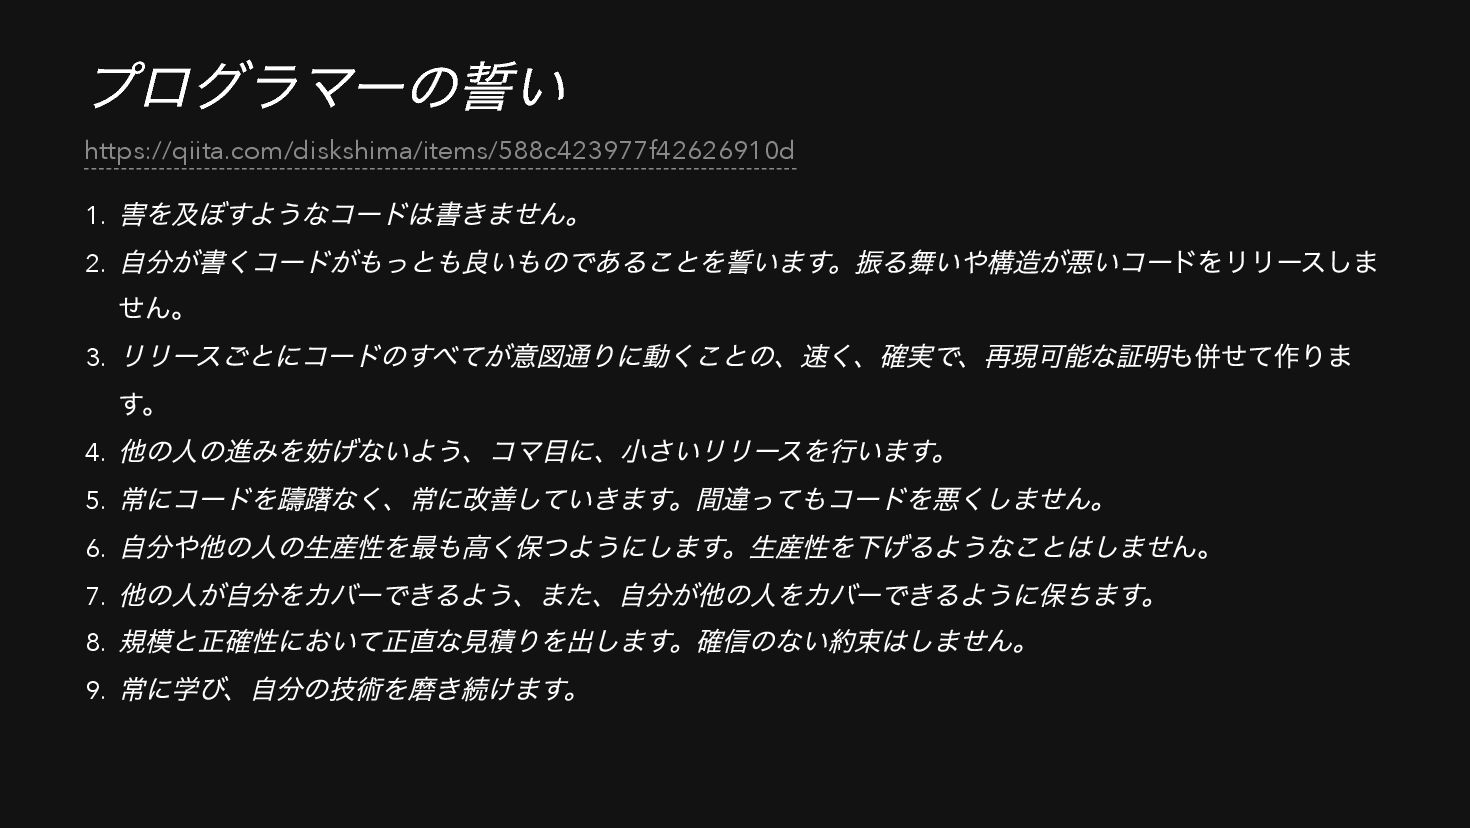
プログラマーの誓い 1. 害を及ぼすようなコードは書きません。 2. 自分が書くコードがもっとも良いものであることを誓います。振る舞いや構造が悪いコードをリリースしま せん。 3. リリースごとにコードのすべてが意図通りに動くことの、速く、確実で、再現可能な証明も併せて作りま す。 4.
他の人の進みを妨げないよう、コマ目に、小さいリリースを行います。 5. 常にコードを躊躇なく、常に改善していきます。間違ってもコードを悪くしません。 6. 自分や他の人の生産性を最も高く保つようにします。生産性を下げるようなことはしません。 7. 他の人が自分をカバーできるよう、また、自分が他の人をカバーできるように保ちます。 8. 規模と正確性において正直な見積りを出します。確信のない約束はしません。 9. 常に学び、自分の技術を磨き続けます。 https://qiita.com/diskshima/items/588c423977f42626910d
リクルートのエンジニアであるということは 大きな責任が伴う
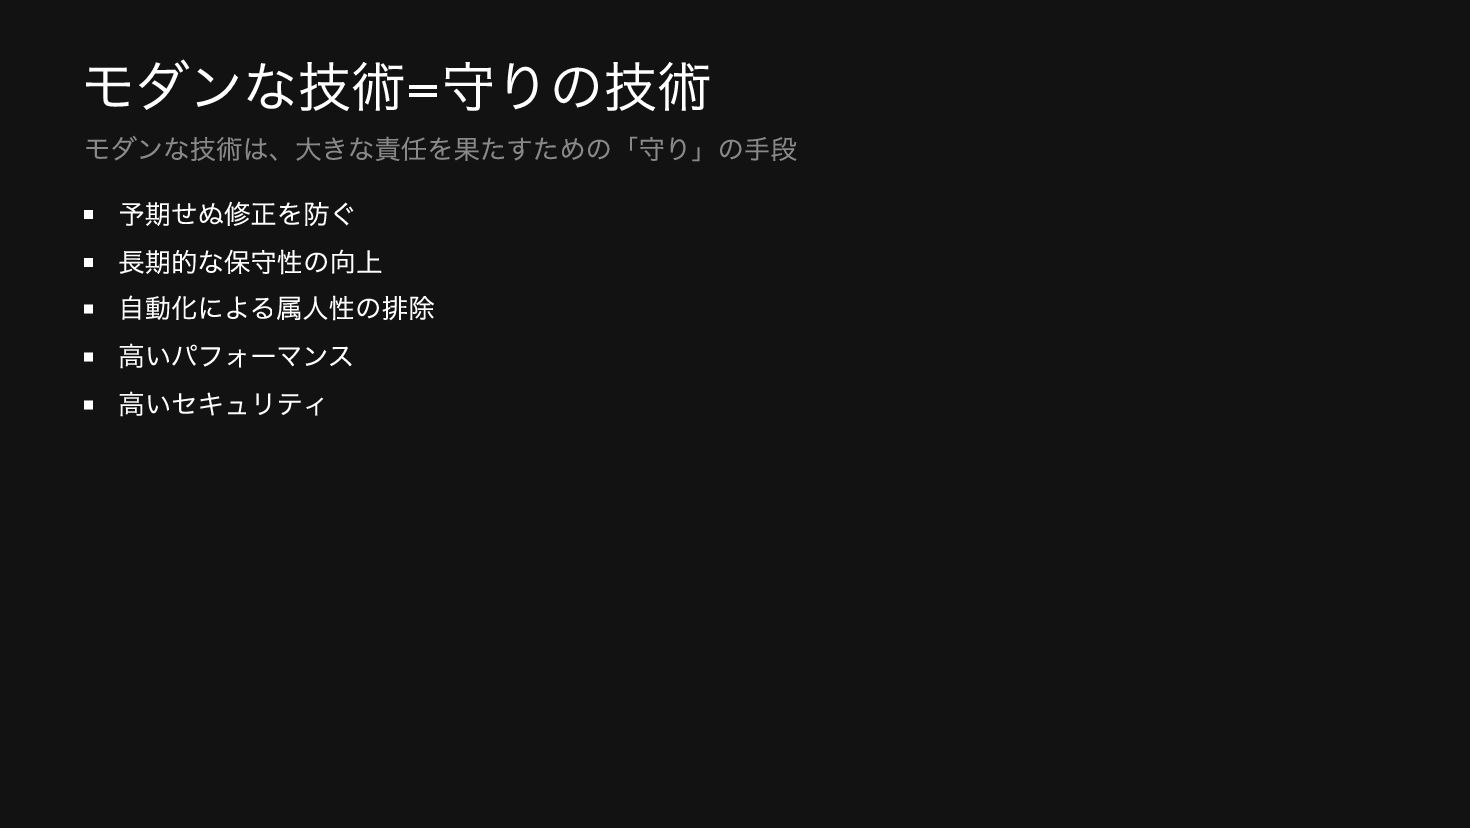
モダンな技術= 守りの技術 予期せぬ修正を防ぐ 長期的な保守性の向上 自動化による属人性の排除 高いパフォーマンス 高いセキュリティ モダンな技術は、大きな責任を果たすための「守り」の手段
リクルートのエンジニアは モダンな技術を学び扱えなければならない
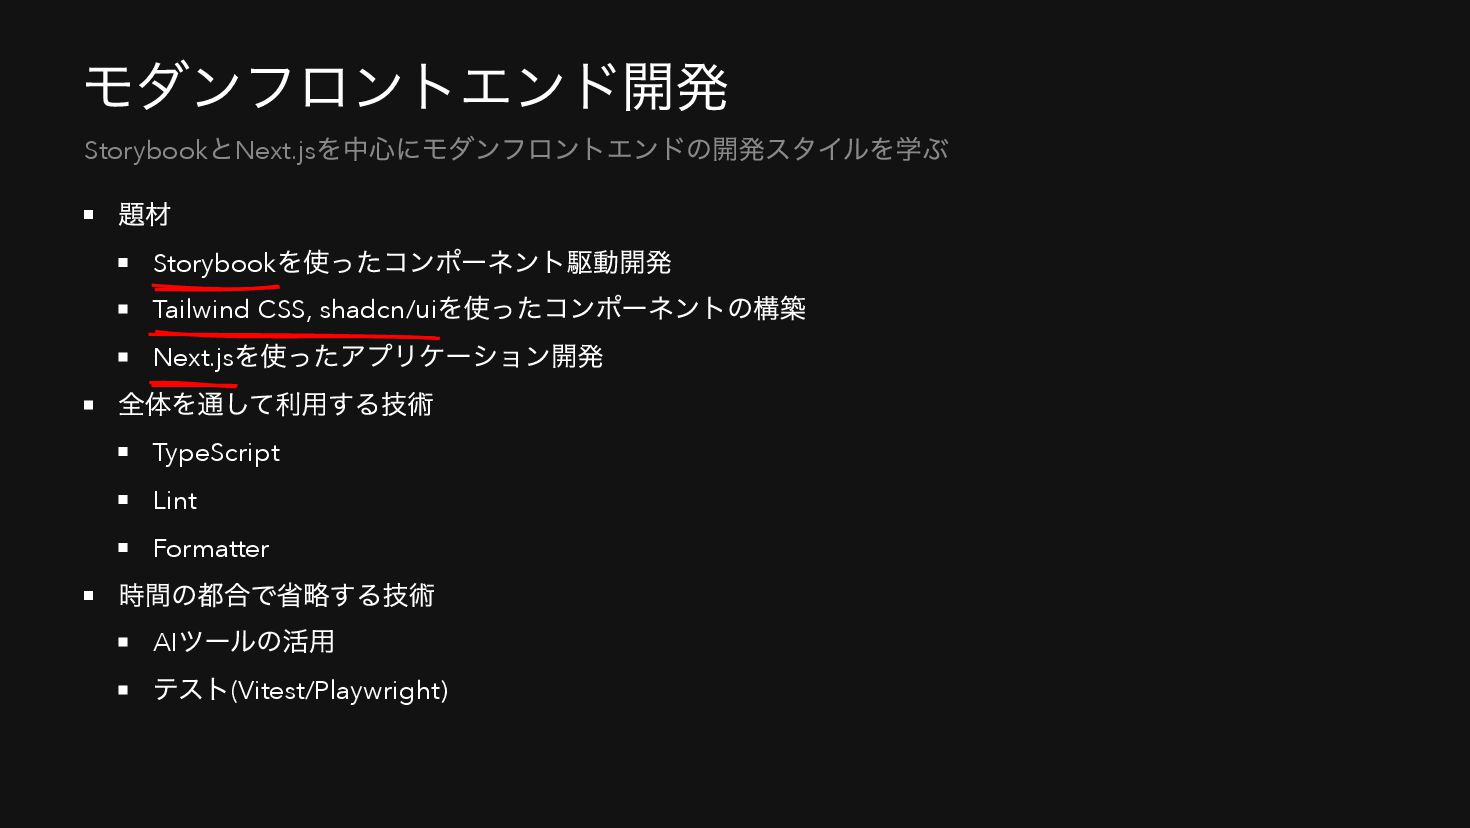
モダンフロントエンド開発 題材 Storybook を使ったコンポーネント駆動開発 Tailwind CSS, shadcn/ui を使ったコンポーネントの構築 Next.js を使ったアプリケーション開発
全体を通して利用する技術 TypeScript Lint Formatter 時間の都合で省略する技術 AI ツールの活用 テスト(Vitest/Playwright) Storybook とNext.js を中心にモダンフロントエンドの開発スタイルを学ぶ
Storybook コンポーネント駆動開発とスタイリング
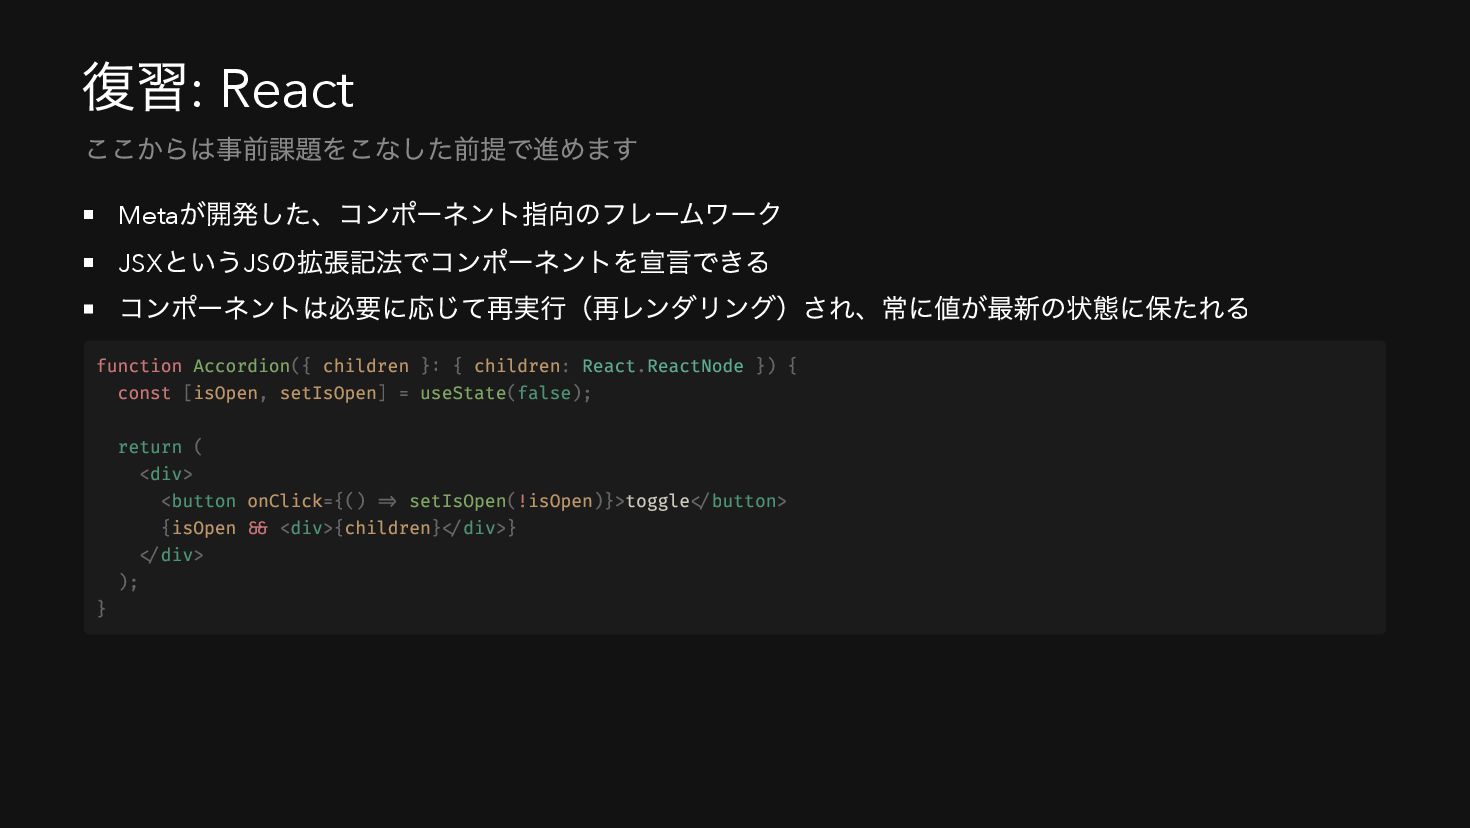
復習: React Meta が開発した、コンポーネント指向のフレームワーク JSX というJS の拡張記法でコンポーネントを宣言できる コンポーネントは必要に応じて再実行(再レンダリング)され、常に値が最新の状態に保たれる ここからは事前課題をこなした前提で進めます function
Accordion({ children }: { children: React.ReactNode }) { const [isOpen, setIsOpen] = useState(false); return ( <div> <button onClick={() => setIsOpen(!isOpen)}>toggle</button> {isOpen && <div>{children}</div>} </div> ); }
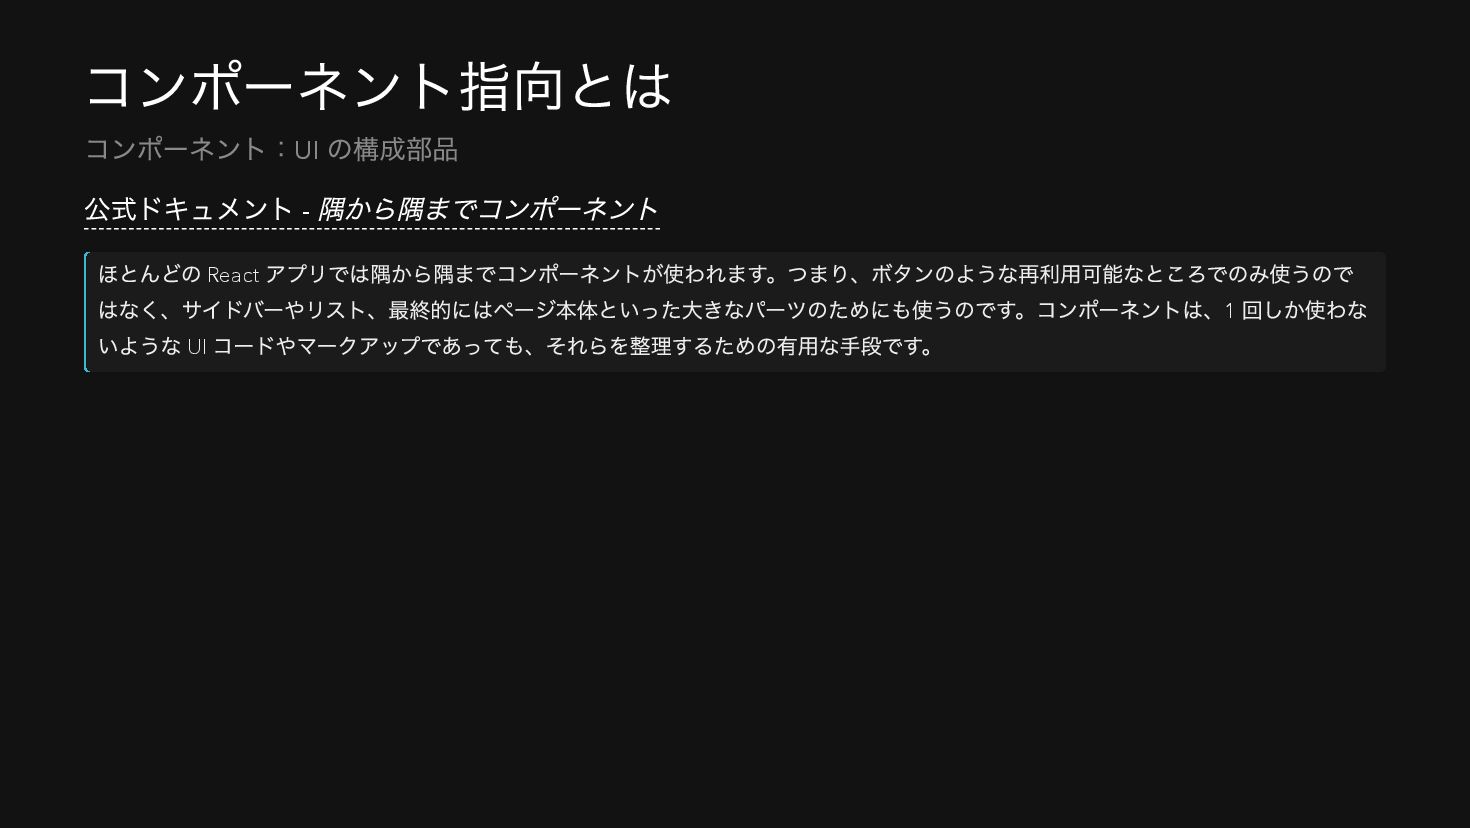
コンポーネント指向とは 公式ドキュメント - 隅から隅までコンポーネント ほとんどの React アプリでは隅から隅までコンポーネントが使われます。つまり、ボタンのような再利用可能なところでのみ使うので はなく、サイドバーやリスト、最終的にはページ本体といった大きなパーツのためにも使うのです。コンポーネントは、1 回しか使わな いような
UI コードやマークアップであっても、それらを整理するための有用な手段です。 コンポーネント:UI の構成部品
コンポーネントの見た目、どうやって確認する?
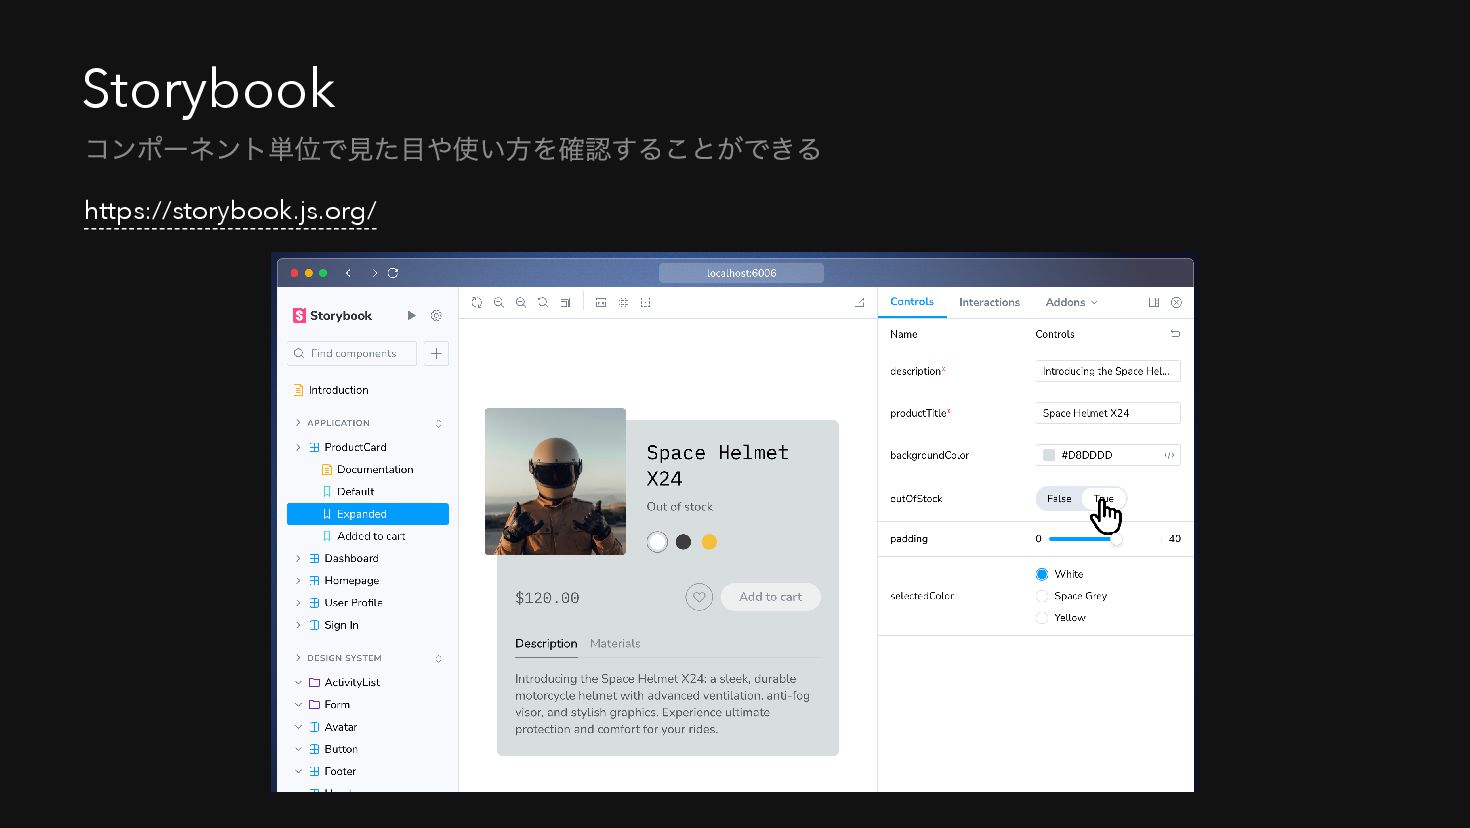
Storybook https://storybook.js.org/ コンポーネント単位で見た目や使い方を確認することができる
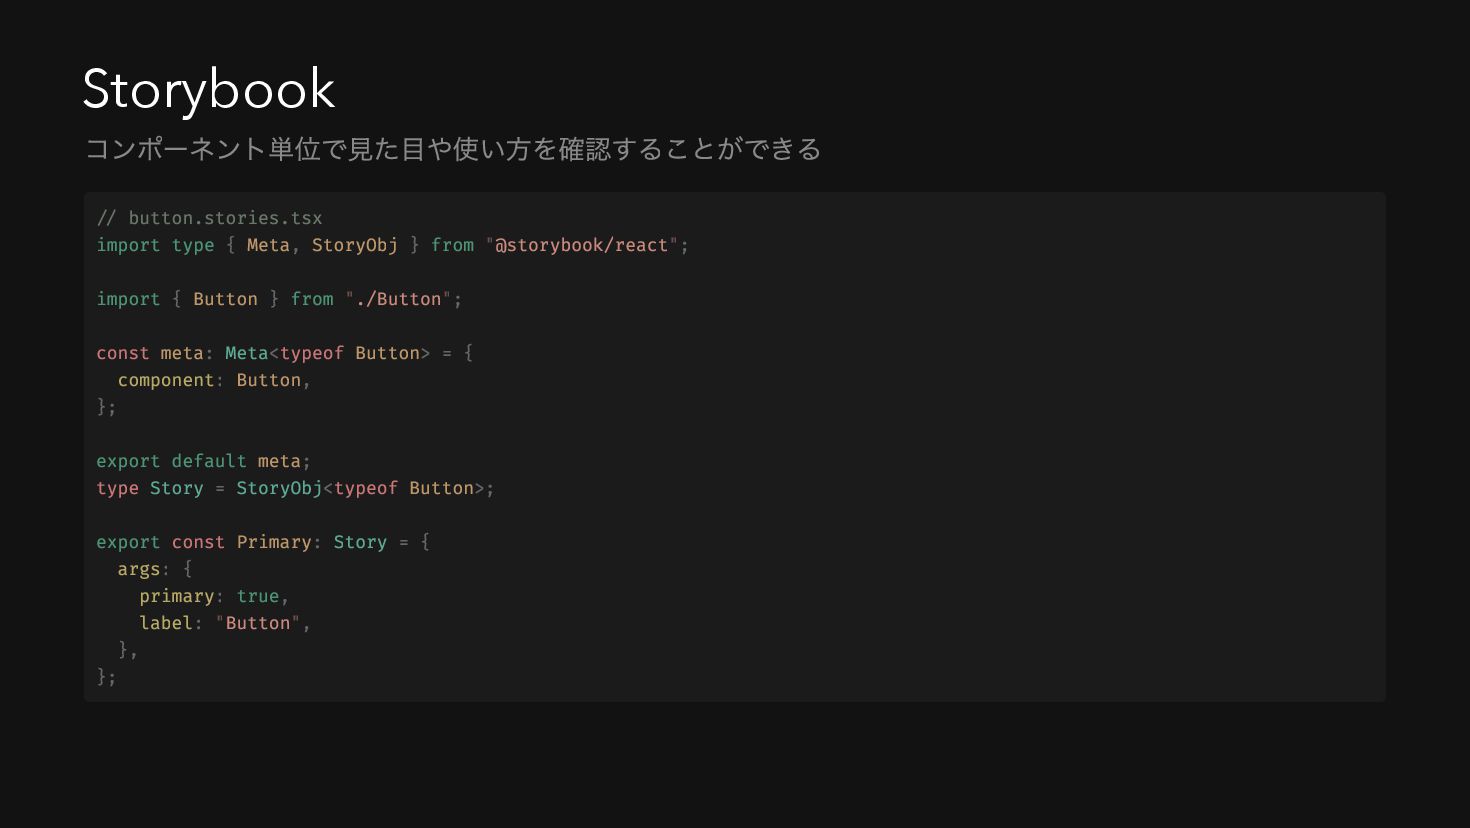
Storybook コンポーネント単位で見た目や使い方を確認することができる // button.stories.tsx import type { Meta, StoryObj }
from "@storybook/react"; import { Button } from "./Button"; const meta: Meta<typeof Button> = { component: Button, }; export default meta; type Story = StoryObj<typeof Button>; export const Primary: Story = { args: { primary: true, label: "Button", }, };
Storybook どのフレームワークでもコンポーネント指向は必須 コンポーネント中心に開発する上で、Storybook は必須 リクルート社内でReact を採用してる場合、Storybook も採用してるケースが多い コンポーネント単位で見た目や使い方を確認することができる
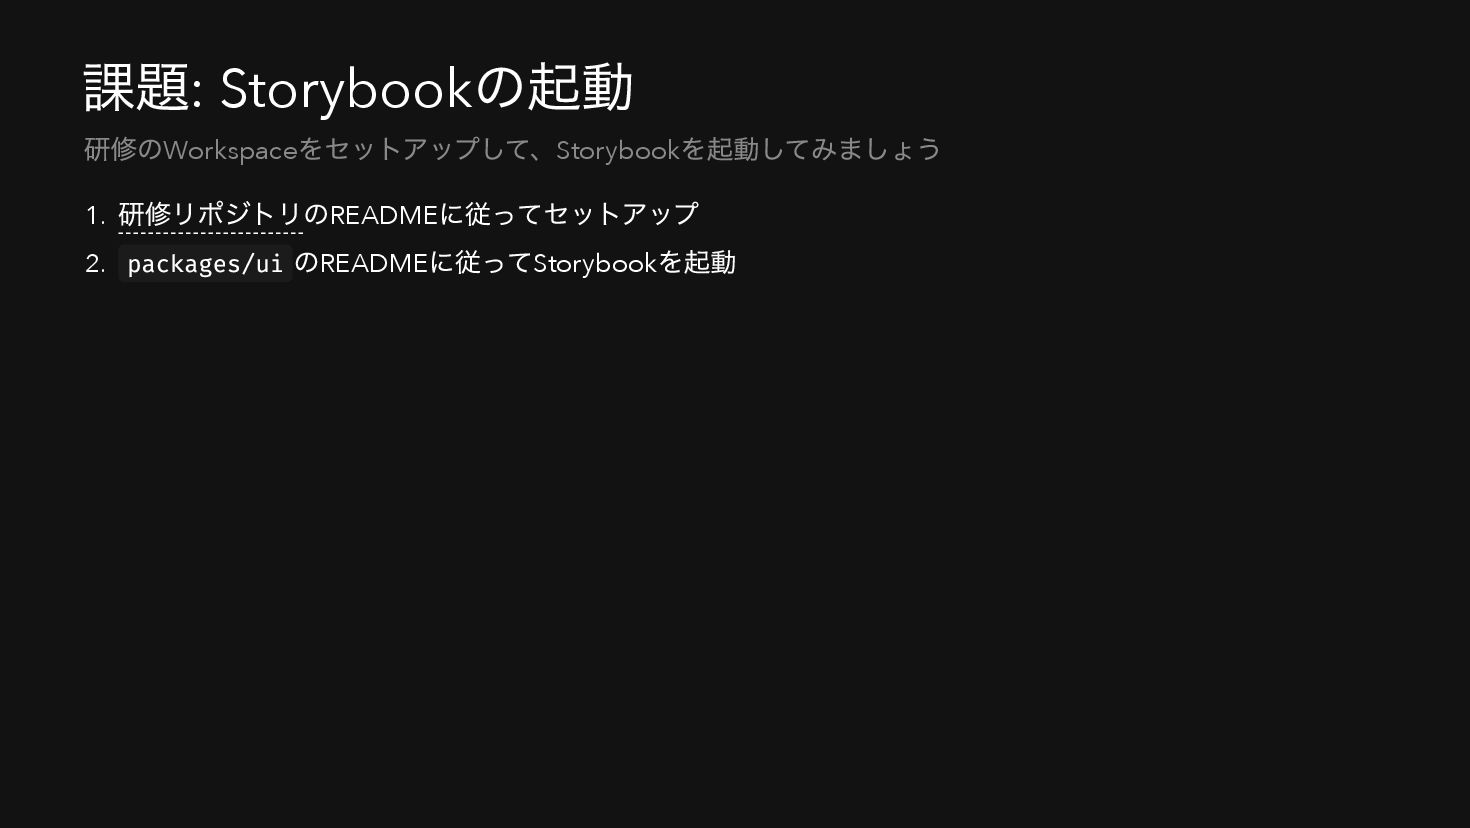
課題: Storybook の起動 1. 研修リポジトリのREADME に従ってセットアップ 2. packages/ui のREADME に従ってStorybook
を起動 研修のWorkspace をセットアップして、Storybook を起動してみましょう
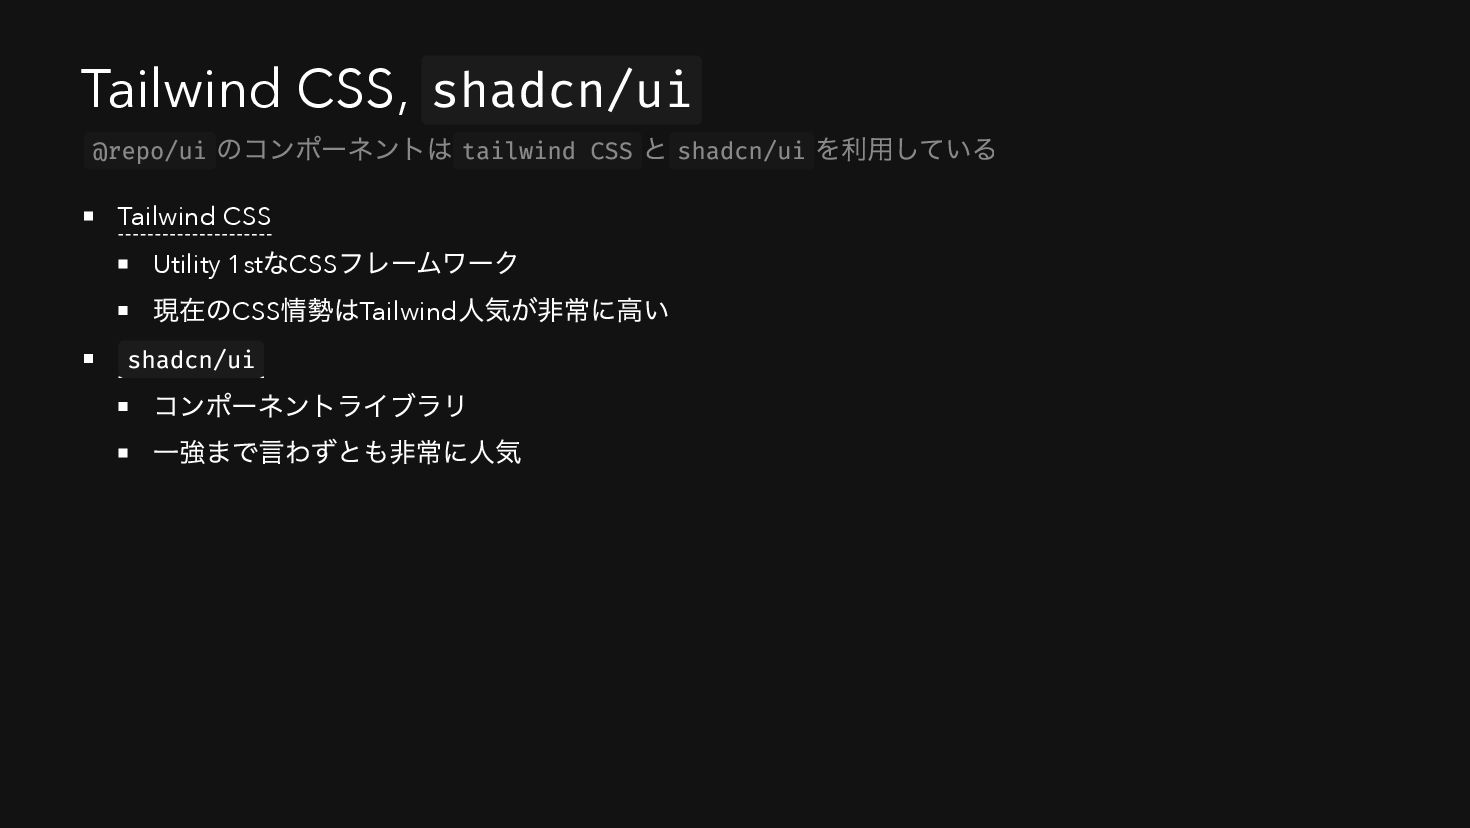
Tailwind CSS, shadcn/ui Tailwind CSS Utility 1st なCSS フレームワーク 現在のCSS
情勢はTailwind 人気が非常に高い shadcn/ui コンポーネントライブラリ 一強まで言わずとも非常に人気 @repo/ui のコンポーネントは tailwind CSS と shadcn/ui を利用している
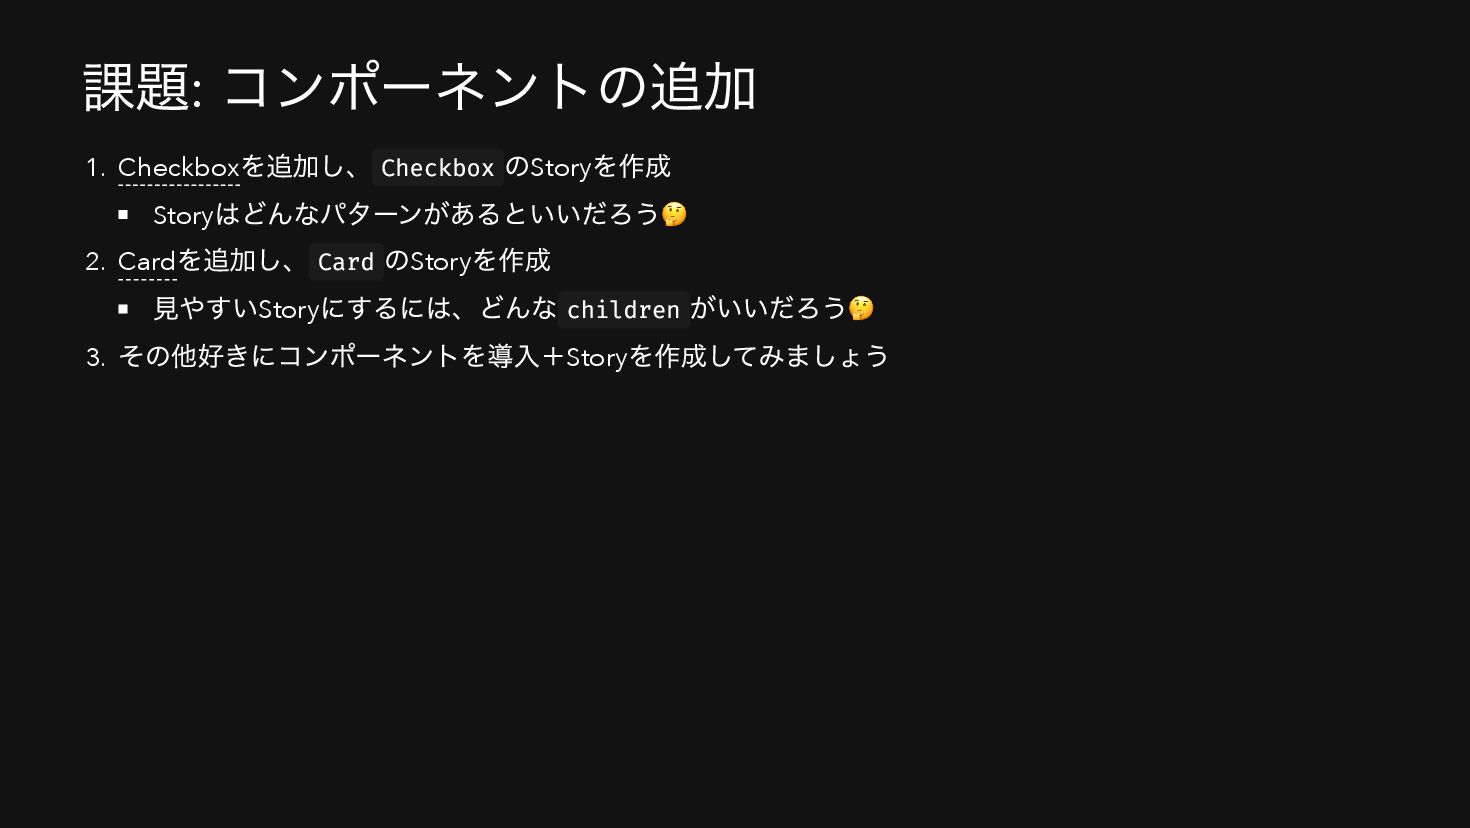
課題: コンポーネントの追加 1. Checkbox を追加し、 Checkbox のStory を作成 Story はどんなパターンがあるといいだろう🤔
2. Card を追加し、 Card のStory を作成 見やすいStory にするには、どんな children がいいだろう🤔 3. その他好きにコンポーネントを導入+Story を作成してみましょう
Next.js & React Server Components
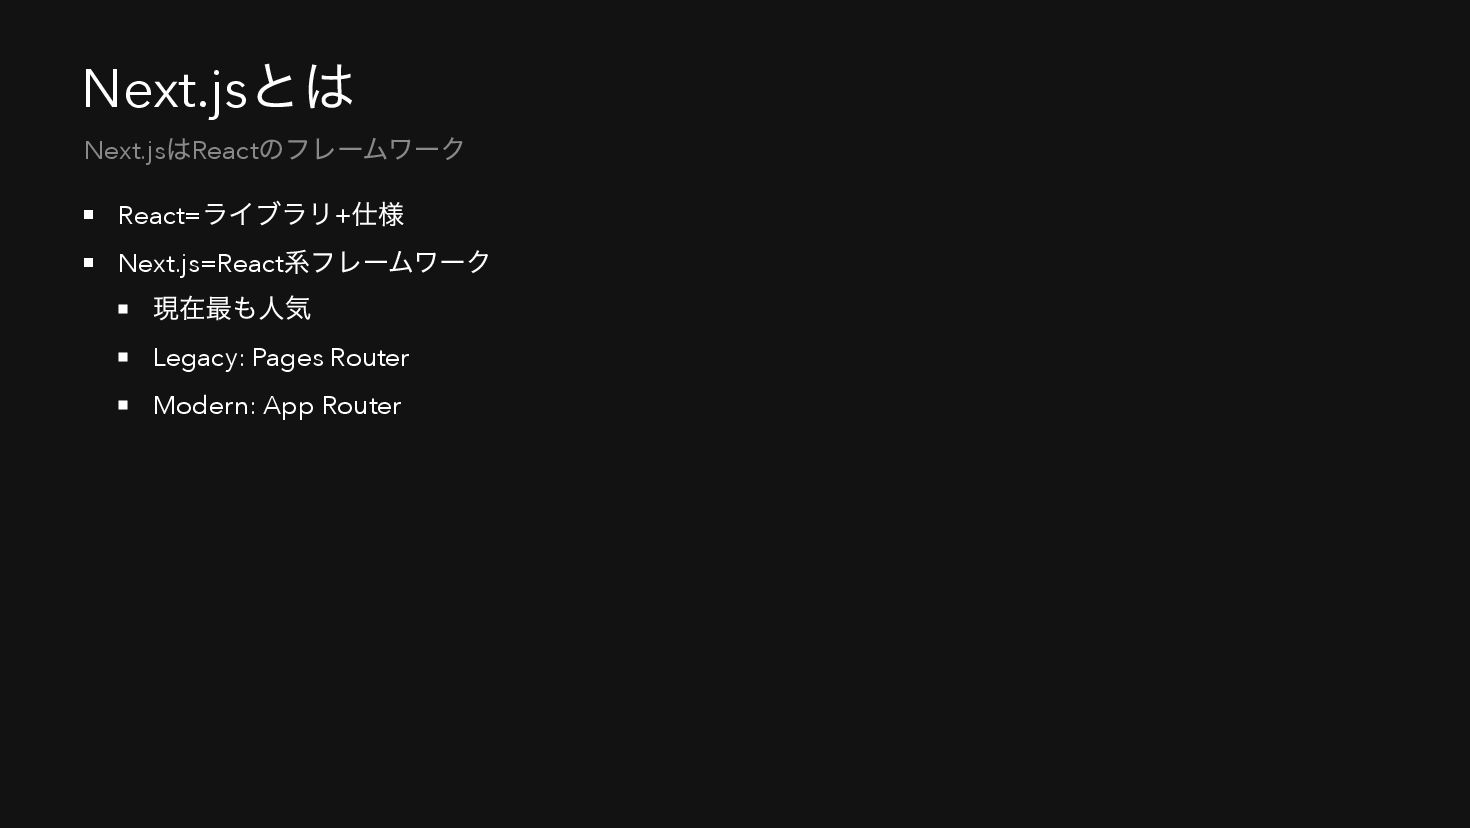
Next.js とは React= ライブラリ+ 仕様 Next.js=React 系フレームワーク 現在最も人気 Legacy: Pages
Router Modern: App Router Next.js はReact のフレームワーク
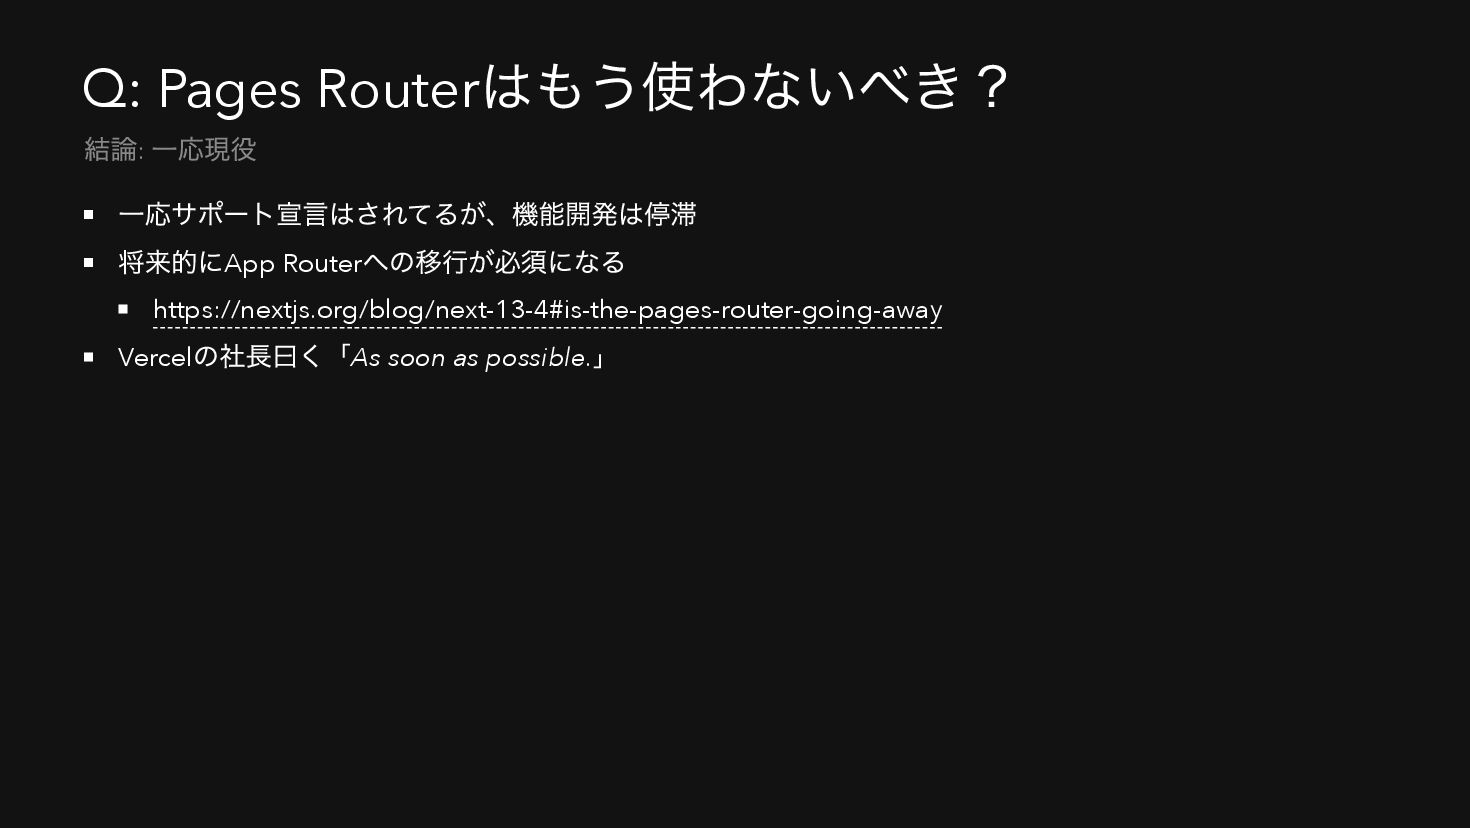
Q: Pages Router はもう使わないべき? 一応サポート宣言はされてるが、機能開発は停滞 将来的にApp Router への移行が必須になる https://nextjs.org/blog/next-13-4#is-the-pages-router-going-away Vercel
の社長曰く「As soon as possible. 」 結論: 一応現役
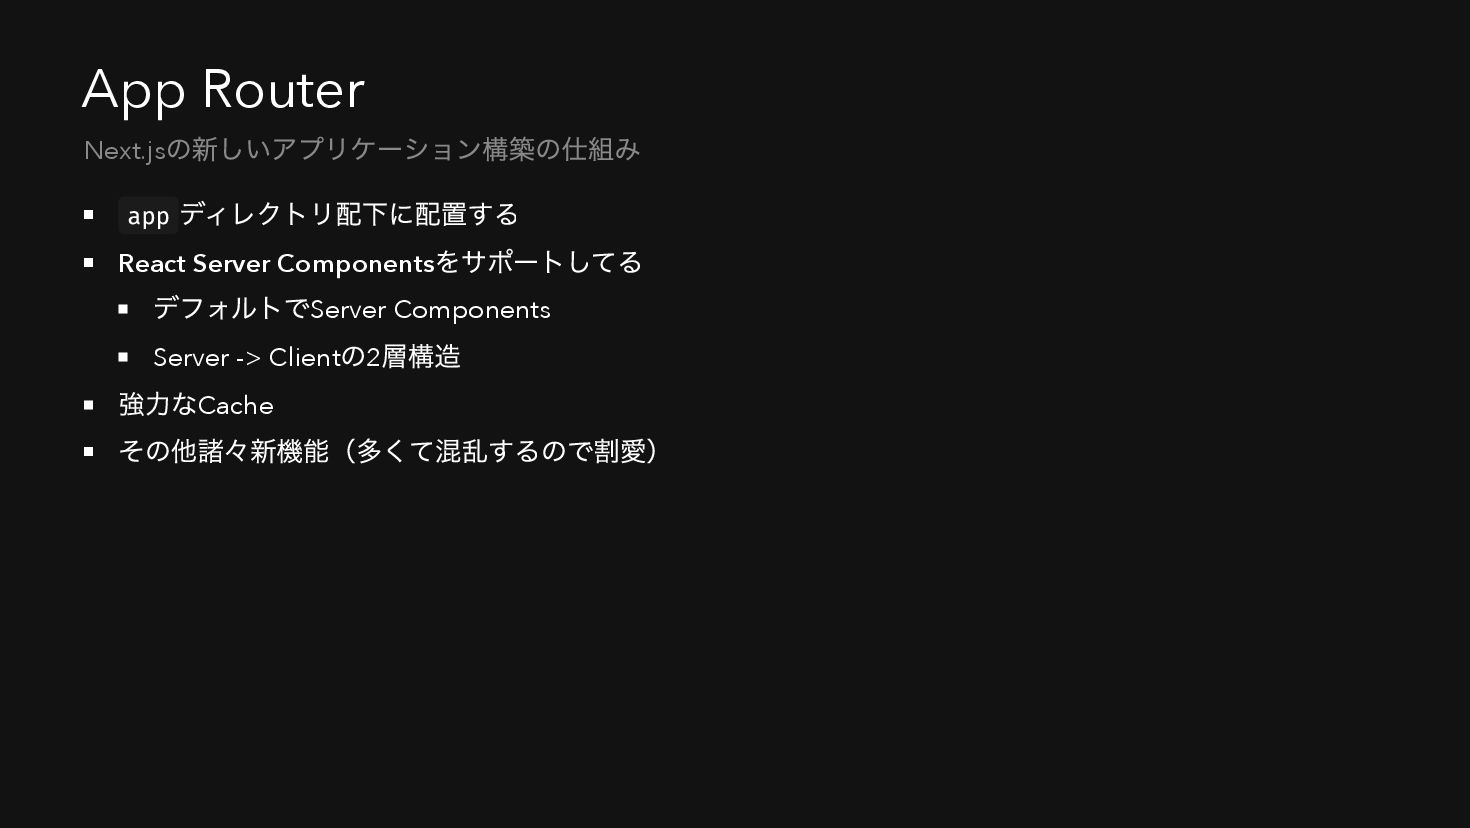
App Router app ディレクトリ配下に配置する React Server Components をサポートしてる デフォルトでServer Components
Server -> Client の2 層構造 強力なCache その他諸々新機能(多くて混乱するので割愛) Next.js の新しいアプリケーション構築の仕組み
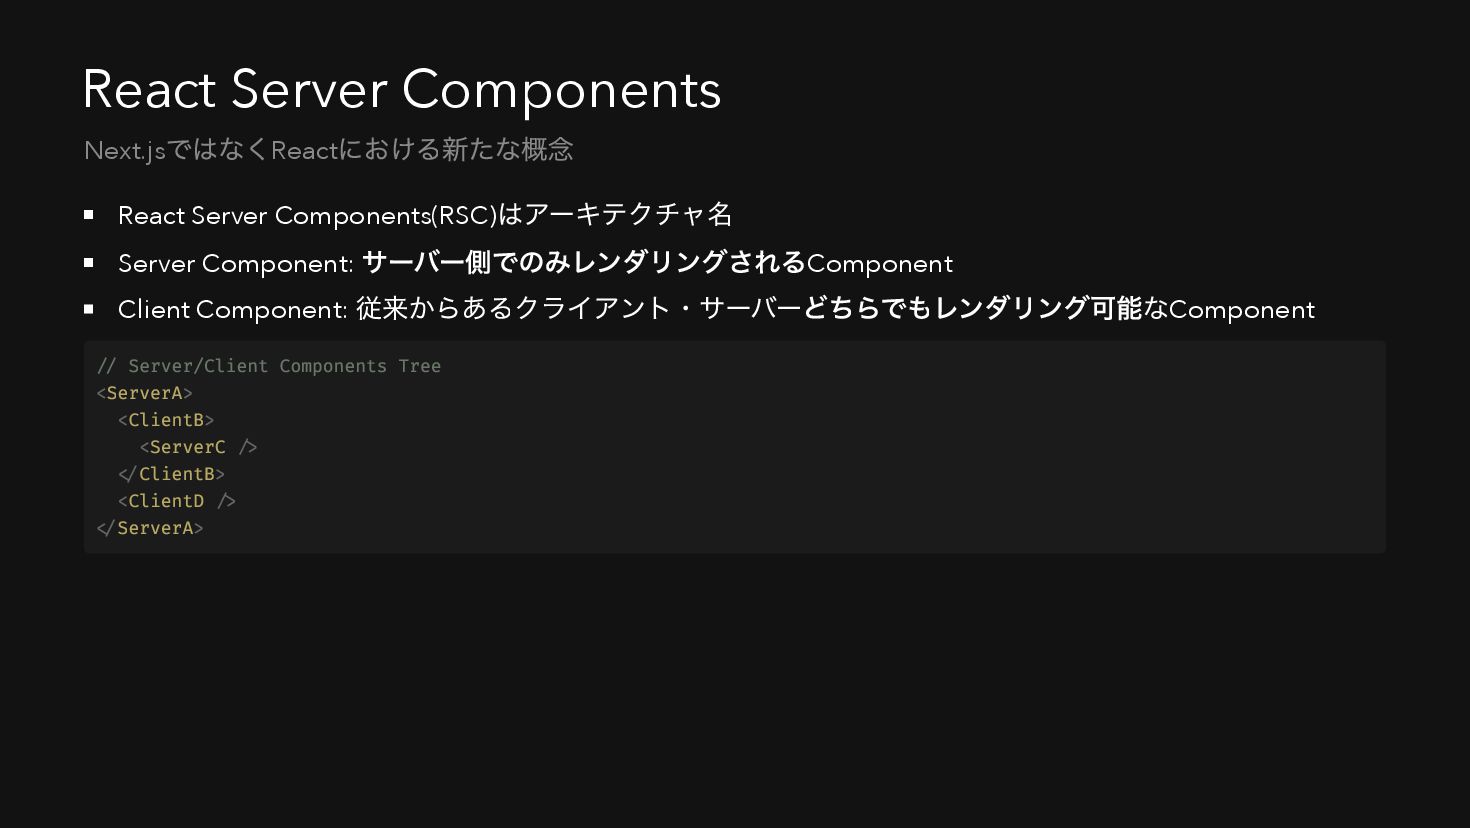
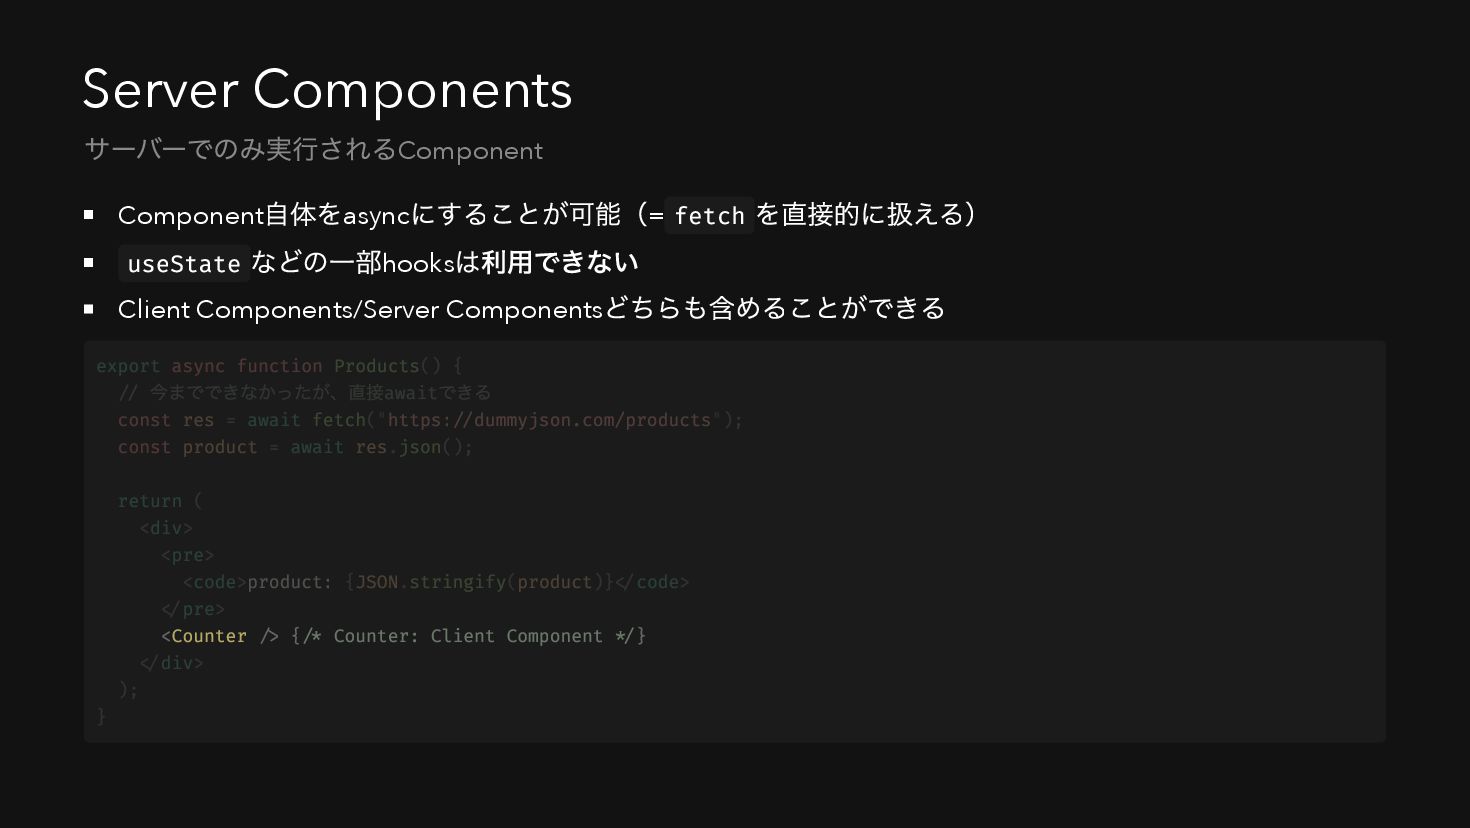
React Server Components React Server Components(RSC) はアーキテクチャ名 Server Component: サーバー側でのみレンダリングされるComponent
Client Component: 従来からあるクライアント・サーバーどちらでもレンダリング可能なComponent Next.js ではなくReact における新たな概念 // Server/Client Components Tree <ServerA> <ClientB> <ServerC /> </ClientB> <ClientD /> </ServerA>
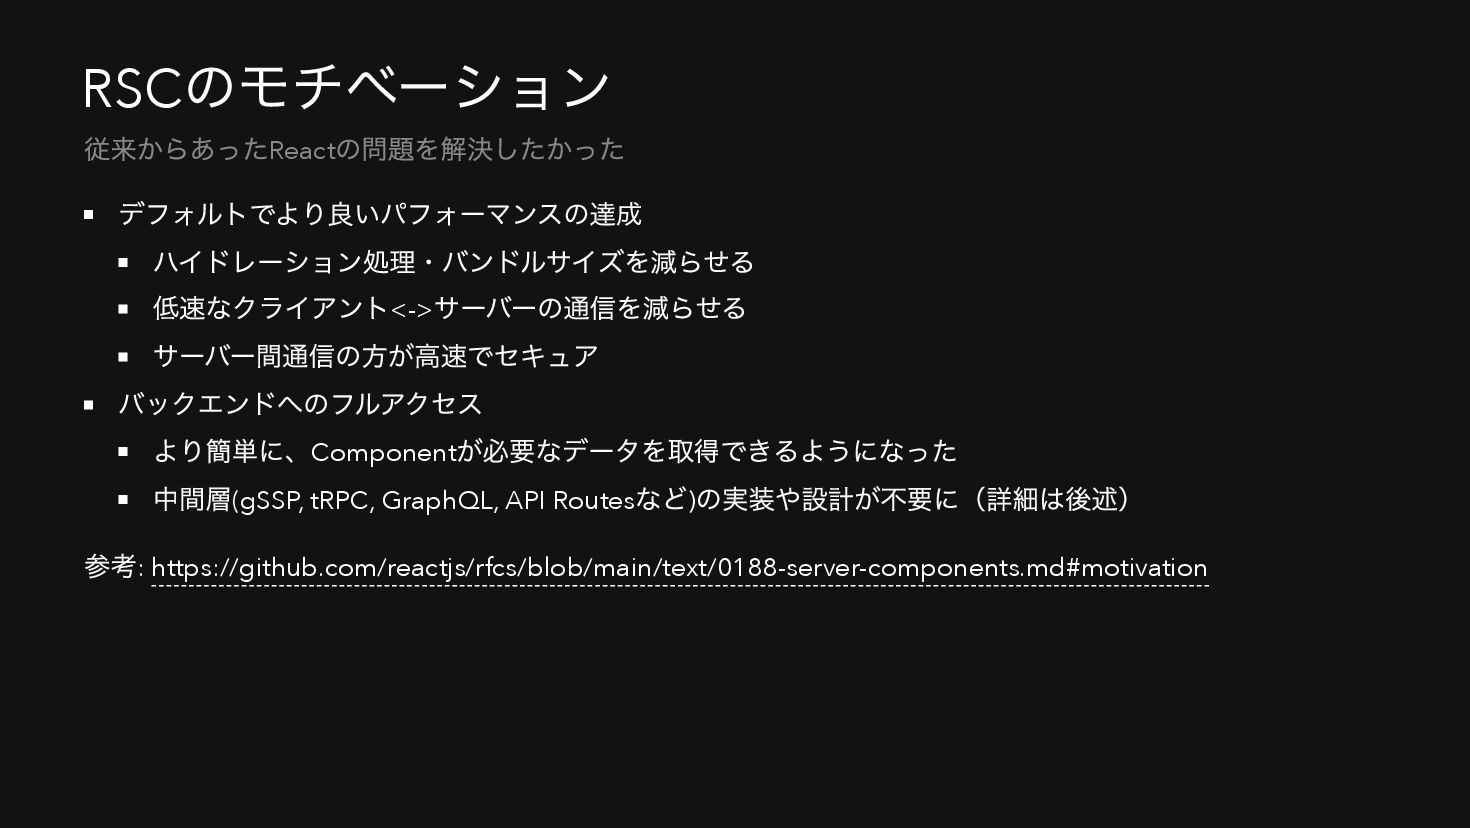
RSC のモチベーション デフォルトでより良いパフォーマンスの達成 ハイドレーション処理・バンドルサイズを減らせる 低速なクライアント<-> サーバーの通信を減らせる サーバー間通信の方が高速でセキュア バックエンドへのフルアクセス より簡単に、Component が必要なデータを取得できるようになった
中間層(gSSP, tRPC, GraphQL, API Routes など) の実装や設計が不要に(詳細は後述) 参考: https://github.com/reactjs/rfcs/blob/main/text/0188-server-components.md#motivation 従来からあったReact の問題を解決したかった
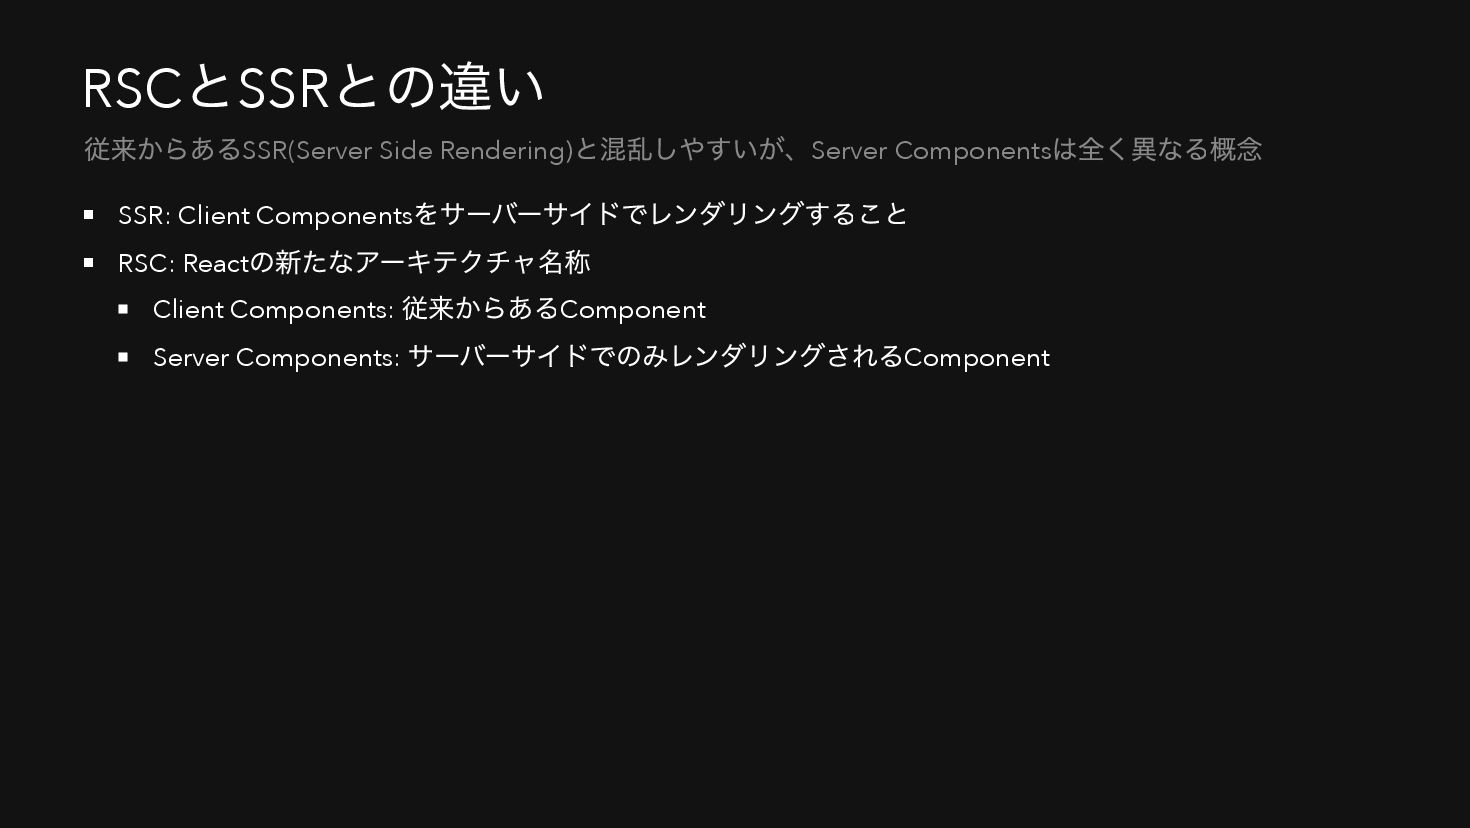
RSC とSSR との違い SSR: Client Components をサーバーサイドでレンダリングすること RSC: React の新たなアーキテクチャ名称
Client Components: 従来からあるComponent Server Components: サーバーサイドでのみレンダリングされるComponent 従来からあるSSR(Server Side Rendering) と混乱しやすいが、Server Components は全く異なる概念
Server Components Component 自体をasync にすることが可能(= fetch を直接的に扱える) useState などの一部hooks は利用できない
Client Components/Server Components どちらも含めることができる サーバーでのみ実行されるComponent <Counter /> {/* Counter: Client Component */} export async function Products() { // 今までできなかったが、直接await できる const res = await fetch("https://dummyjson.com/products"); const product = await res.json(); return ( <div> <pre> <code>product: {JSON.stringify(product)}</code> </pre> </div> ); }
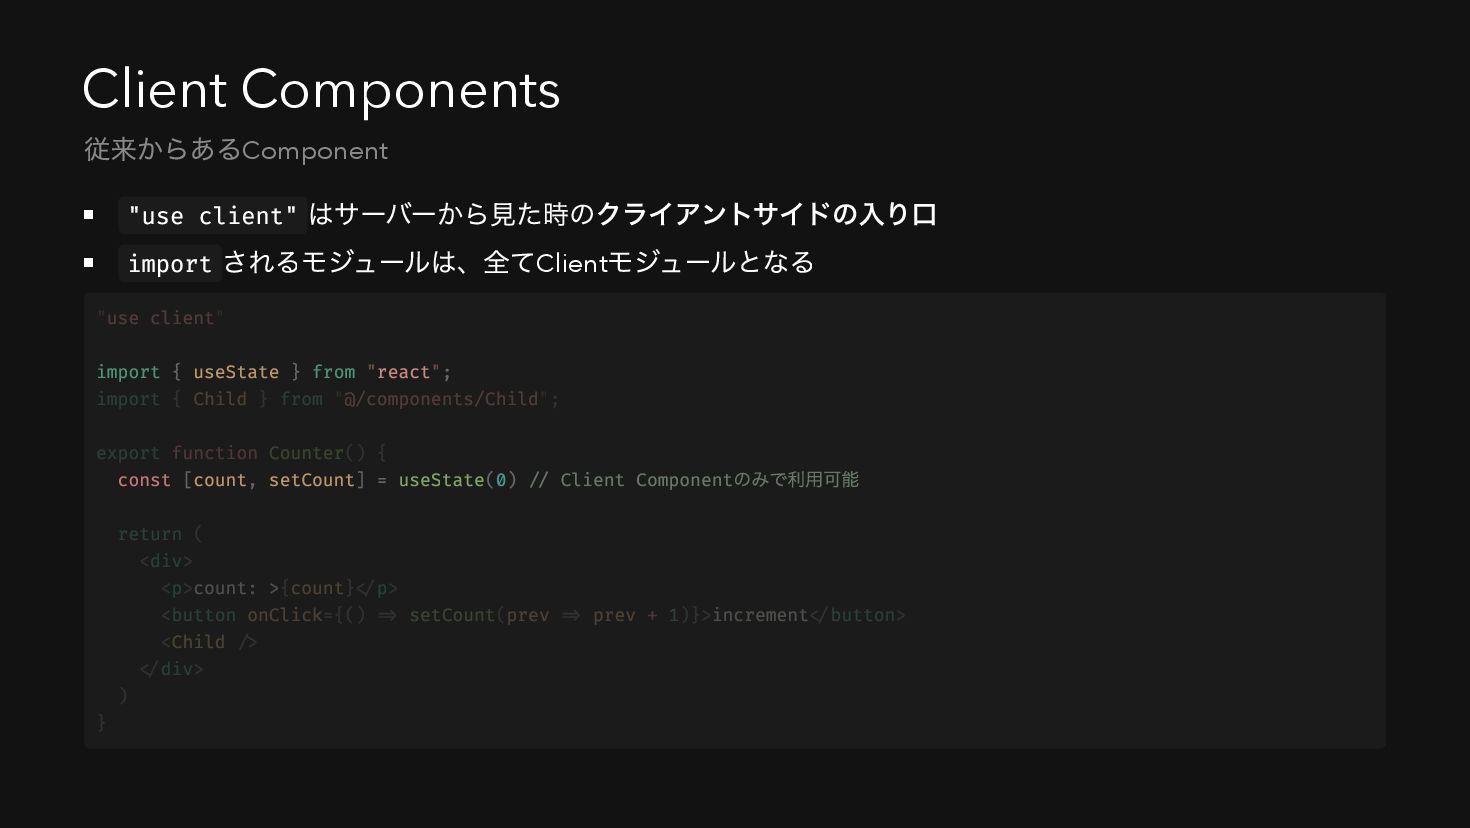
Client Components "use client" はサーバーから見た時のクライアントサイドの入り口 import されるモジュールは、全てClient モジュールとなる 従来からあるComponent import
{ useState } from "react"; const [count, setCount] = useState(0) // Client Component のみで利用可能 "use client" import { Child } from "@/components/Child"; export function Counter() { return ( <div> <p>count: >{count}</p> <button onClick={() => setCount(prev => prev + 1)}>increment</button> <Child /> </div> ) }
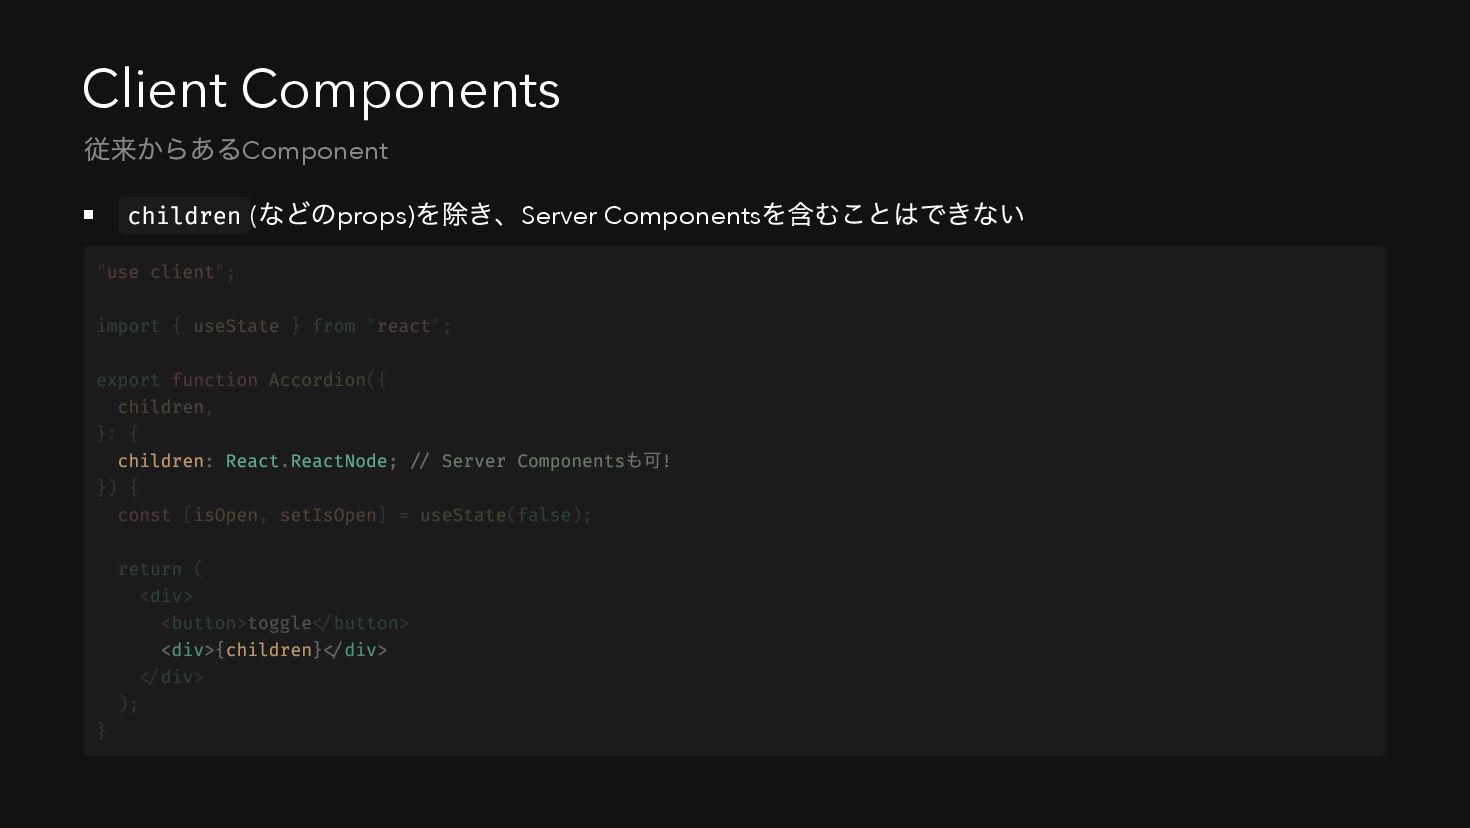
Client Components children ( などのprops) を除き、Server Components を含むことはできない 従来からあるComponent children:
React.ReactNode; // Server Components も可! <div>{children}</div> "use client"; import { useState } from "react"; export function Accordion({ children, }: { }) { const [isOpen, setIsOpen] = useState(false); return ( <div> <button>toggle</button> </div> ); }
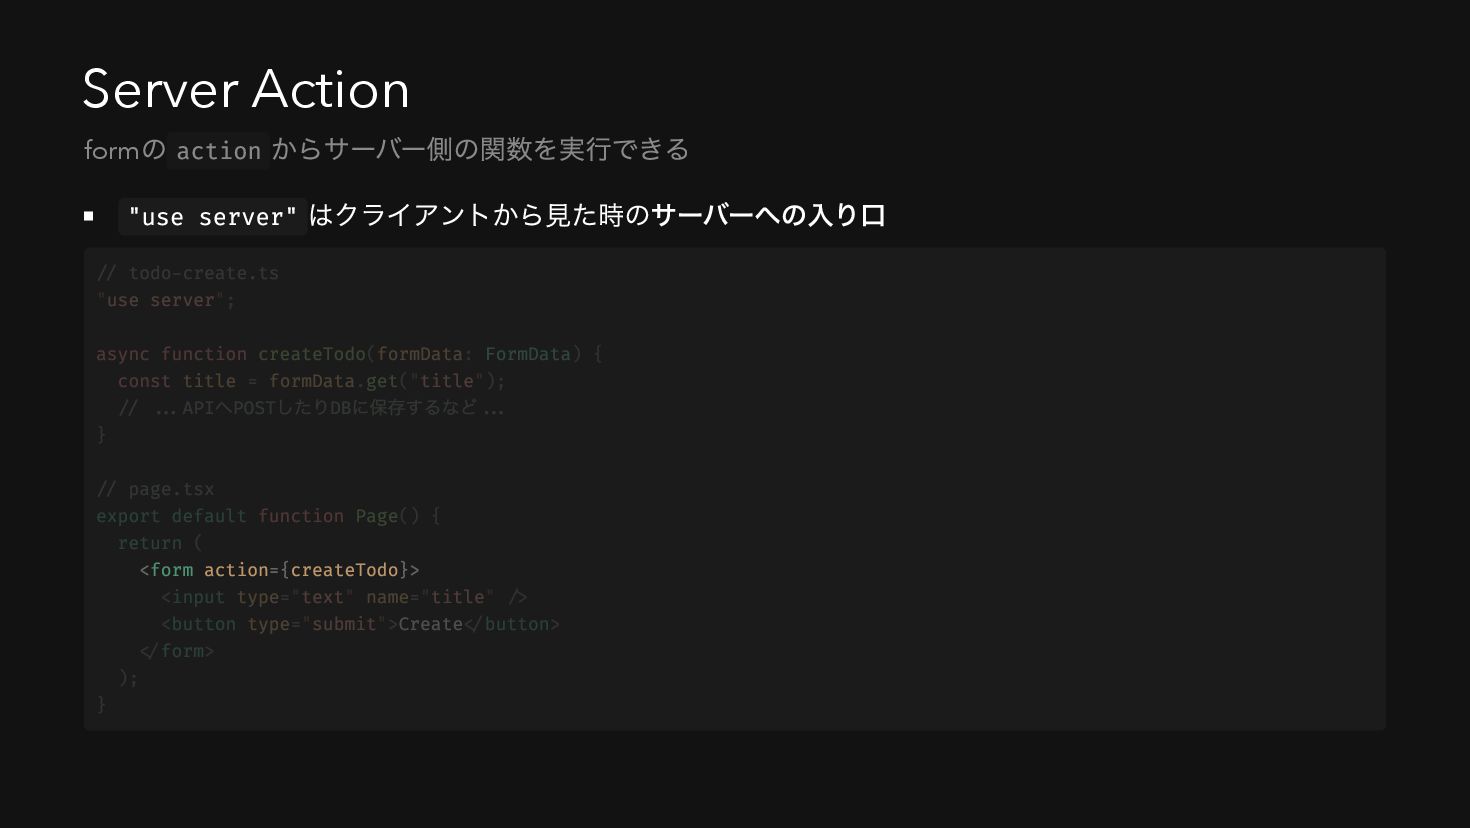
Server Action "use server" はクライアントから見た時のサーバーへの入り口 form の action からサーバー側の関数を実行できる <form
action={createTodo}> // todo-create.ts "use server"; async function createTodo(formData: FormData) { const title = formData.get("title"); // ...API へPOST したりDB に保存するなど... } // page.tsx export default function Page() { return ( <input type="text" name="title" /> <button type="submit">Create</button> </form> ); }
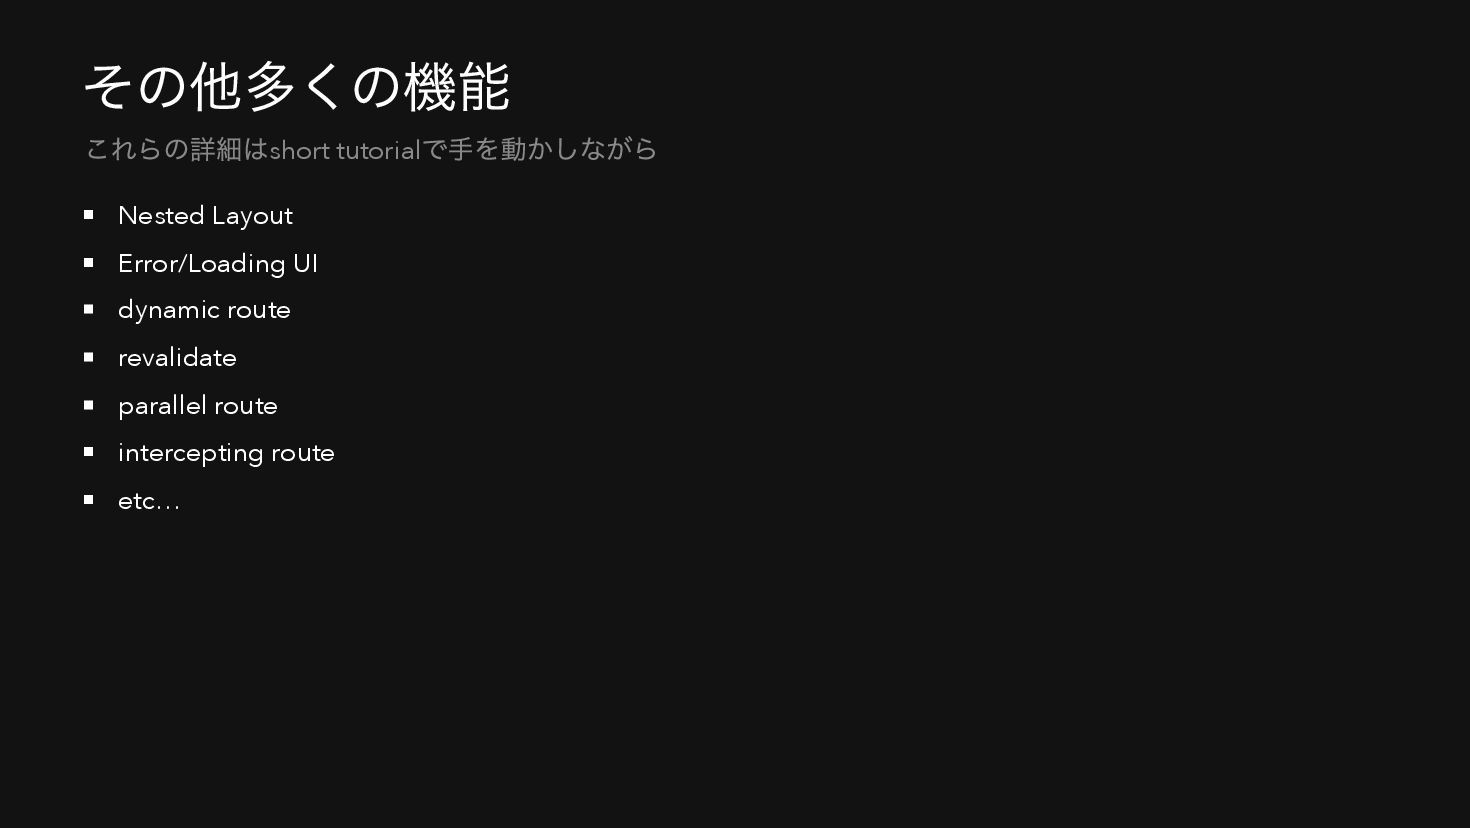
その他多くの機能 Nested Layout Error/Loading UI dynamic route revalidate parallel route
intercepting route etc… これらの詳細はshort tutorial で手を動かしながら
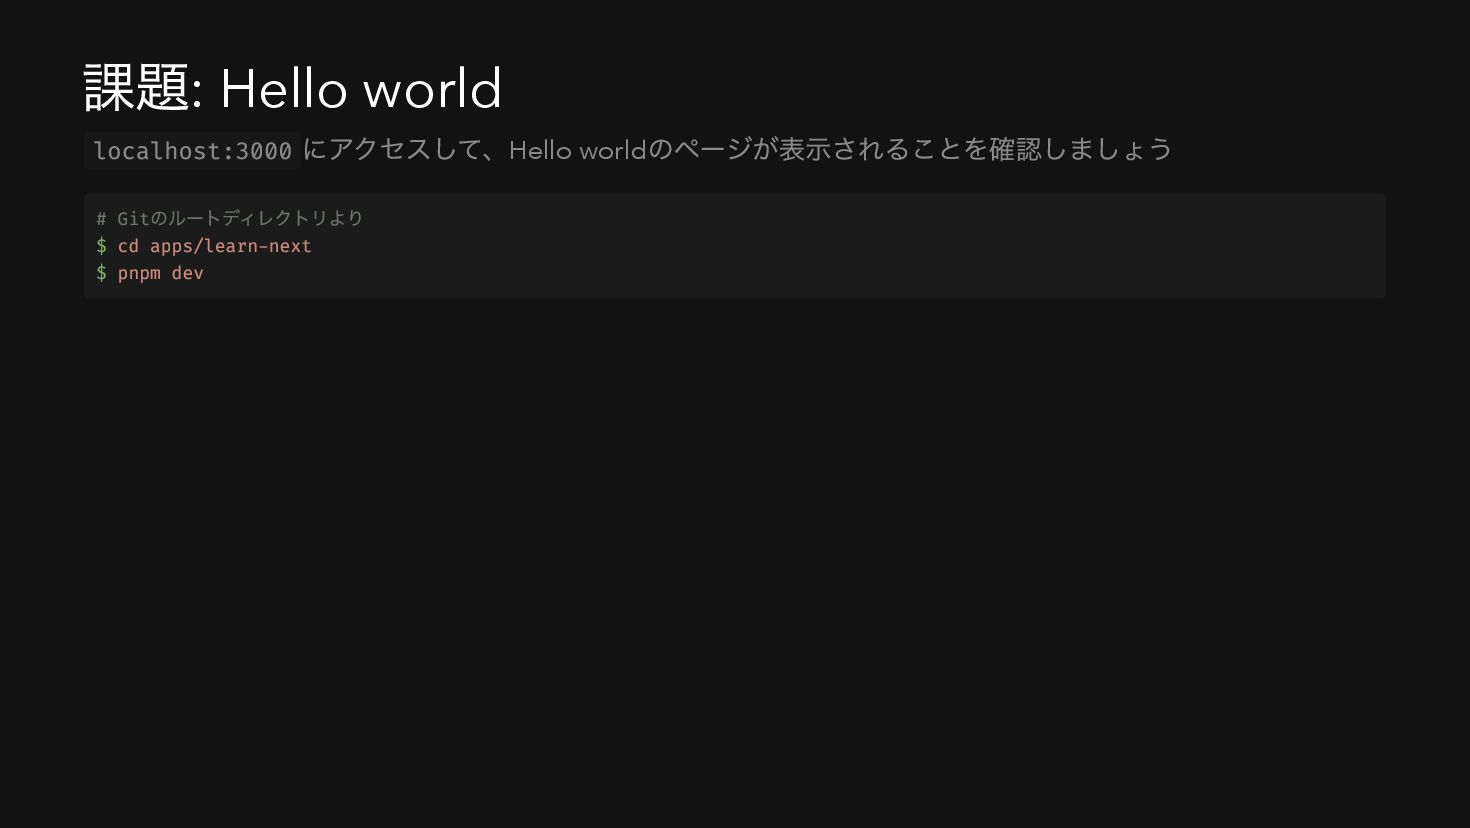
課題: Hello world localhost:3000 にアクセスして、Hello world のページが表示されることを確認しましょう # Git のルートディレクトリより
$ cd apps/learn-next $ pnpm dev
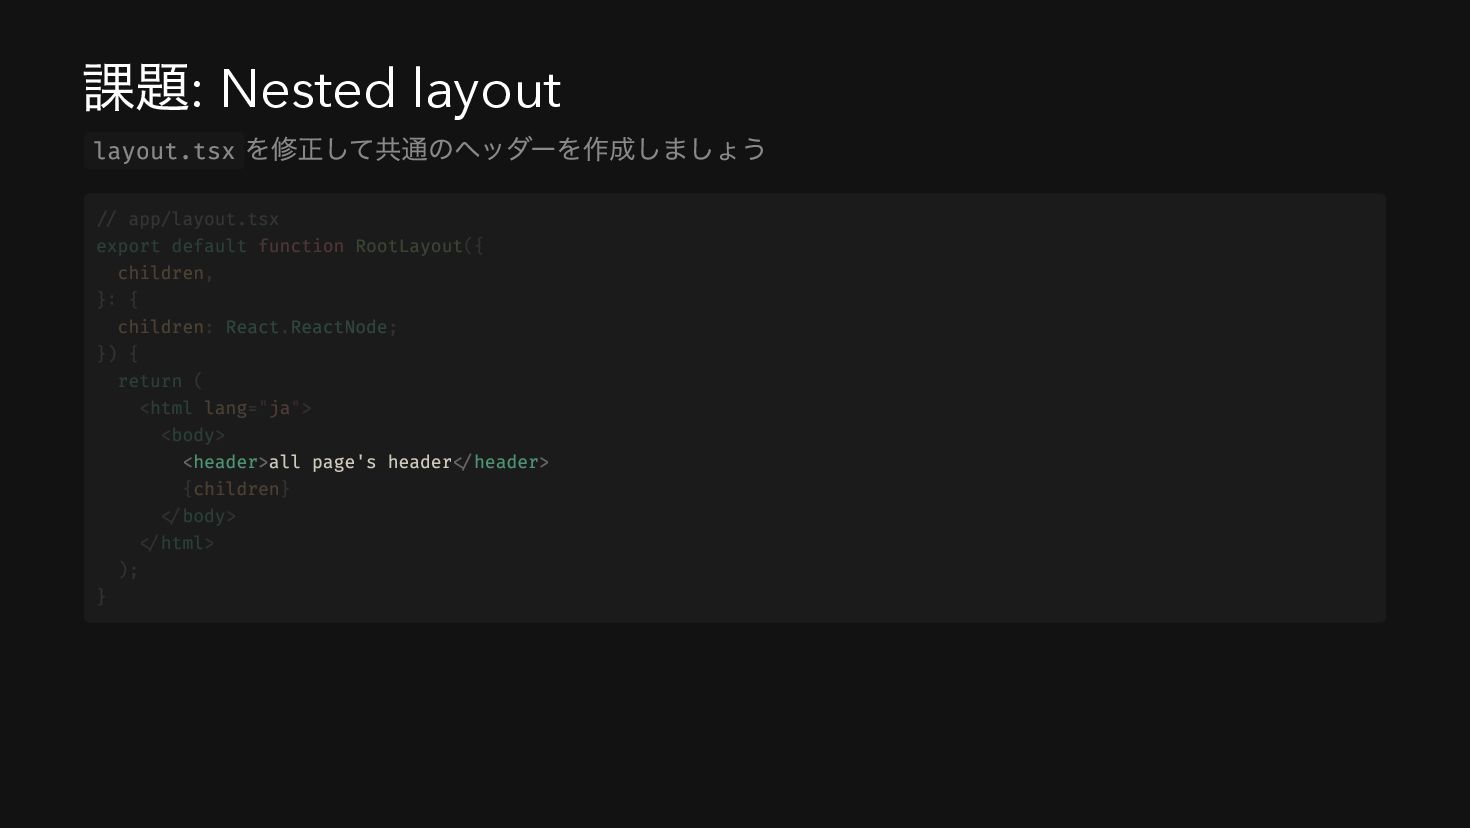
課題: Nested layout layout.tsx を修正して共通のヘッダーを作成しましょう <header>all page's header</header> // app/layout.tsx
export default function RootLayout({ children, }: { children: React.ReactNode; }) { return ( <html lang="ja"> <body> {children} </body> </html> ); }
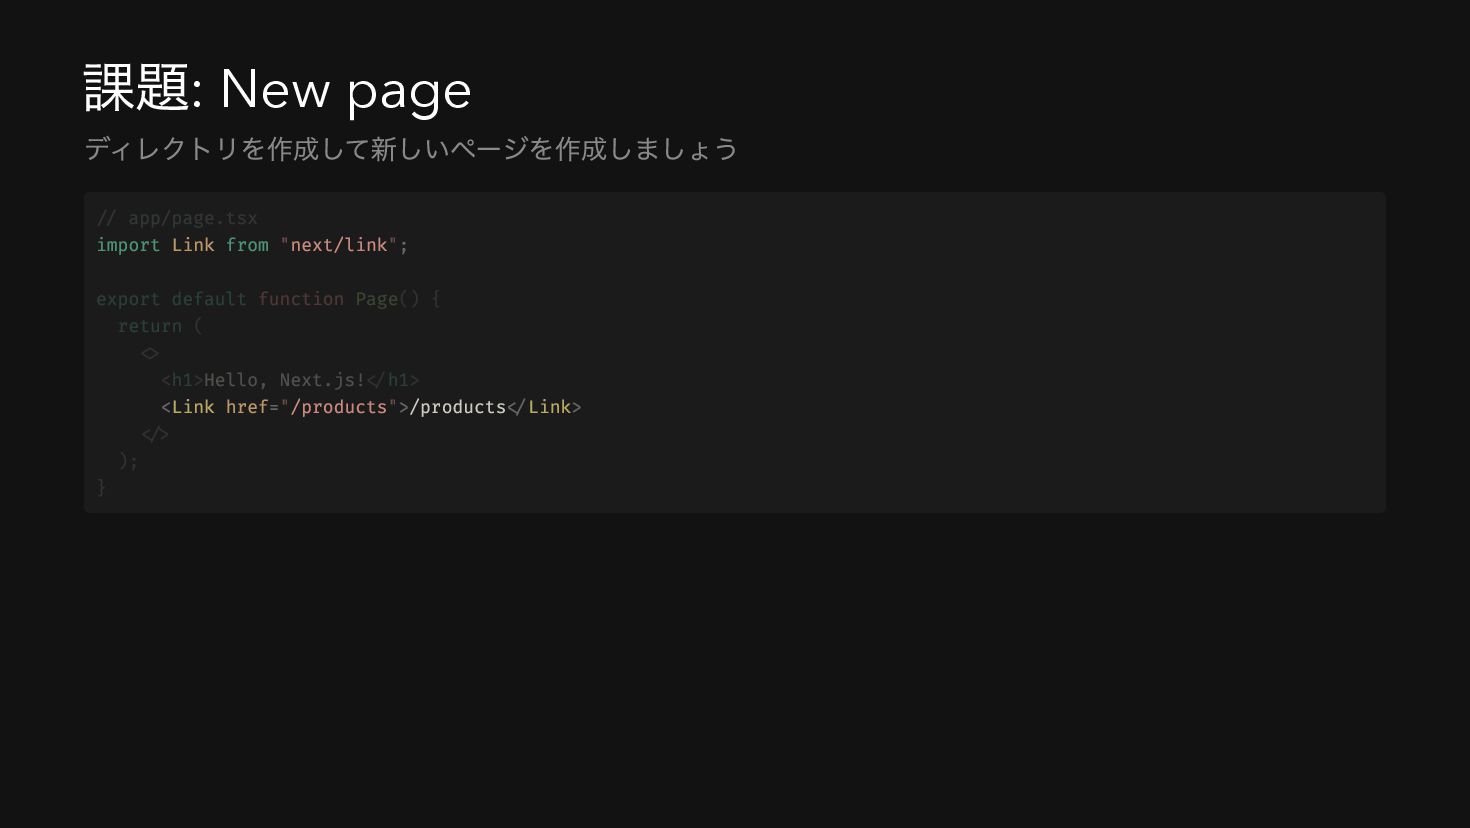
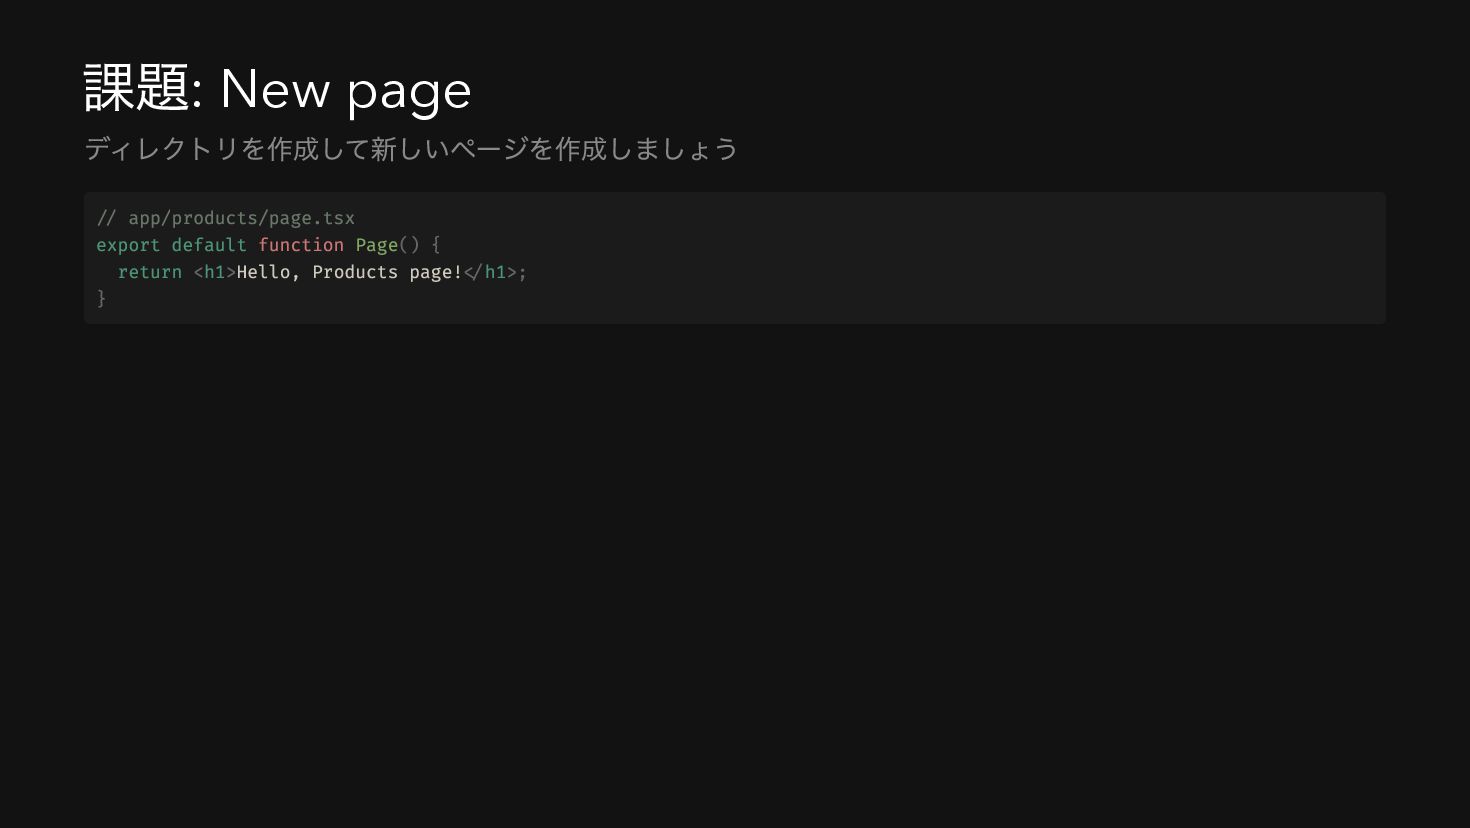
課題: New page ディレクトリを作成して新しいページを作成しましょう import Link from "next/link"; <Link href="/products">/products</Link>
// app/page.tsx export default function Page() { return ( <> <h1>Hello, Next.js!</h1> </> ); }
課題: New page ディレクトリを作成して新しいページを作成しましょう // app/products/page.tsx export default function Page()
{ return <h1>Hello, Products page!</h1>; }
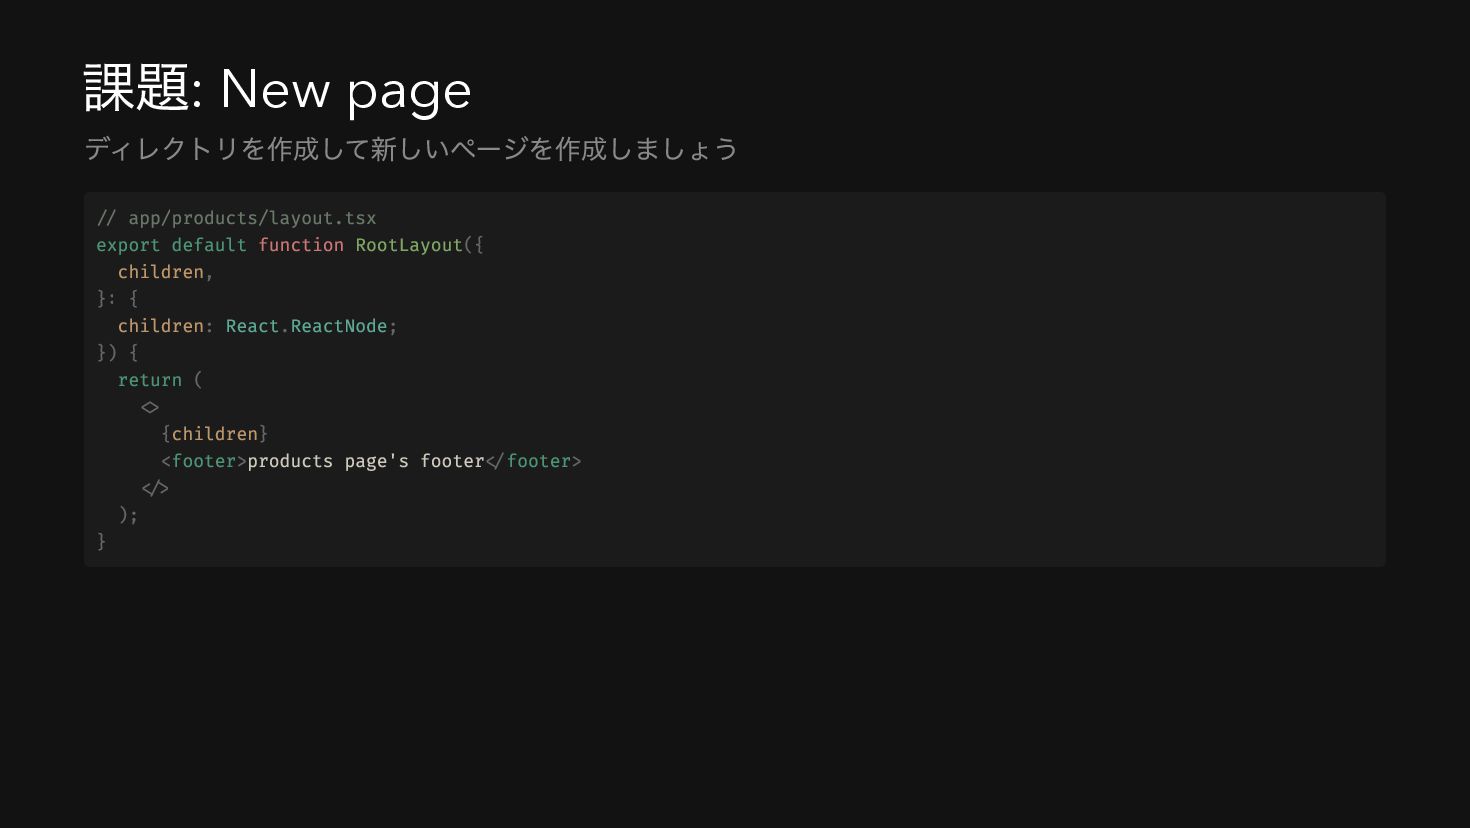
課題: New page ディレクトリを作成して新しいページを作成しましょう // app/products/layout.tsx export default function RootLayout({
children, }: { children: React.ReactNode; }) { return ( <> {children} <footer>products page's footer</footer> </> ); }
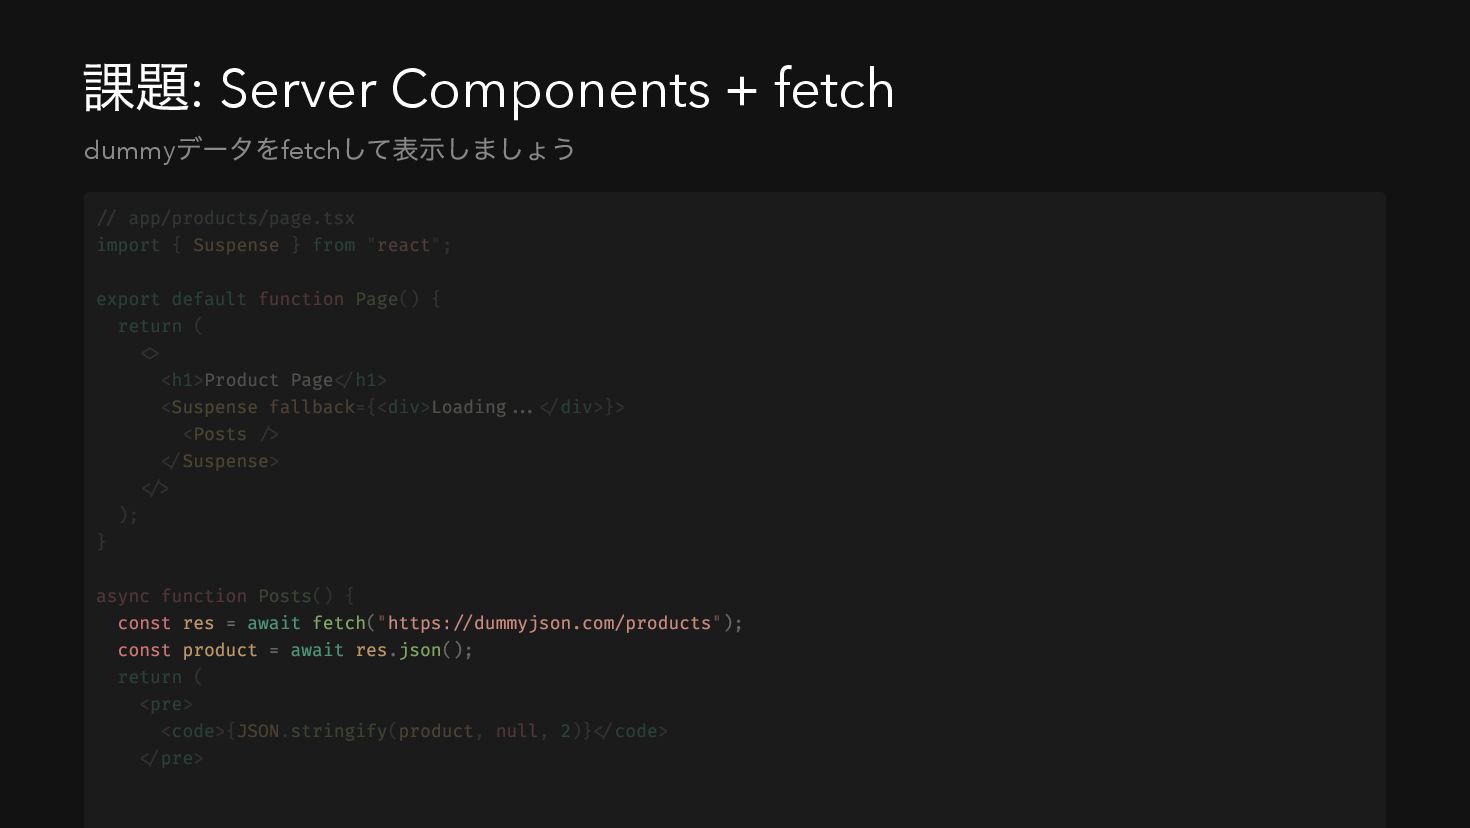
課題: Server Components + fetch dummy データをfetch して表示しましょう const res
= await fetch("https://dummyjson.com/products"); const product = await res.json(); // app/products/page.tsx import { Suspense } from "react"; export default function Page() { return ( <> <h1>Product Page</h1> <Suspense fallback={<div>Loading...</div>}> <Posts /> </Suspense> </> ); } async function Posts() { return ( <pre> <code>{JSON.stringify(product, null, 2)}</code> </pre>
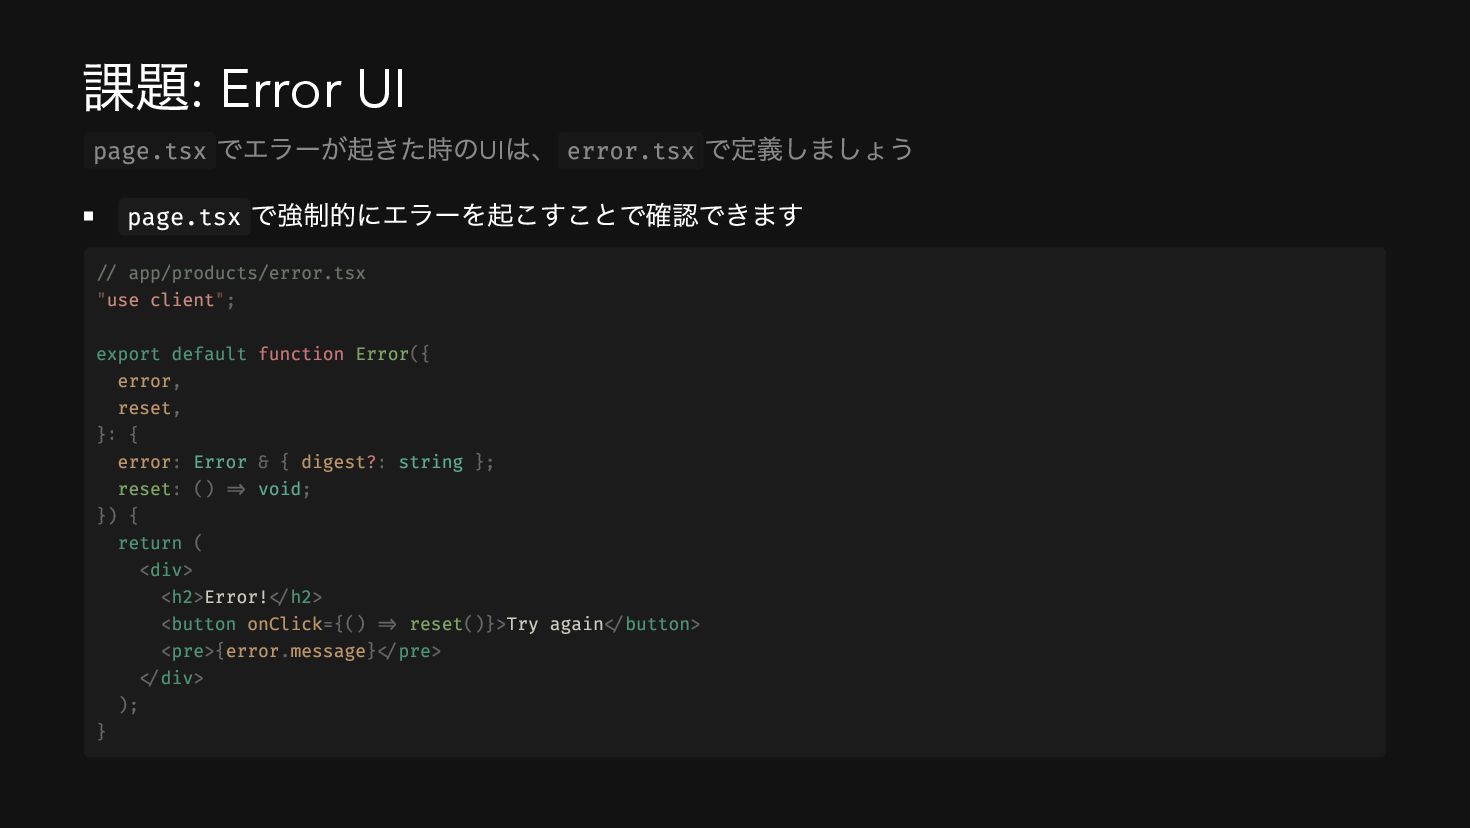
課題: Error UI page.tsx で強制的にエラーを起こすことで確認できます page.tsx でエラーが起きた時のUI は、 error.tsx で定義しましょう
// app/products/error.tsx "use client"; export default function Error({ error, reset, }: { error: Error & { digest?: string }; reset: () => void; }) { return ( <div> <h2>Error!</h2> <button onClick={() => reset()}>Try again</button> <pre>{error.message}</pre> </div> ); }
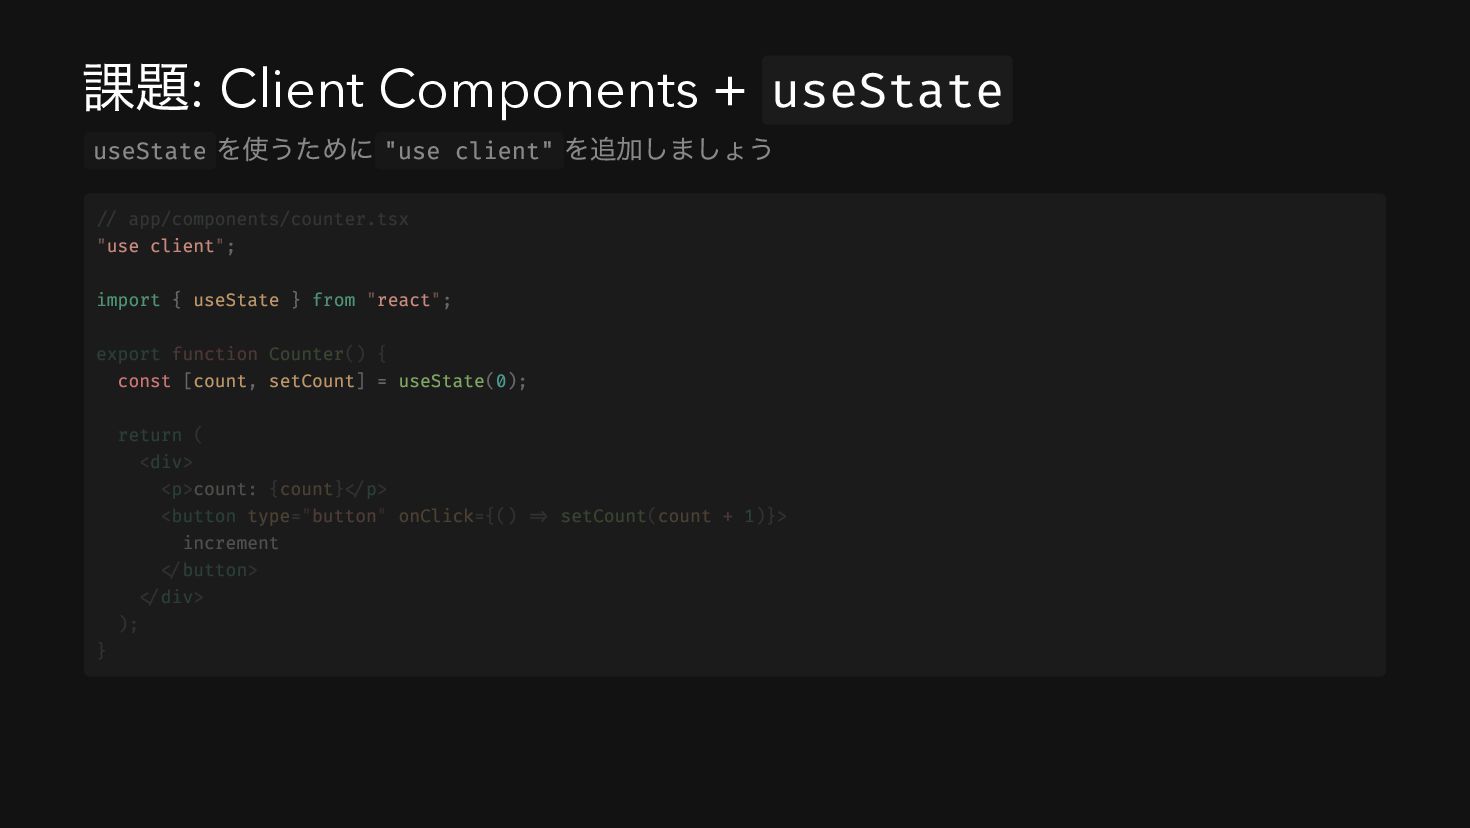
課題: Client Components + useState useState を使うために "use client" を追加しましょう
"use client"; import { useState } from "react"; const [count, setCount] = useState(0); // app/components/counter.tsx export function Counter() { return ( <div> <p>count: {count}</p> <button type="button" onClick={() => setCount(count + 1)}> increment </button> </div> ); }
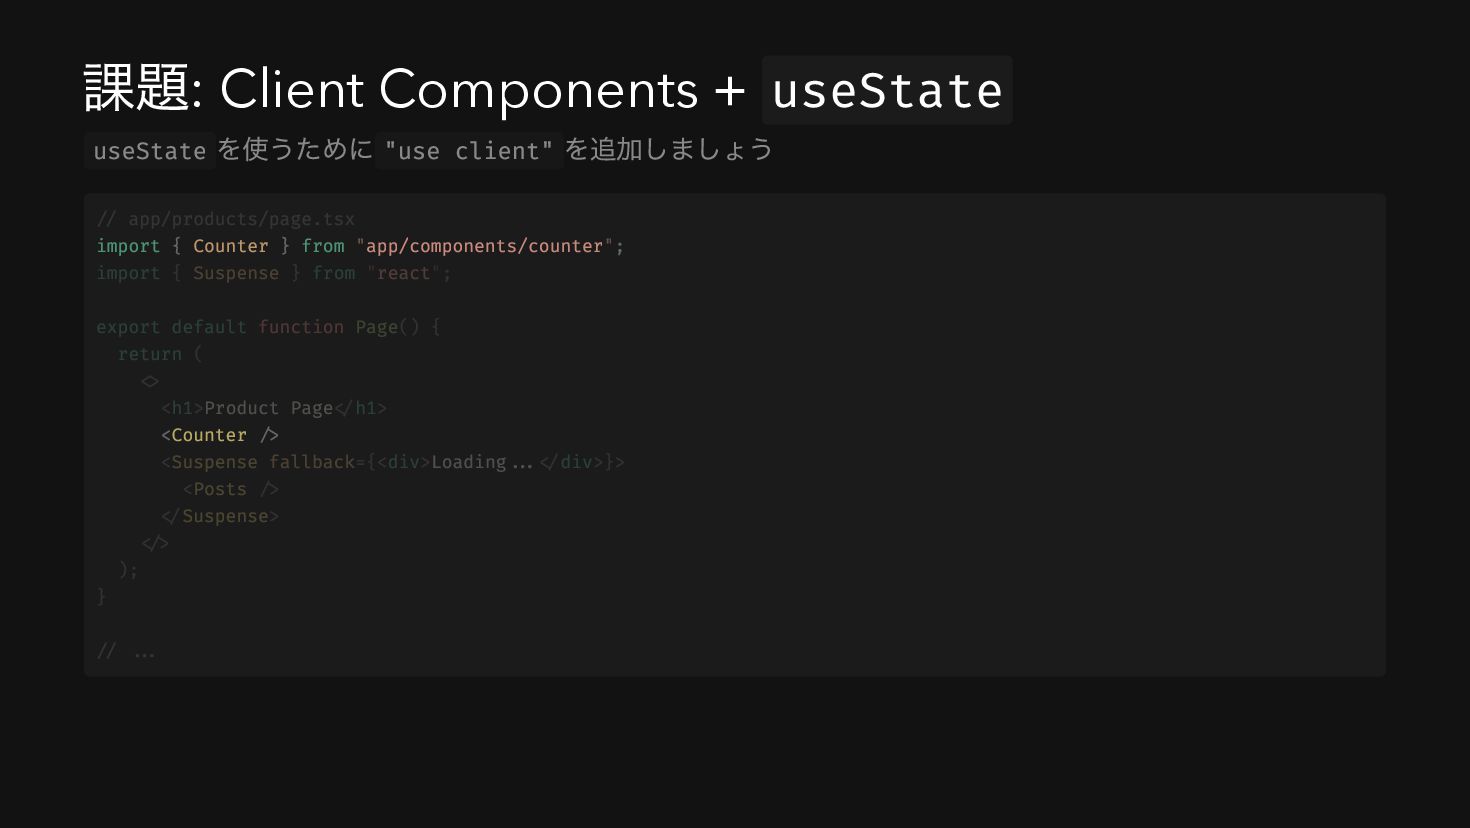
課題: Client Components + useState useState を使うために "use client" を追加しましょう
import { Counter } from "app/components/counter"; <Counter /> // app/products/page.tsx import { Suspense } from "react"; export default function Page() { return ( <> <h1>Product Page</h1> <Suspense fallback={<div>Loading...</div>}> <Posts /> </Suspense> </> ); } // ...
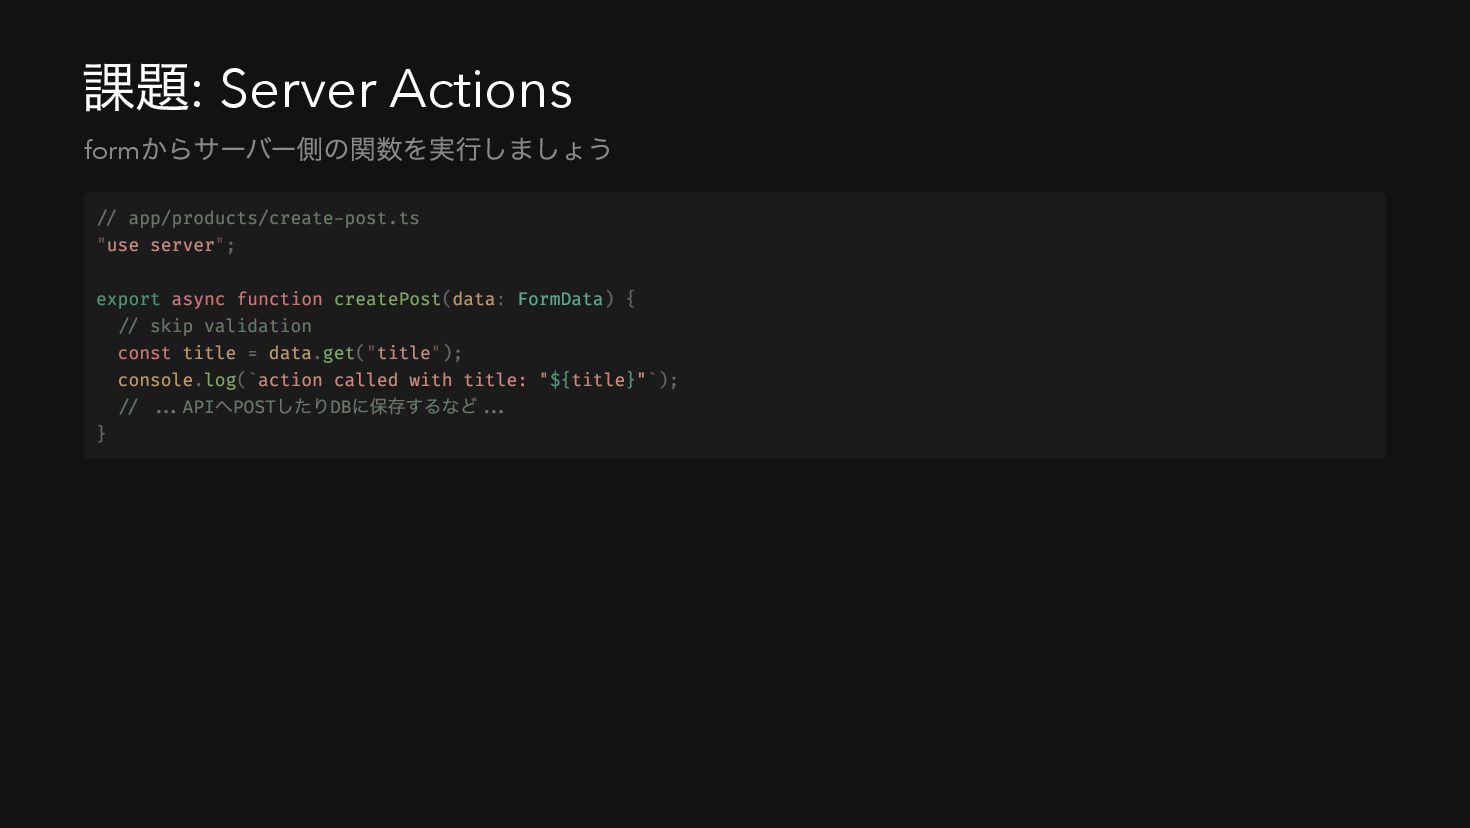
課題: Server Actions form からサーバー側の関数を実行しましょう // app/products/create-post.ts "use server"; export
async function createPost(data: FormData) { // skip validation const title = data.get("title"); console.log(`action called with title: "${title}"`); // ...API へPOST したりDB に保存するなど... }
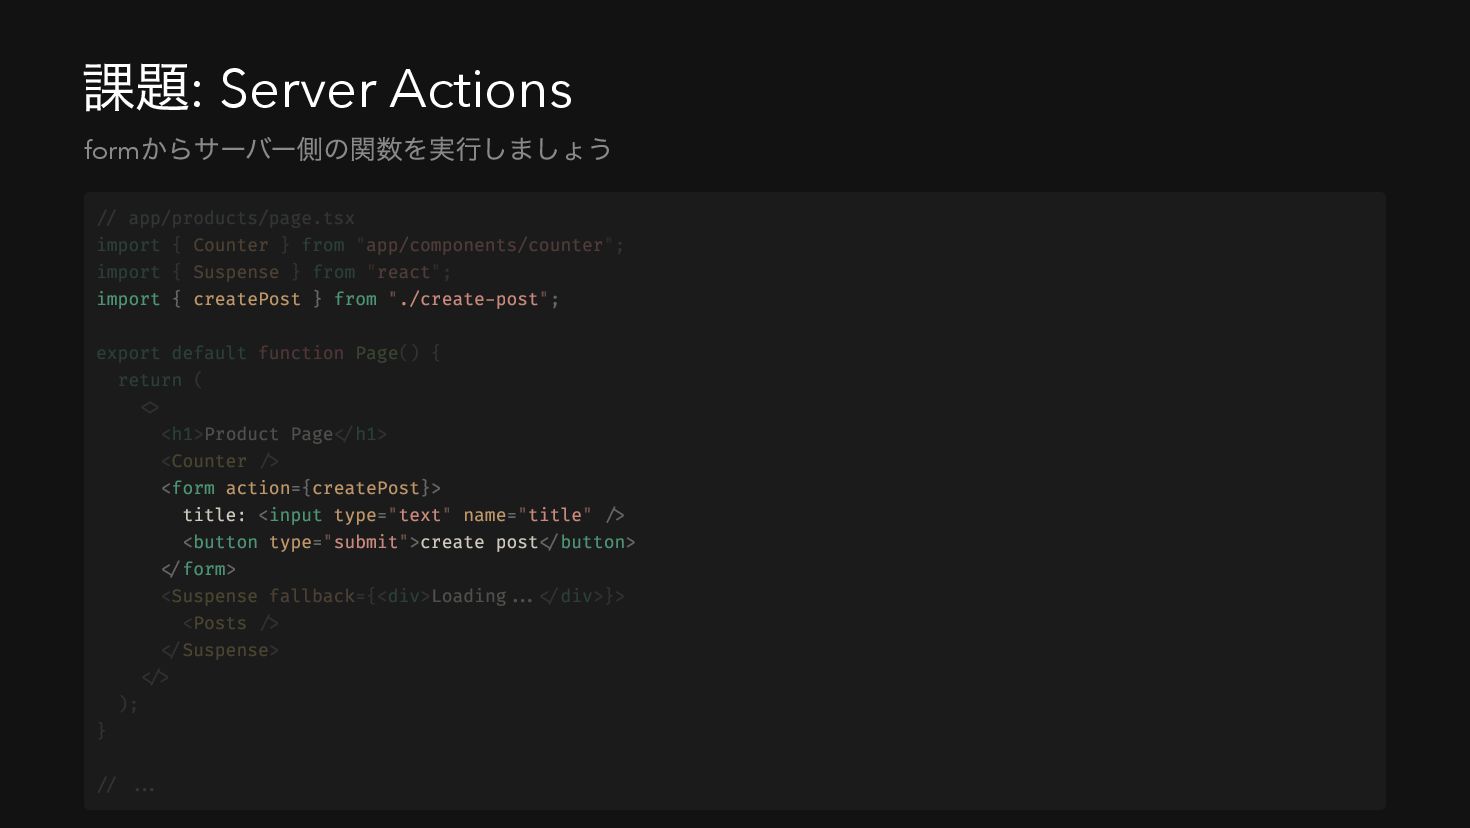
課題: Server Actions form からサーバー側の関数を実行しましょう import { createPost } from
"./create-post"; <form action={createPost}> title: <input type="text" name="title" /> <button type="submit">create post</button> </form> // app/products/page.tsx import { Counter } from "app/components/counter"; import { Suspense } from "react"; export default function Page() { return ( <> <h1>Product Page</h1> <Counter /> <Suspense fallback={<div>Loading...</div>}> <Posts /> </Suspense> </> ); } // ...
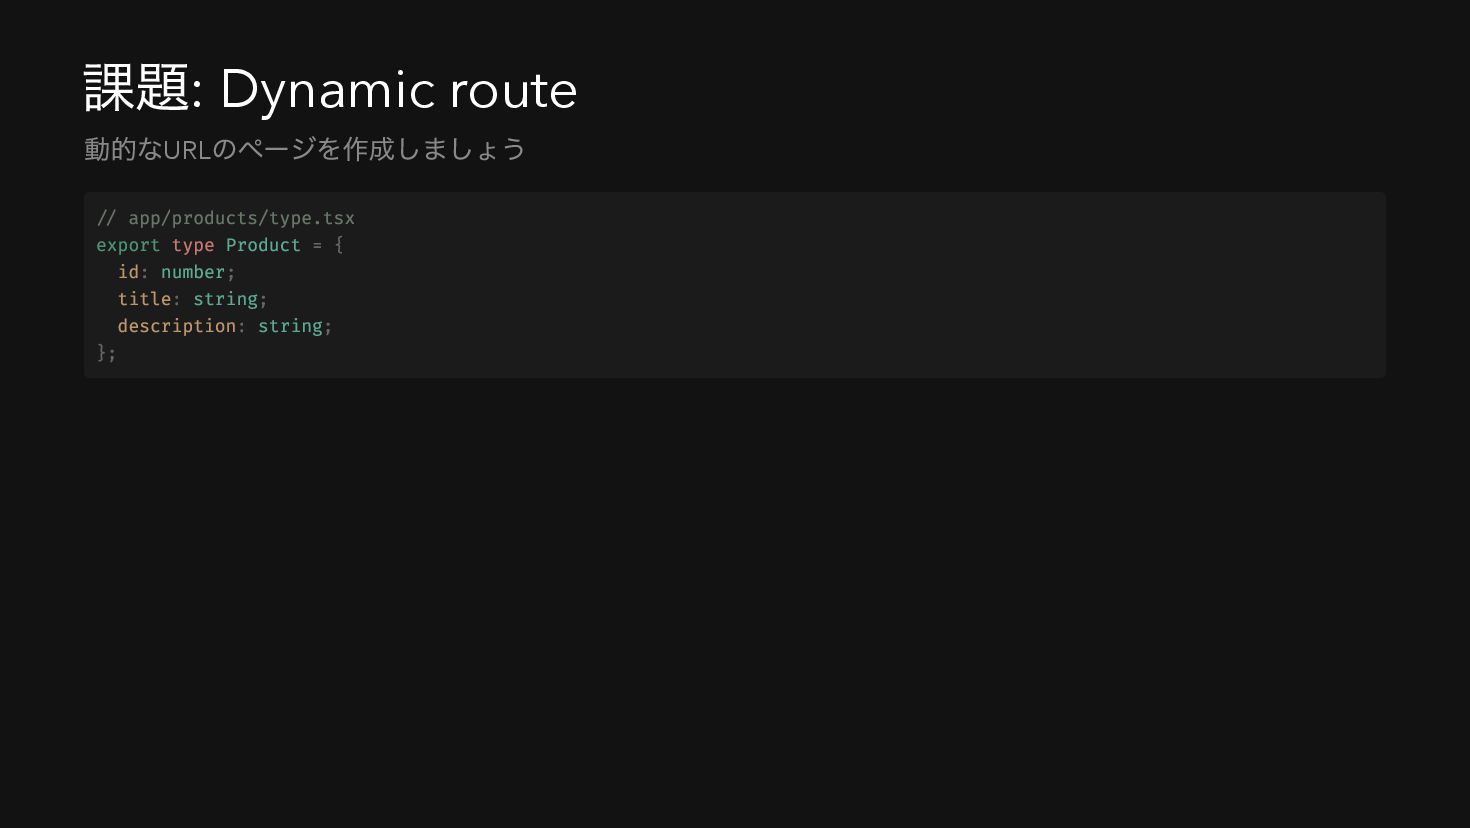
課題: Dynamic route 動的なURL のページを作成しましょう // app/products/type.tsx export type Product
= { id: number; title: string; description: string; };
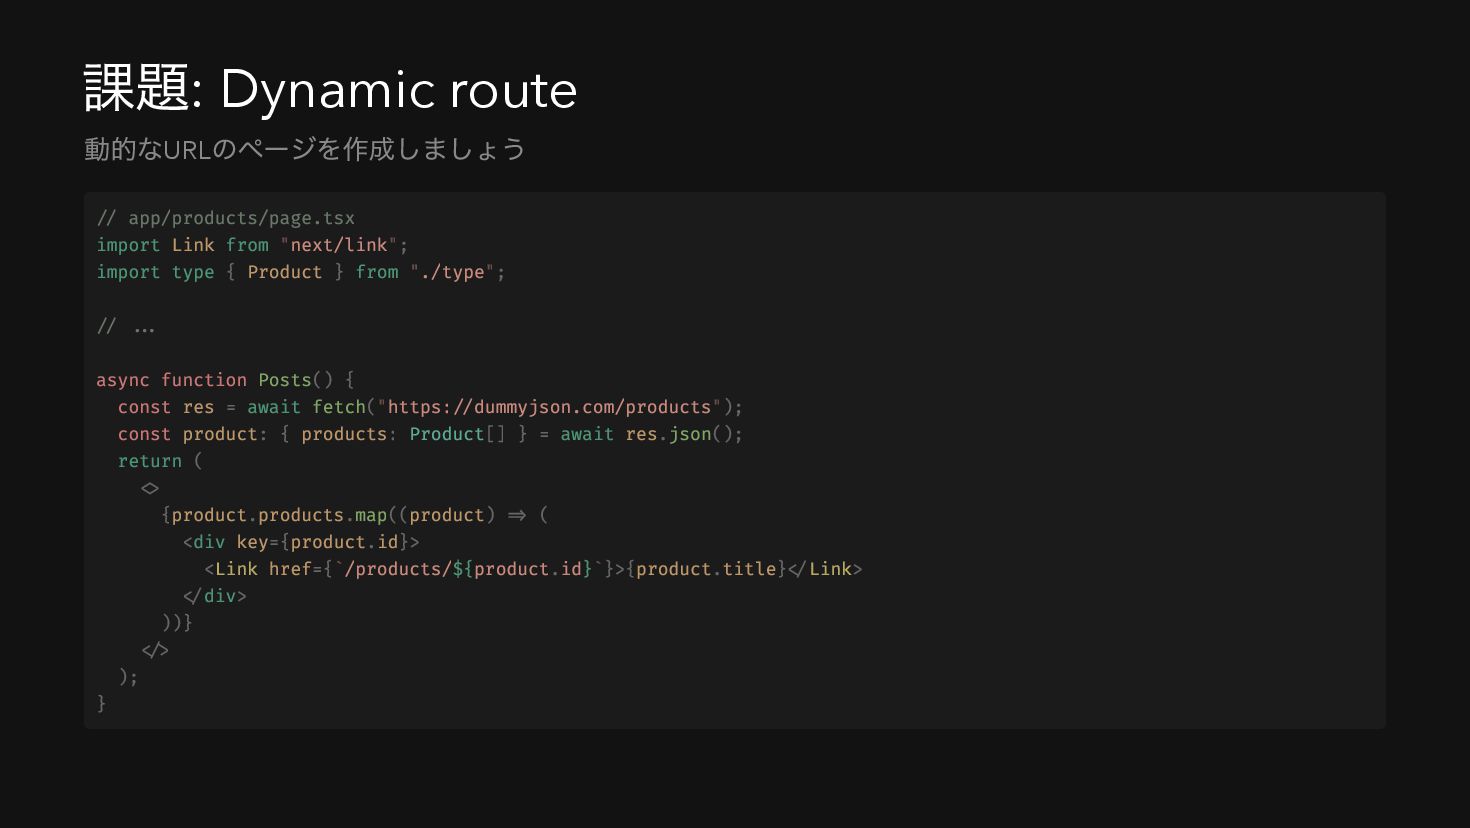
課題: Dynamic route 動的なURL のページを作成しましょう // app/products/page.tsx import Link from
"next/link"; import type { Product } from "./type"; // ... async function Posts() { const res = await fetch("https://dummyjson.com/products"); const product: { products: Product[] } = await res.json(); return ( <> {product.products.map((product) => ( <div key={product.id}> <Link href={`/products/${product.id}`}>{product.title}</Link> </div> ))} </> ); }
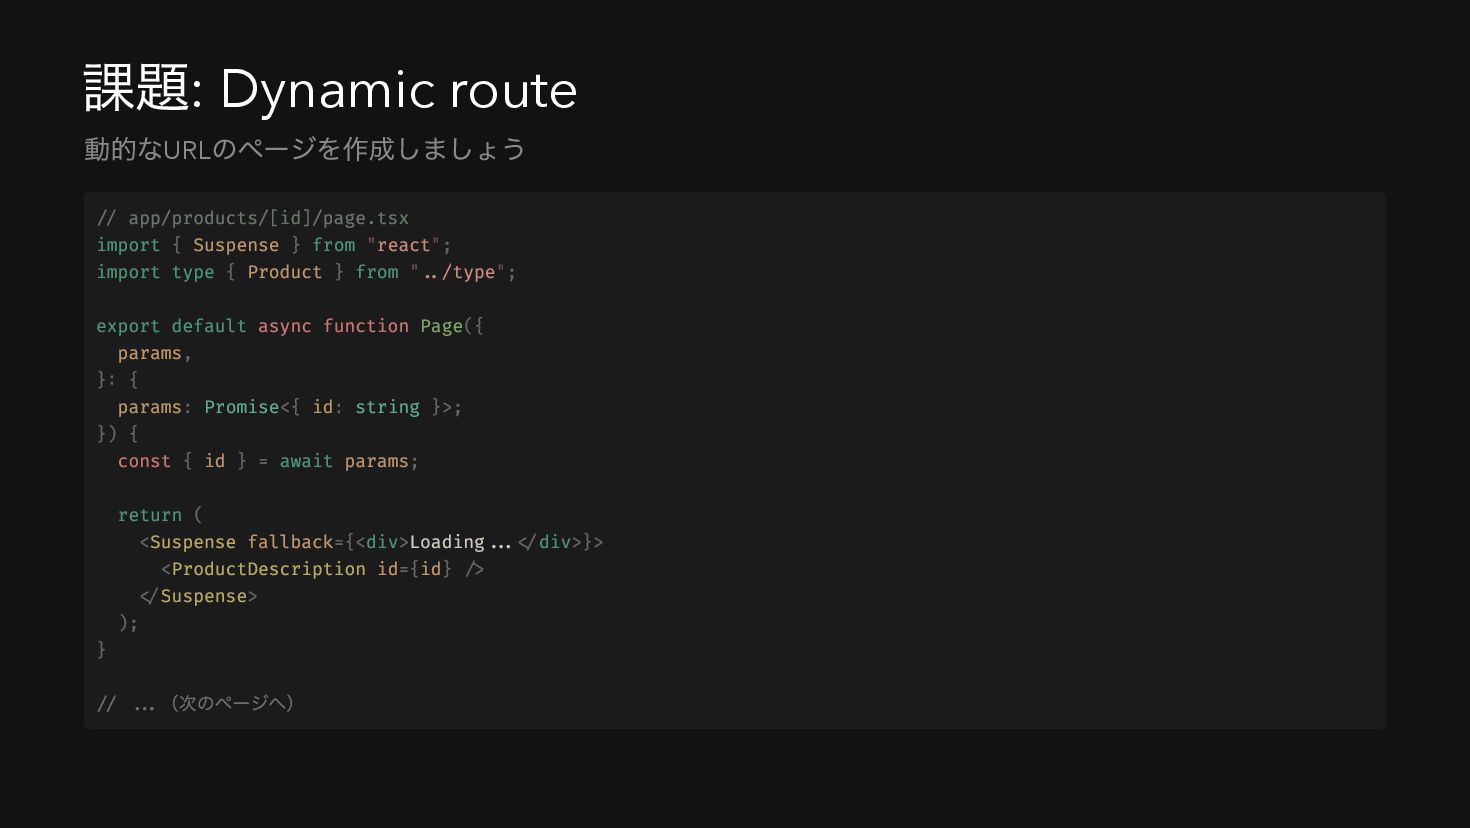
課題: Dynamic route 動的なURL のページを作成しましょう // app/products/[id]/page.tsx import { Suspense
} from "react"; import type { Product } from "../type"; export default async function Page({ params, }: { params: Promise<{ id: string }>; }) { const { id } = await params; return ( <Suspense fallback={<div>Loading...</div>}> <ProductDescription id={id} /> </Suspense> ); } // ... (次のページへ)
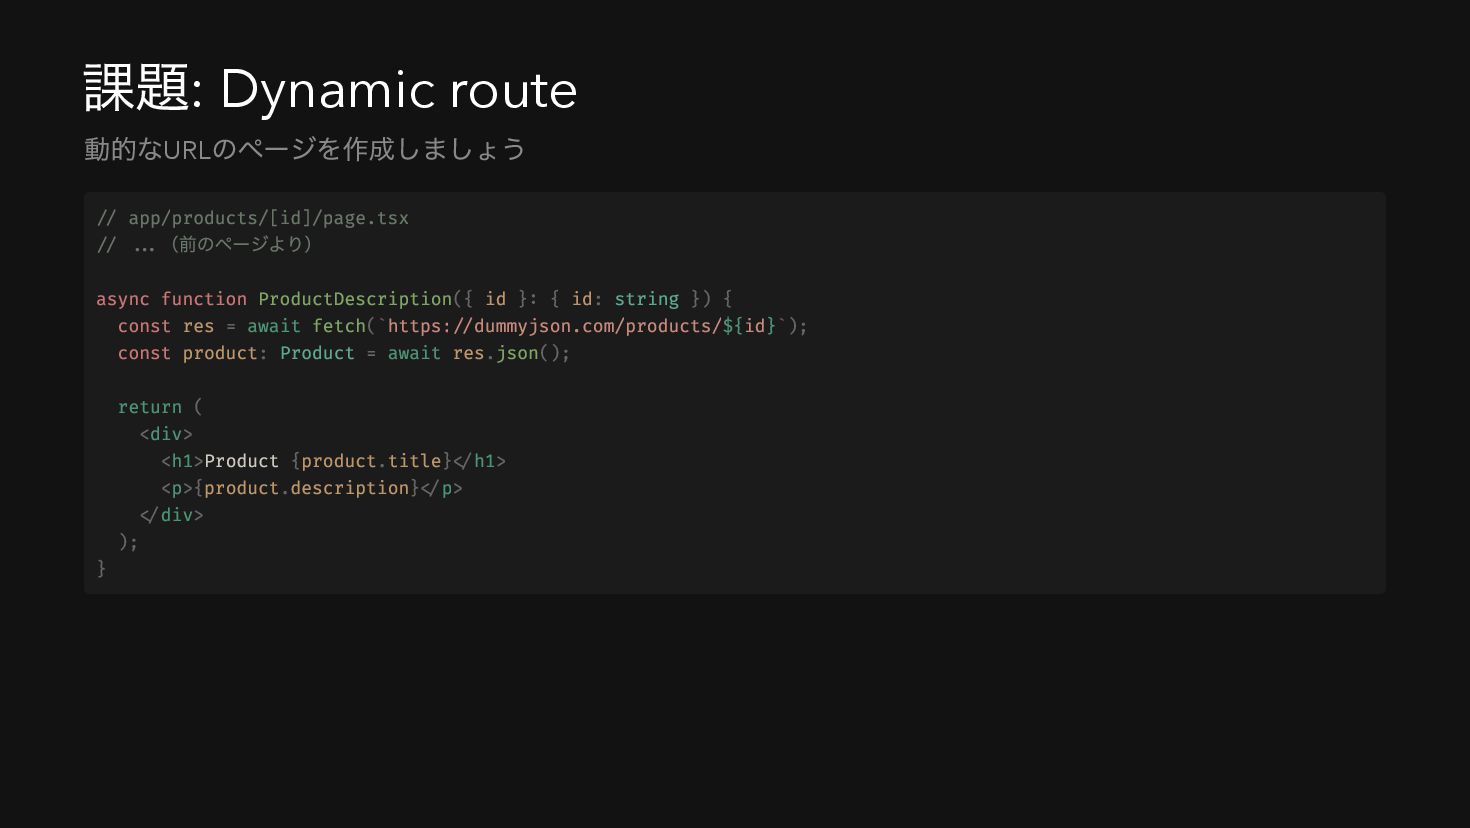
課題: Dynamic route 動的なURL のページを作成しましょう // app/products/[id]/page.tsx // ... (前のページより)
async function ProductDescription({ id }: { id: string }) { const res = await fetch(`https://dummyjson.com/products/${id}`); const product: Product = await res.json(); return ( <div> <h1>Product {product.title}</h1> <p>{product.description}</p> </div> ); }
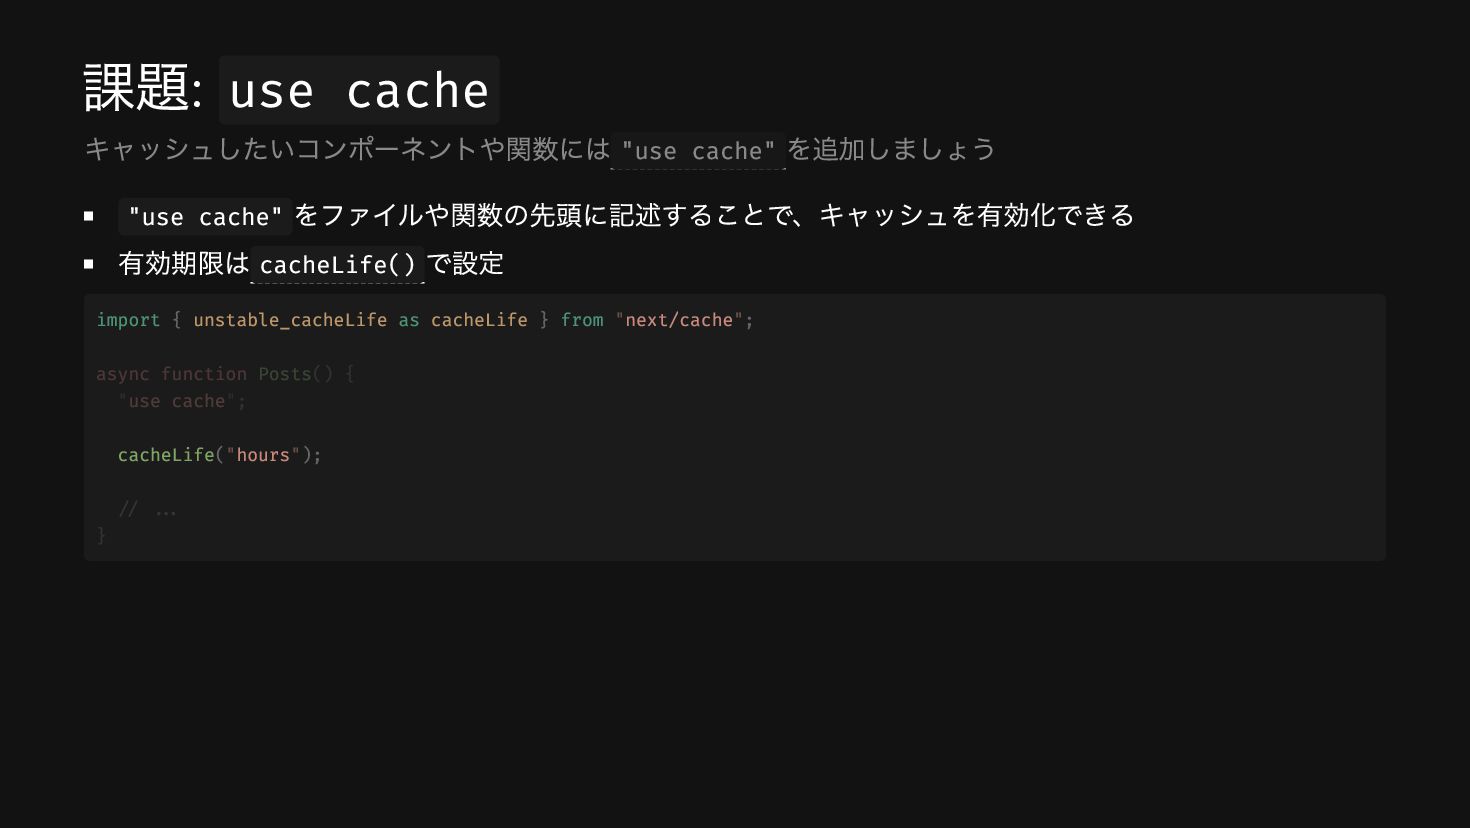
課題: use cache "use cache" をファイルや関数の先頭に記述することで、キャッシュを有効化できる 有効期限は cacheLife() で設定 キャッシュしたいコンポーネントや関数には
"use cache" を追加しましょう import { unstable_cacheLife as cacheLife } from "next/cache"; cacheLife("hours"); async function Posts() { "use cache"; // ... }
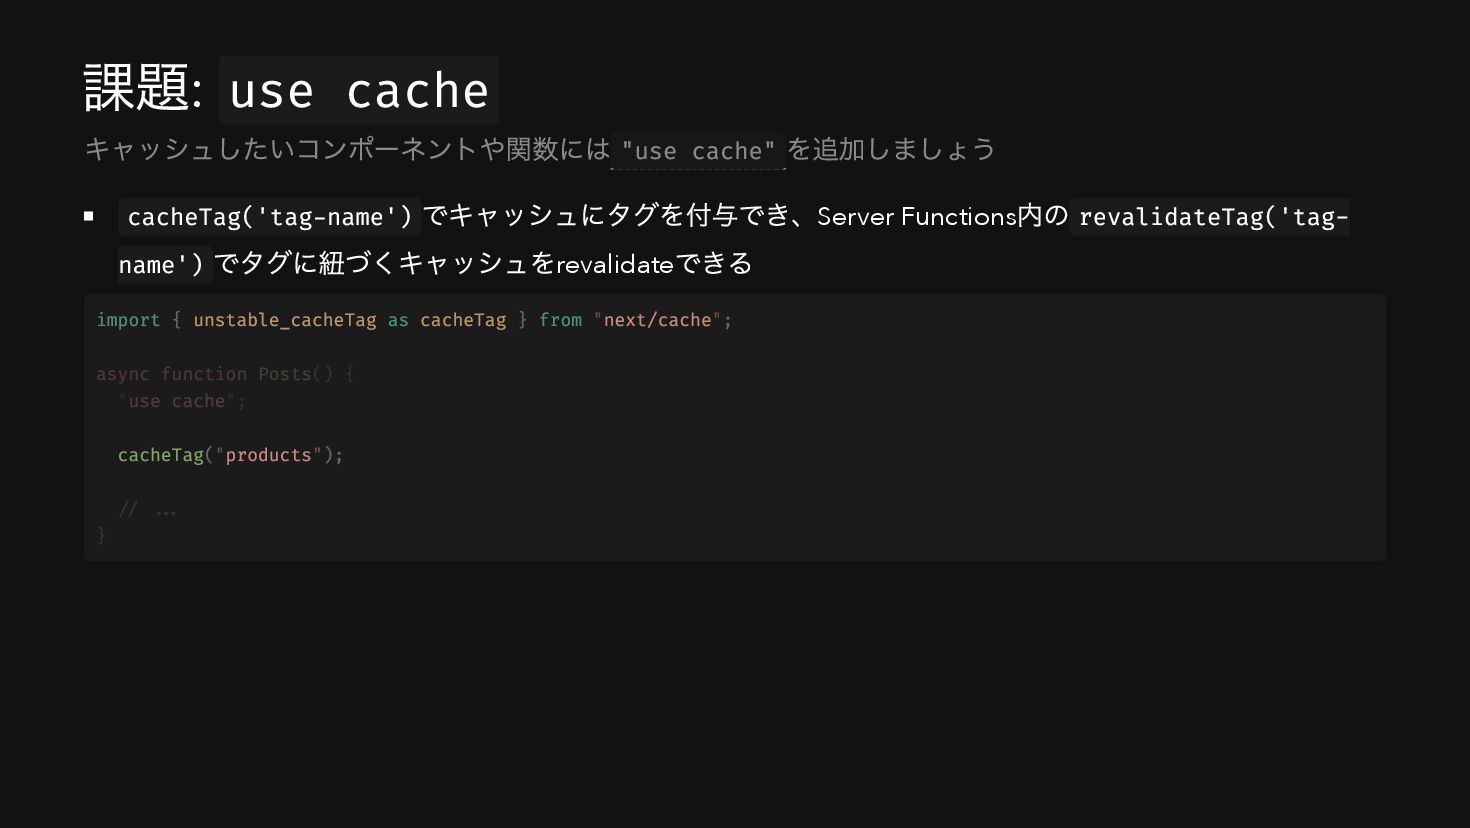
課題: use cache cacheTag('tag-name') でキャッシュにタグを付与でき、Server Functions 内の revalidateTag('tag- name') でタグに紐づくキャッシュをrevalidate
できる キャッシュしたいコンポーネントや関数には "use cache" を追加しましょう import { unstable_cacheTag as cacheTag } from "next/cache"; cacheTag("products"); async function Posts() { "use cache"; // ... }
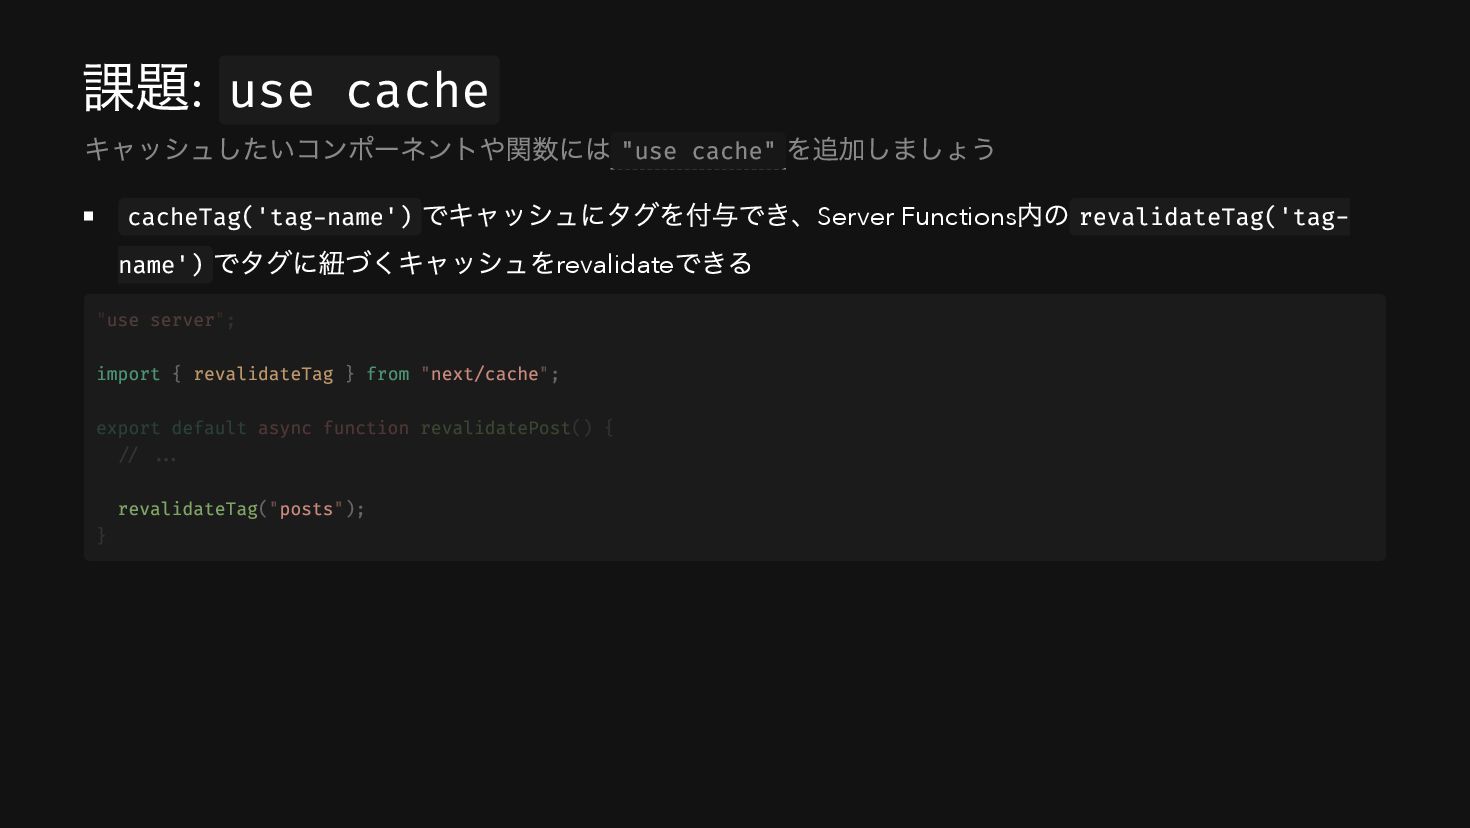
課題: use cache cacheTag('tag-name') でキャッシュにタグを付与でき、Server Functions 内の revalidateTag('tag- name') でタグに紐づくキャッシュをrevalidate
できる キャッシュしたいコンポーネントや関数には "use cache" を追加しましょう import { revalidateTag } from "next/cache"; revalidateTag("posts"); "use server"; export default async function revalidatePost() { // ... }
実践課題 ブログアプリケーションの開発
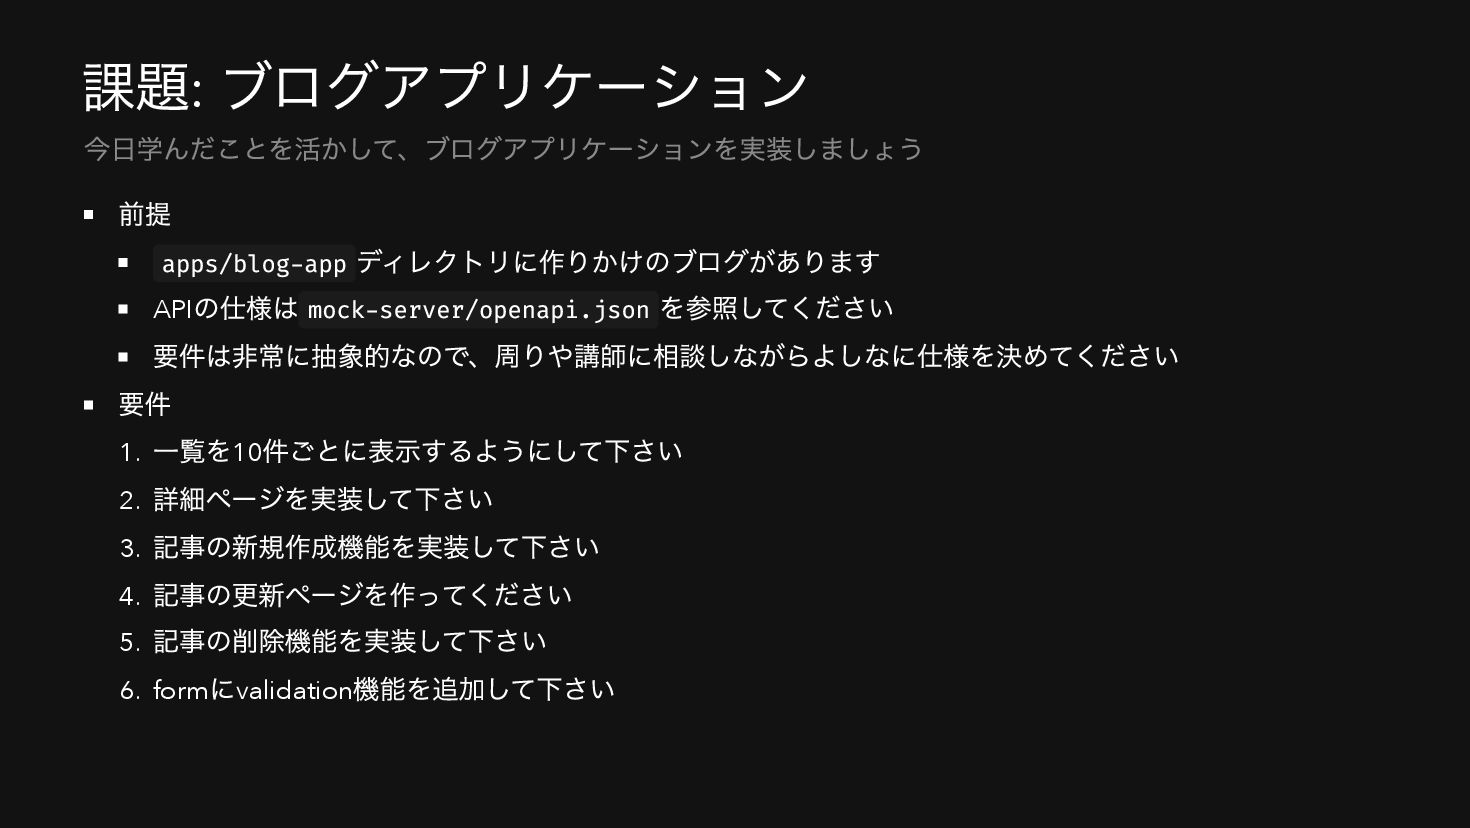
課題: ブログアプリケーション 前提 apps/blog-app ディレクトリに作りかけのブログがあります API の仕様は mock-server/openapi.json を参照してください 要件は非常に抽象的なので、周りや講師に相談しながらよしなに仕様を決めてください
要件 1. 一覧を10 件ごとに表示するようにして下さい 2. 詳細ページを実装して下さい 3. 記事の新規作成機能を実装して下さい 4. 記事の更新ページを作ってください 5. 記事の削除機能を実装して下さい 6. form にvalidation 機能を追加して下さい 今日学んだことを活かして、ブログアプリケーションを実装しましょう
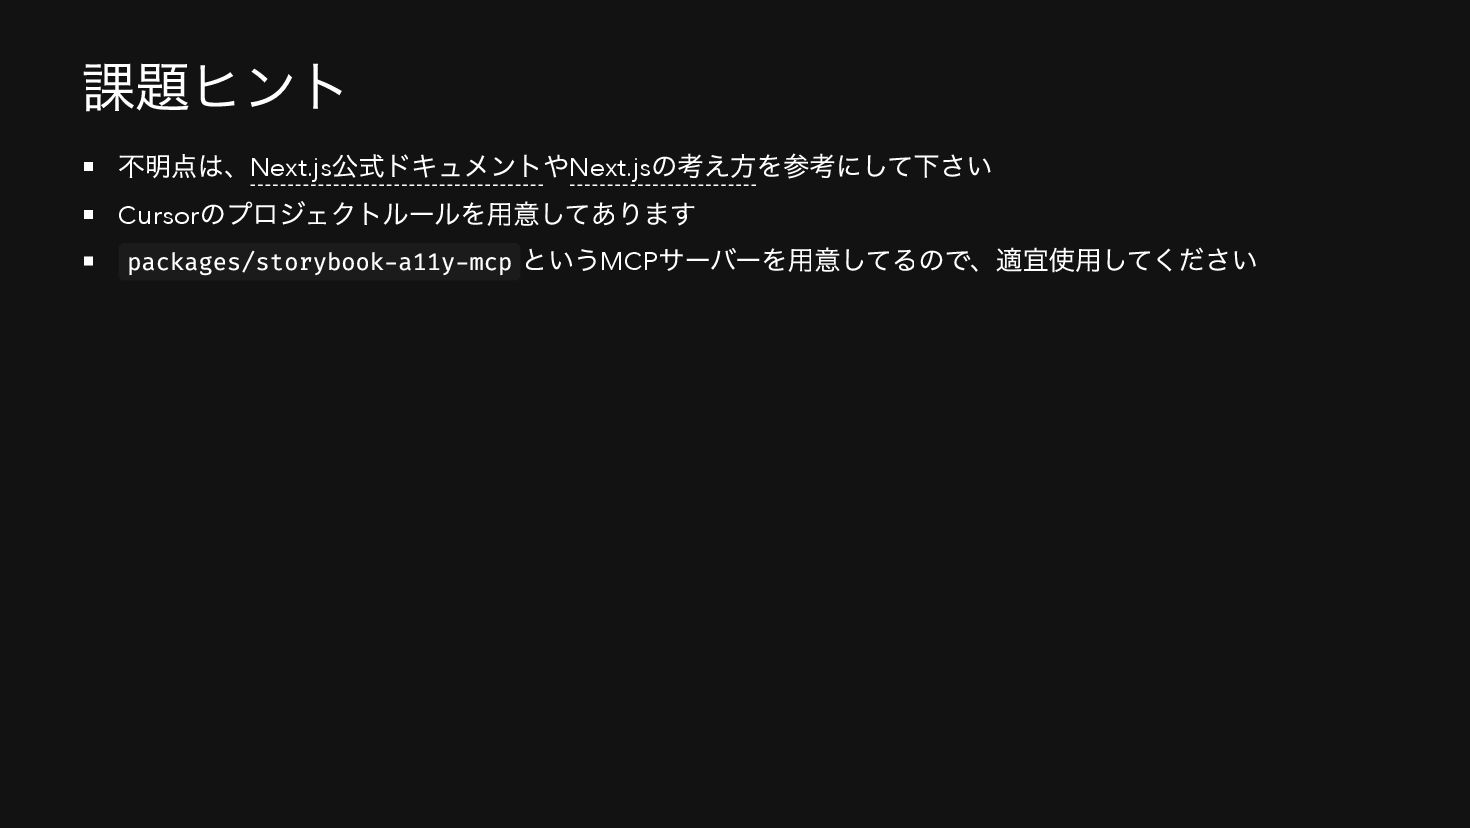
課題ヒント 不明点は、Next.js 公式ドキュメントやNext.js の考え方を参考にして下さい Cursor のプロジェクトルールを用意してあります packages/storybook-a11y-mcp というMCP サーバーを用意してるので、適宜使用してください
知見の共有 組織人としてのエンジニアの責務
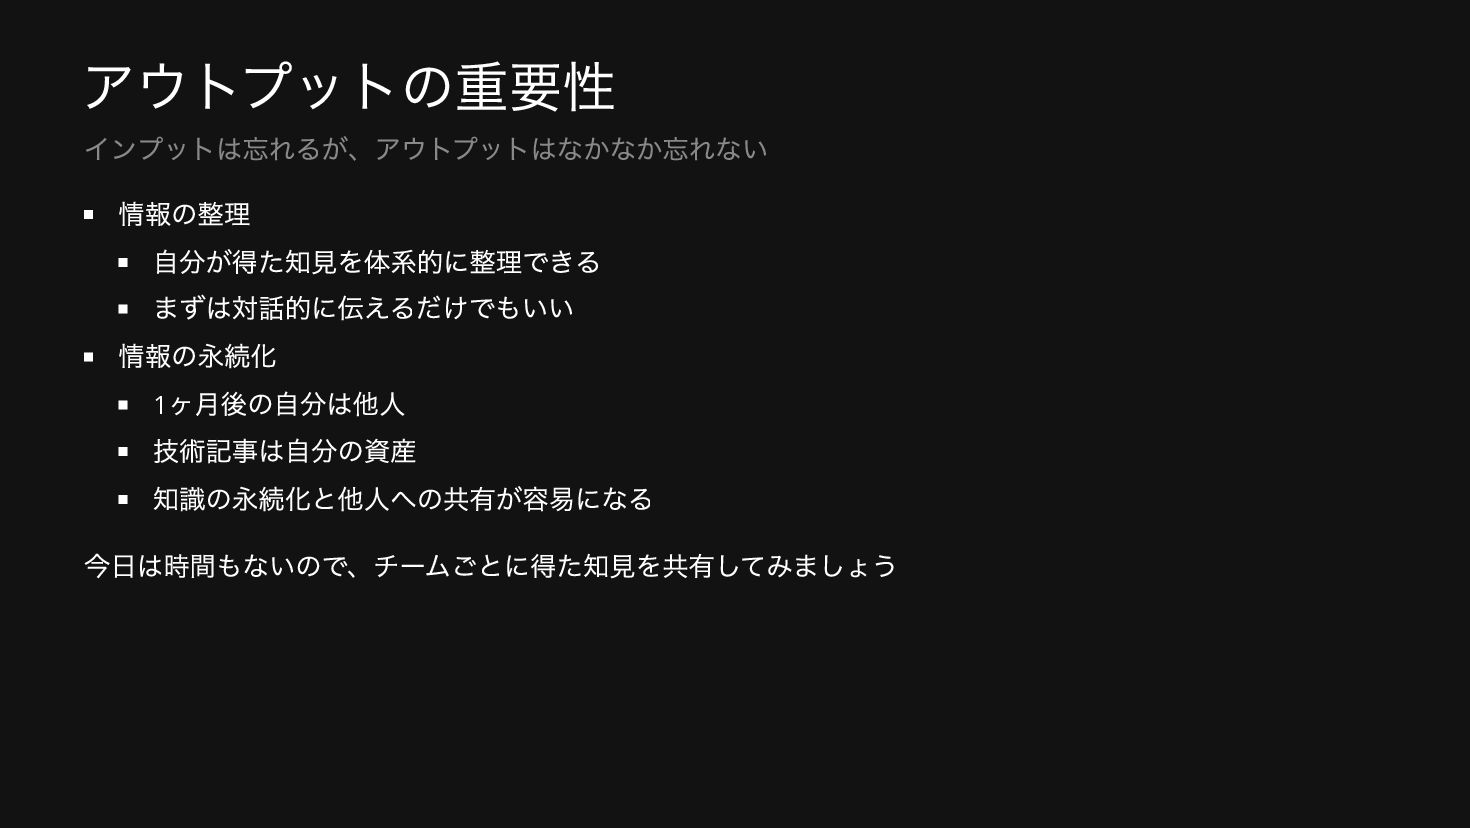
アウトプットの重要性 情報の整理 自分が得た知見を体系的に整理できる まずは対話的に伝えるだけでもいい 情報の永続化 1 ヶ月後の自分は他人 技術記事は自分の資産 知識の永続化と他人への共有が容易になる 今日は時間もないので、チームごとに得た知見を共有してみましょう
インプットは忘れるが、アウトプットはなかなか忘れない
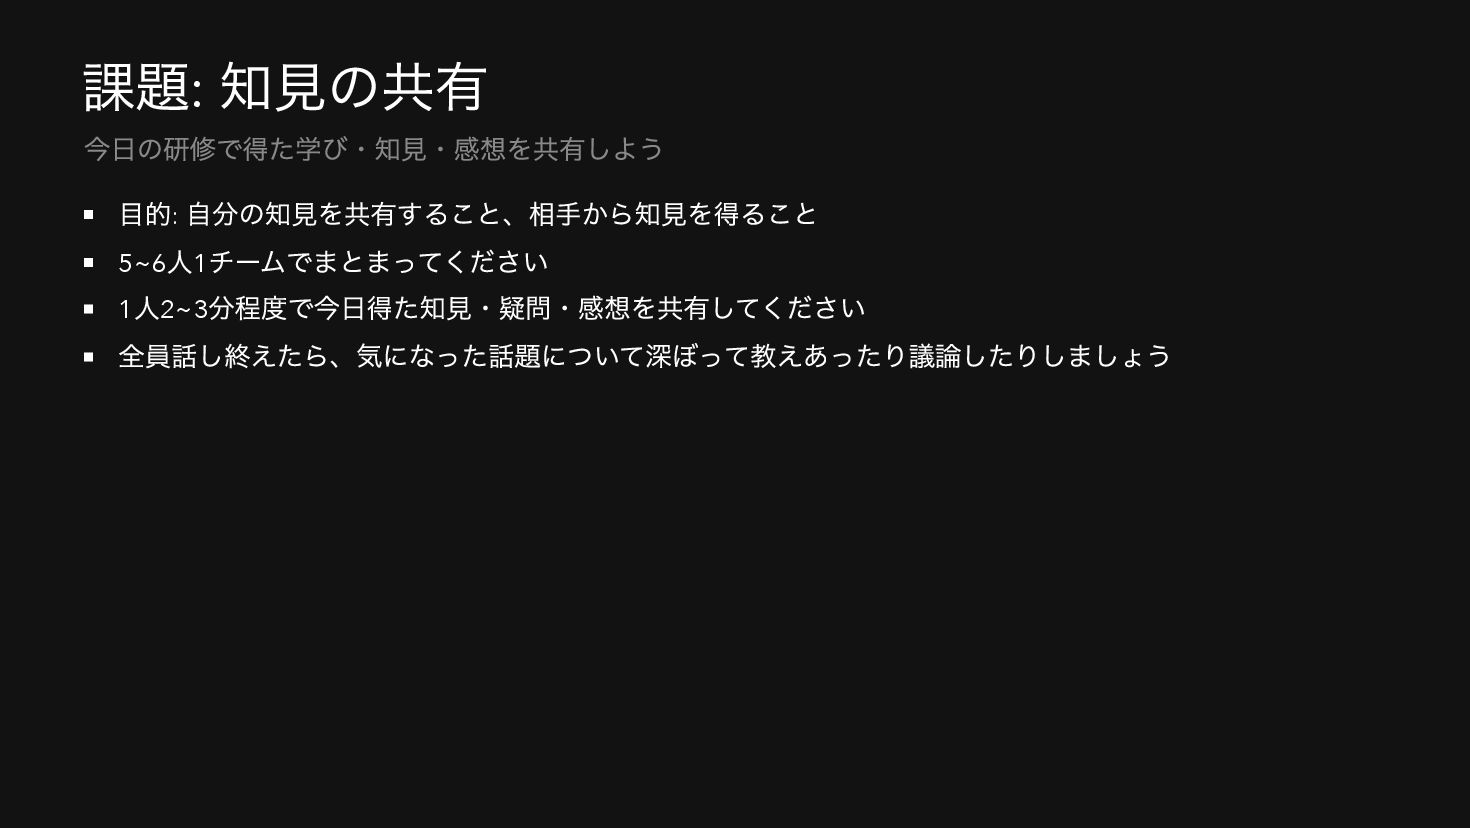
課題: 知見の共有 目的: 自分の知見を共有すること、相手から知見を得ること 5~6 人1 チームでまとまってください 1 人2~3 分程度で今日得た知見・疑問・感想を共有してください
全員話し終えたら、気になった話題について深ぼって教えあったり議論したりしましょう 今日の研修で得た学び・知見・感想を共有しよう
まとめ モダンフロントエンド開発研修のまとめ
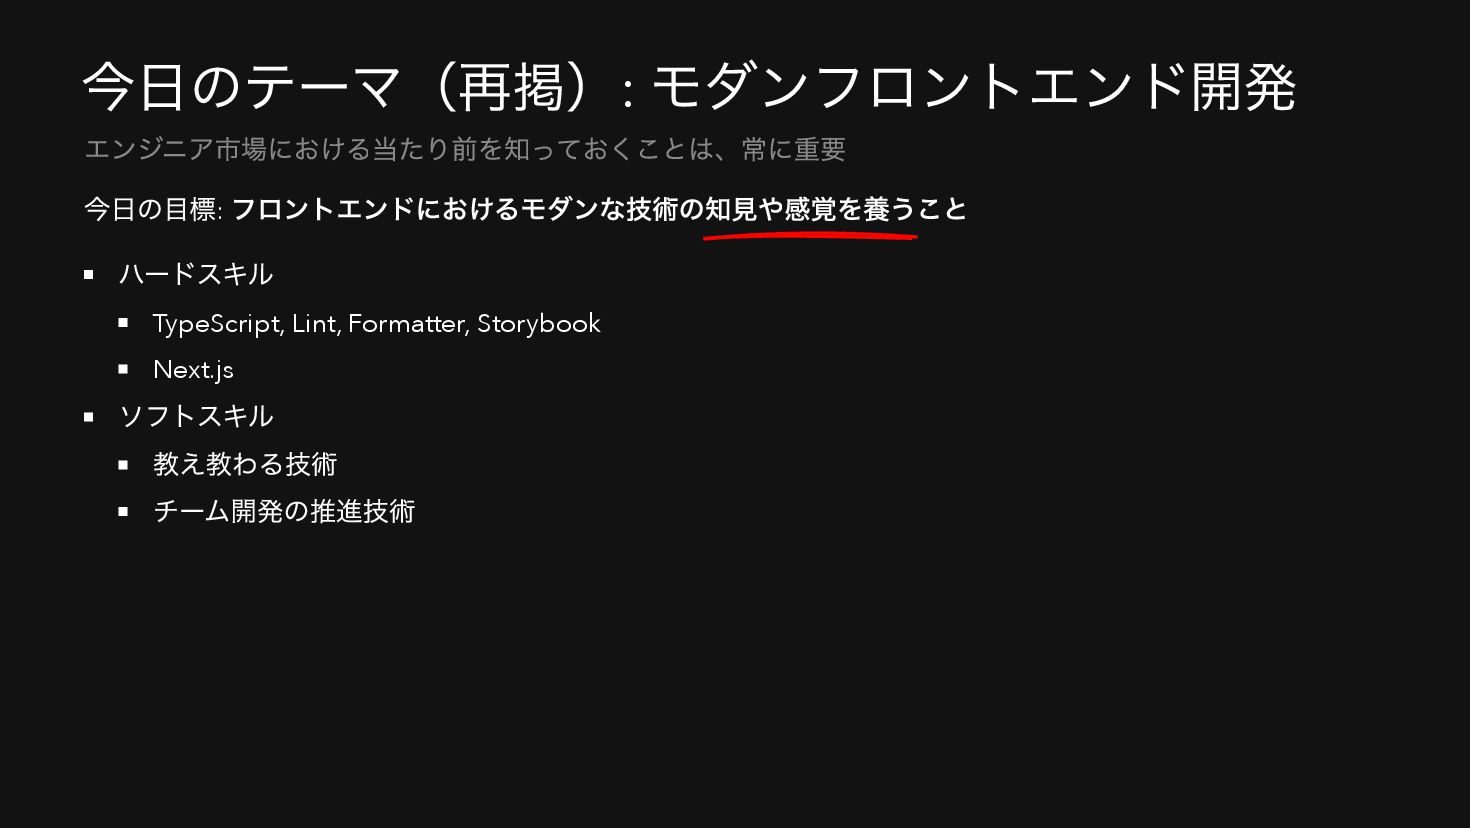
今日のテーマ(再掲): モダンフロントエンド開発 今日の目標: フロントエンドにおけるモダンな技術の知見や感覚を養うこと ハードスキル TypeScript, Lint, Formatter, Storybook Next.js
ソフトスキル 教え教わる技術 チーム開発の推進技術 エンジニア市場における当たり前を知っておくことは、常に重要
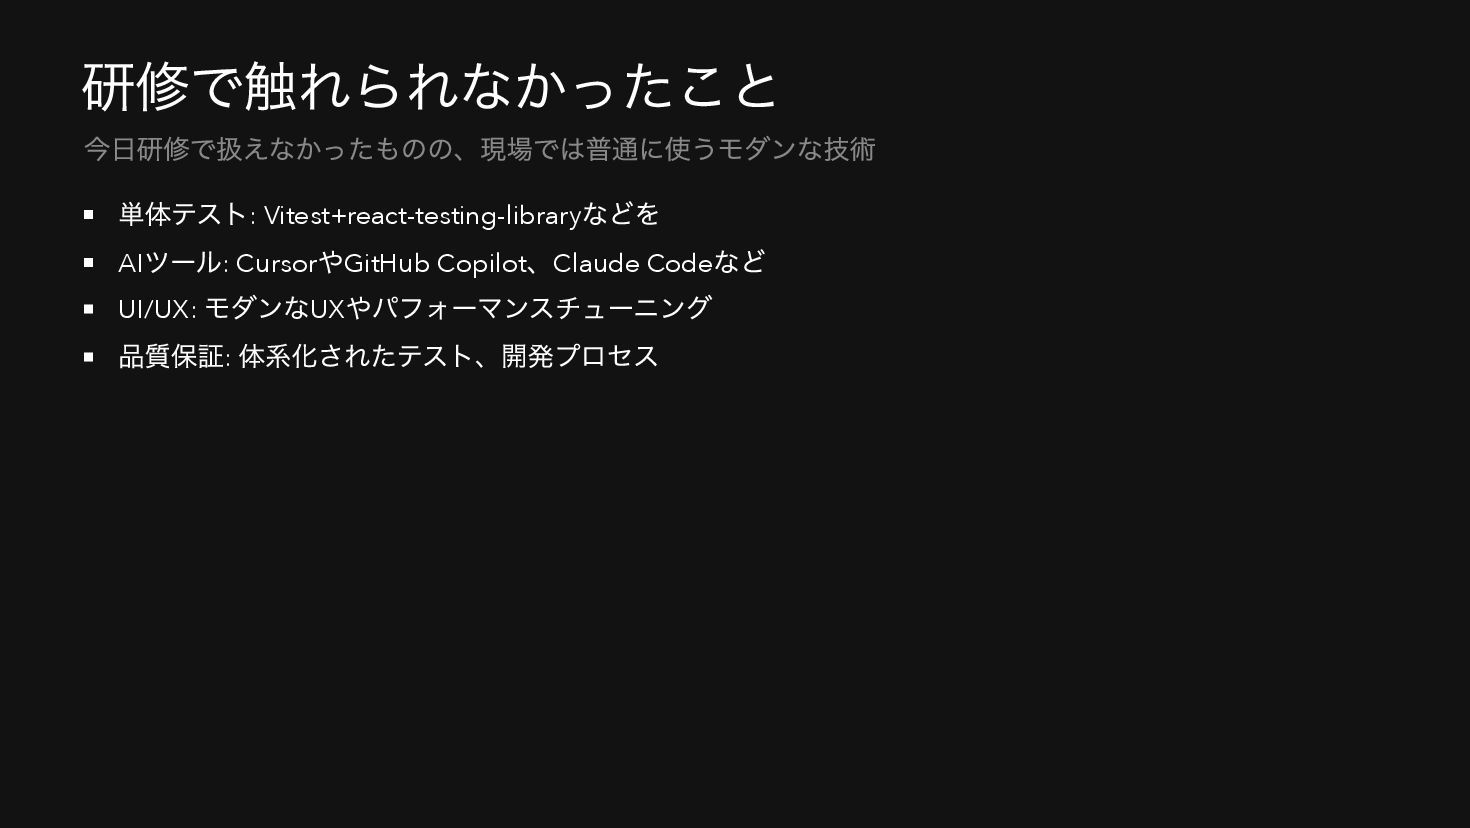
研修で触れられなかったこと 単体テスト: Vitest+react-testing-library などを AI ツール: Cursor やGitHub Copilot 、Claude
Code など UI/UX: モダンなUX やパフォーマンスチューニング 品質保証: 体系化されたテスト、開発プロセス 今日研修で扱えなかったものの、現場では普通に使うモダンな技術
皆さんの今後のご活躍を楽しみにしています
End
More Decks by Recruit
See All by Recruit
OpenSearchで実現する ホットペッパーグルメの検索基盤
recruitengineers
PRO
2
26
局所最適は悪ではない。壊れているのは指標です。量と質を同時に見る先行指標の設計
recruitengineers
PRO
3
1.7k
実体験から学ぶ分析エージェントの開発と運⽤
recruitengineers
PRO
9
3.1k
大規模フロントエンド開発におけるmonorepoという選択肢
recruitengineers
PRO
2
140
自律型 AI をセキュアに実装!Gemini と MIG で作る動的コード実行環境
recruitengineers
PRO
1
360
Google Cloud Next Tokyo 26登壇時のスクリプト
recruitengineers
PRO
0
390
つくって納得、つかって実感! 大規模言語モデルことはじめ ver2.0
recruitengineers
PRO
6
3.2k
ブラウザ研修 2026
recruitengineers
PRO
8
2.3k
事業価値と Engineering 2026年度版
recruitengineers
PRO
60
32k
Other Decks in Technology
See All in Technology
Oracle Base Database Service 技術詳細
oracle4engineer
PRO
17
120k
AIネイティブ組織の作り方。1人のPOとAIから始める、自社での実験
ama_ch
2
1.2k
[NW-JAWS DAY]「うちのAWS、インターネット出られないんで」― AWS外の自社サービスをPrivateLinkでシュッと公開する方法
ykimi
3
870
エンタープライズIAMについて - ID・権限をどう統制するか
oidfj
1
200
Context parameters で作る!はじめての型クラス
kworkdev
PRO
1
150
共通基盤の実装に Kotlin - Quarkus を選定した理由と採用したアーキテクチャ
nealle
1
130
【AWS reInvent 2026 関西組 事前勉強会】二度あることは三度ある~調子に乗りそうな3回目の私を戒めたいです~
ttelltte
0
110
AI対話型分析を作成し、リリースするまでの話 / The Road to Release: Buiding AI Conversational Analytics
yappli_developers
0
170
属人化したISMS運用をGitHubとAIで仕組み化した1年間の記録
sioncojp
4
2.8k
自動計装なしでECSサービスをApplication Signalsに載せるまで
ota1022
2
410
Context != Context: One window, many lifecycles (AI Native DevCon, Nov 2026)
birgitta410
0
170
業務の傍らで進める改善ループエンジニアリング
bengo4com
1
190
Featured
See All Featured
Why Your Marketing Sucks and What You Can Do About It - Sophie Logan
marketingsoph
0
470
Faster Mobile Websites
deanohume
310
32k
Save Time (by Creating Custom Rails Generators)
garrettdimon
PRO
33
5.8k
Designing for Timeless Needs
cassininazir
1
570
Designing for humans not robots
tammielis
254
26k
For a Future-Friendly Web
brad_frost
184
11k
[Rails World 2026] Durable orchestration on Rails: from continuation to workflow
palkan
4
1.3k
The Spectacular Lies of Maps
axbom
PRO
1
1.1k
[SF Ruby Conf 2025] Rails X
palkan
3
1.5k
Tips & Tricks on How to Get Your First Job In Tech
honzajavorek
1
850
The Hidden Cost of Media on the Web [PixelPalooza 2025]
tammyeverts
2
580
The Curse of the Amulet
leimatthew05
4
17k


 recruitengineers
 oracle4engineer
 ama_ch
 ykimi
 oidfj
 kworkdev
 nealle
 ttelltte
 yappli_developers
 sioncojp
 ota1022
 birgitta410
 bengo4com
 marketingsoph
 deanohume
 garrettdimon
 cassininazir
 tammielis
 brad_frost
 palkan
 axbom
 honzajavorek
 tammyeverts
 leimatthew05