$30 off During Our Annual Pro Sale. View Details »

CSS Layouting

CSS Layouting

The deck for an internal presentation at Cantina about the basics of laying things out with CSS.

Matthew Crist

March 27, 2012
Tweet

More Decks by Matthew Crist

Other Decks in Technology

Transcript

  1. CSS
    CSS
    LAYOUTING

    View Slide

  2. THE BOX MODEL
    THE BOX MODEL

    View Slide

  3. Margin
    Padding
    Width
    Border

    View Slide

  4. Works great...
    Don’t apply left, or right padding to
    elements 
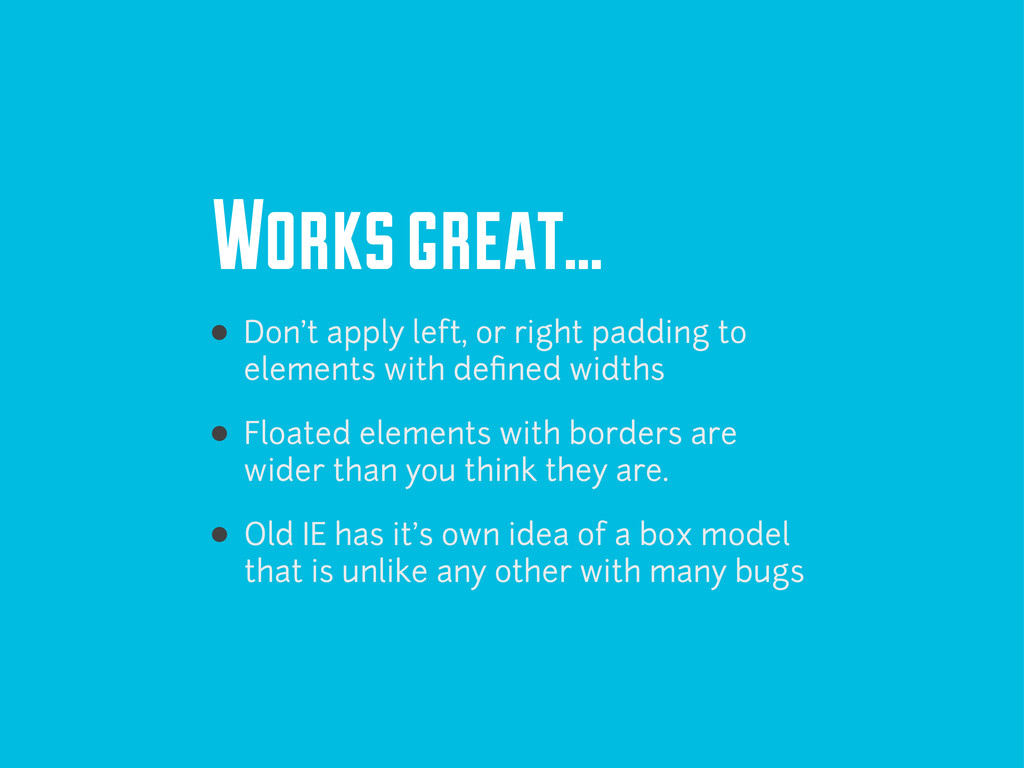
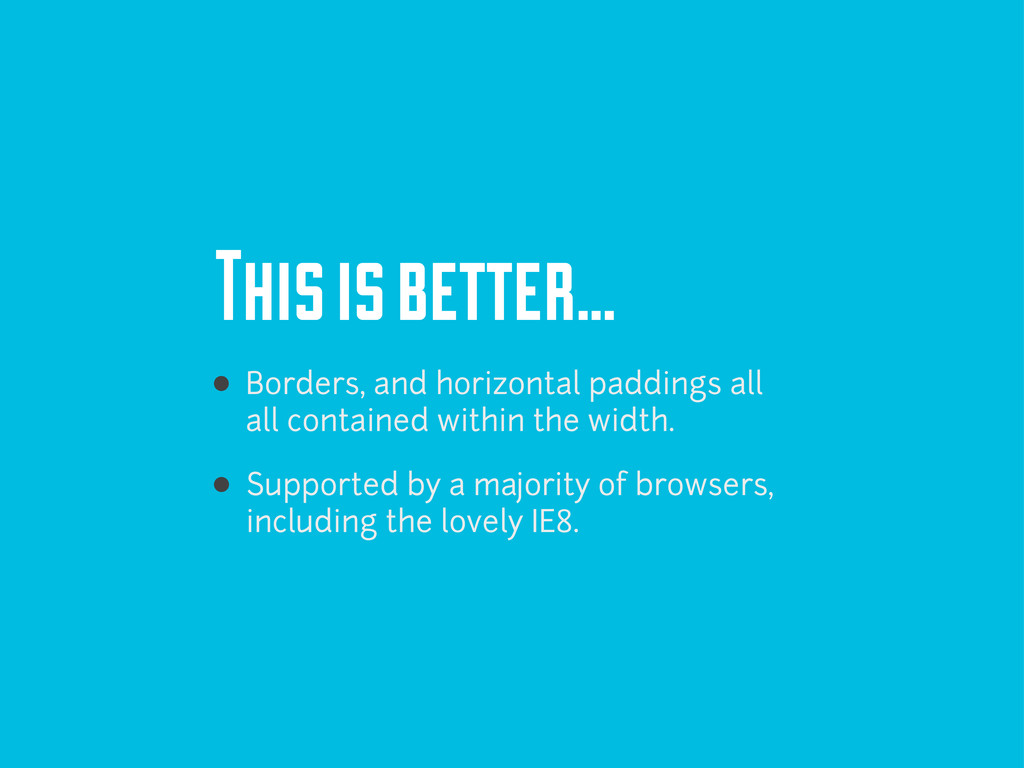
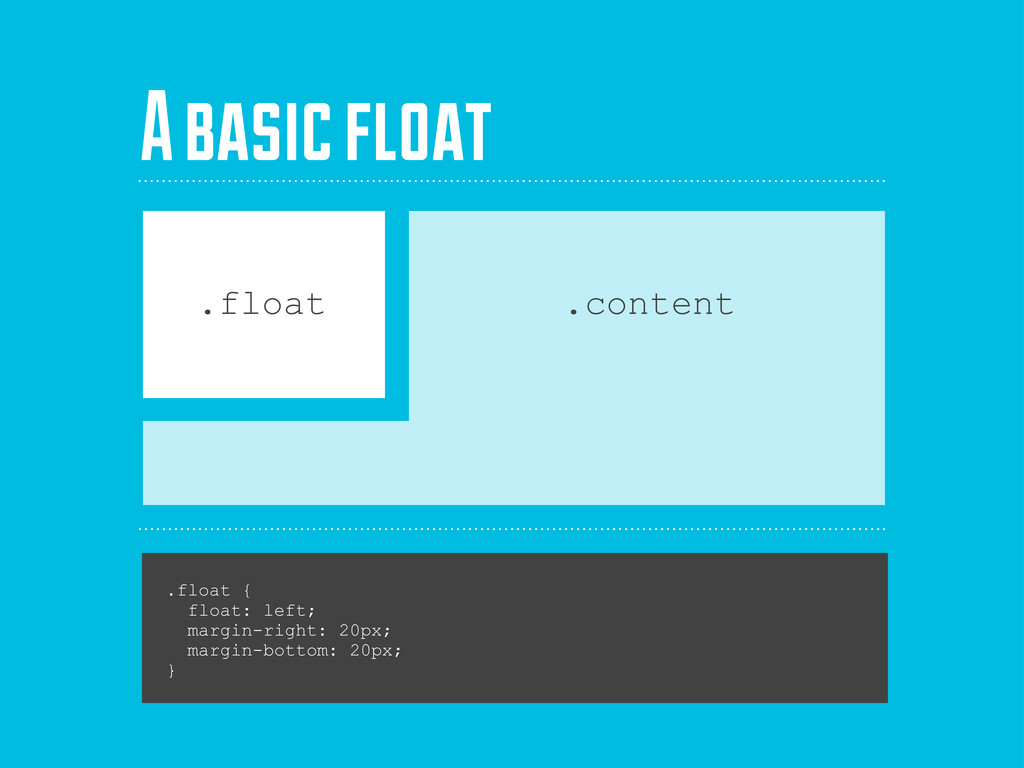
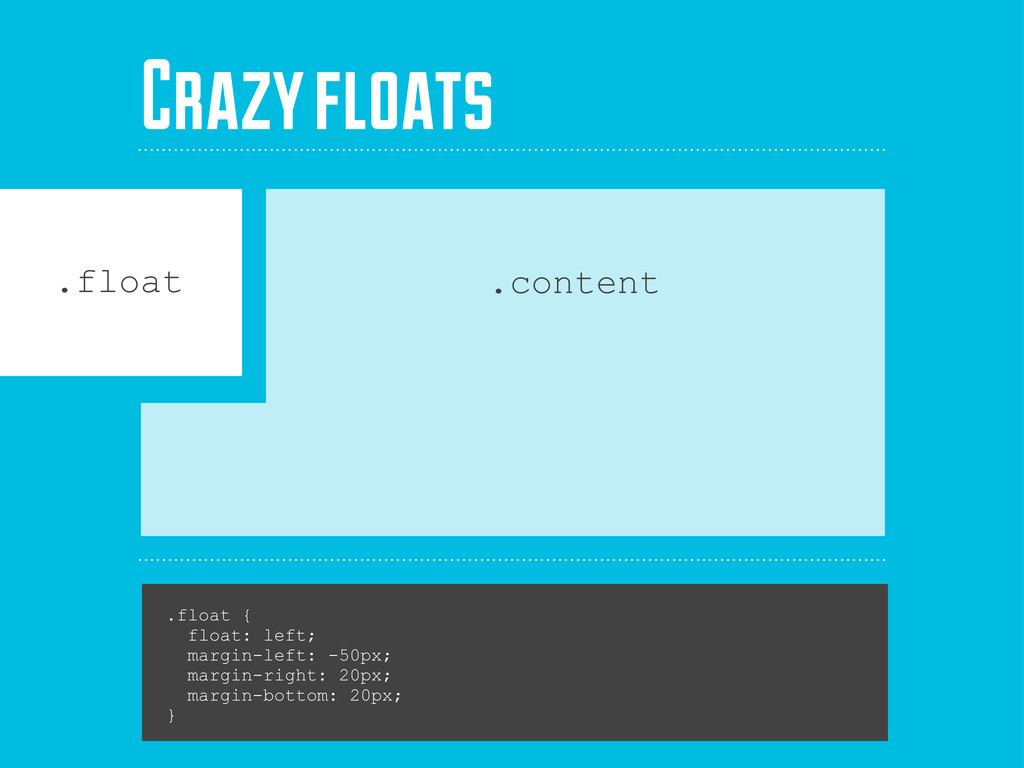
with defined widths
    Floated elements with borders are
    wider than you think they are.
    Old IE has it’s own idea of a box model
    that is unlike any other with many bugs

    View Slide

  5. CSS3 can normalize
    .selector {
    box-sizing: border-box;
    -webkit-box-sizing: border-box;
    -moz-box-sizing: border-box;
    }
    Gets the box model to be more like IE6.

    View Slide

  6. This is better...
    Borders, and horizontal paddings all
    all contained within the width.
    Supported by a majority of browsers,
    including the lovely IE8.

    View Slide

  7. FLOATS
    FLOATS

    View Slide

  8. .float {
    float: left;
    margin-right: 20px;
    margin-bottom: 20px;
    }
    .float .content
    A basic float

    View Slide

  9. .float {
    float: left;
    width: 150px;
    margin-right: 20px;
    margin-bottom: 20px;
    }
    .float .content
    Another Common float
    .content {
    margin-left: 170px;
    }

    View Slide

  10. Some caveats...
    Float without a width and the width of
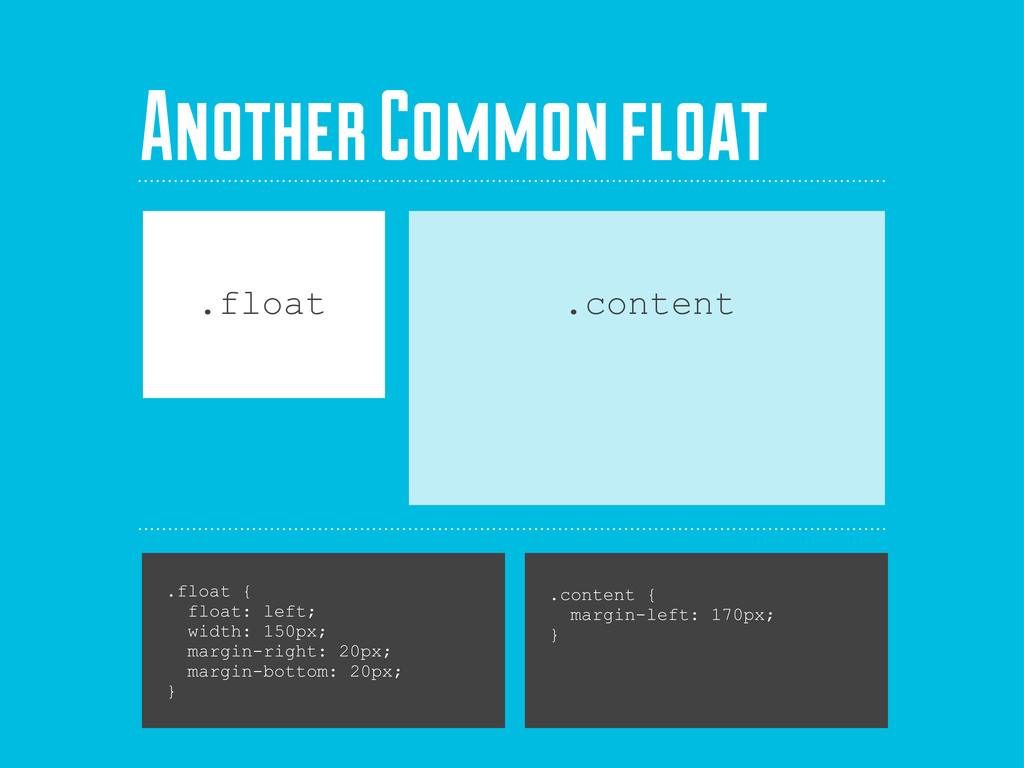
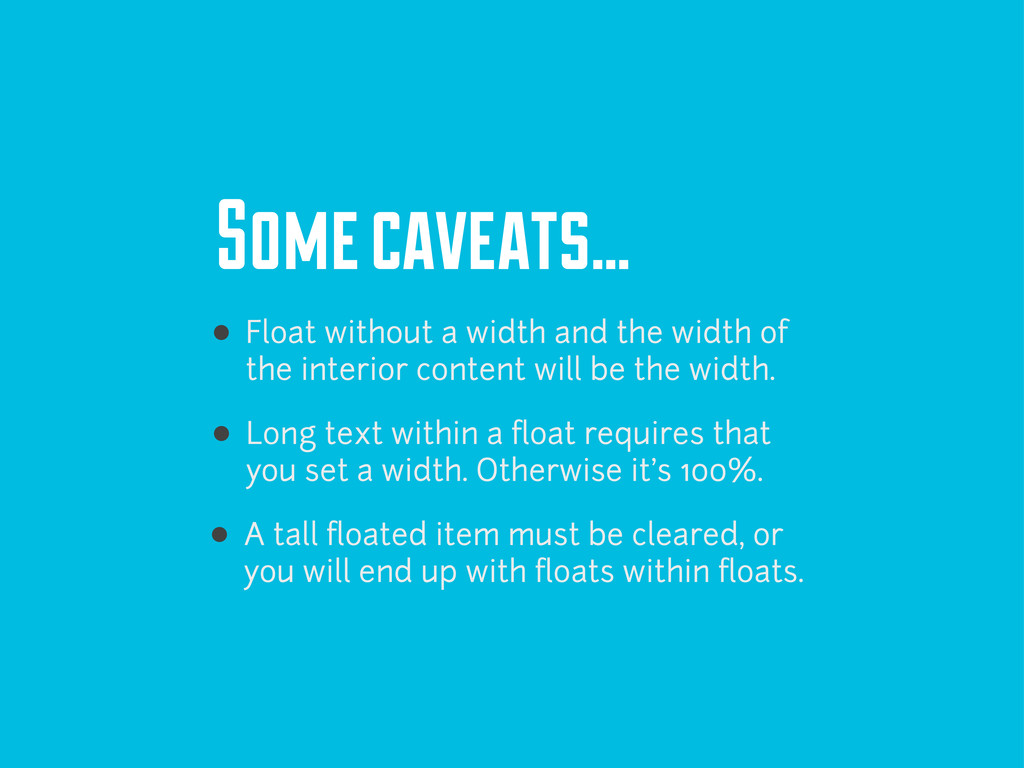
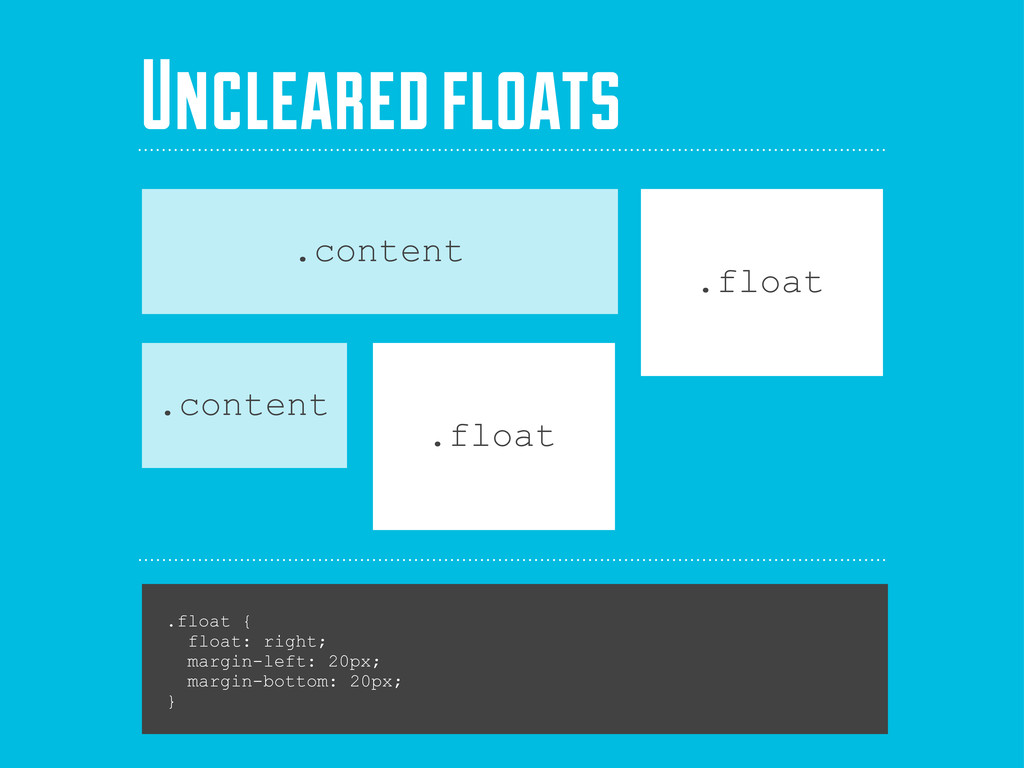
    the interior content will be the width.
    Long text within a float requires that
    you set a width. Otherwise it’s 100%.
    A tall floated item must be cleared, or
    you will end up with floats within floats.

    View Slide

  11. .float {
    float: right;
    margin-left: 20px;
    margin-bottom: 20px;
    }
    .float
    .content
    Uncleared floats
    .content
    .float

    View Slide

  12. Clear your floats...
    No need to use extra markup to clear
    your floats. Self-clearing is the only way.

    View Slide

  13. .selector {
    overflow: auto;
    *zoom: 1;
    }
    Self Clearing Floats
    .selector:after {
    content: ".";
    display: block;
    height: 0;
    clear: both;
    visibility: hidden;
    }

    View Slide

  14. Mixin
    Don’t use clearfix as a mixin in SASS or
    LESS. Use it as a class name and save.

    View Slide

  15. .float {
    float: left;
    margin-left: -50px;
    margin-right: 20px;
    margin-bottom: 20px;
    }
    .float .content
    Crazy floats

    View Slide

  16. Positioning
    Positioning

    View Slide

  17. Things to remember...
    Absolutely positioned elements are
    positioned relative to 
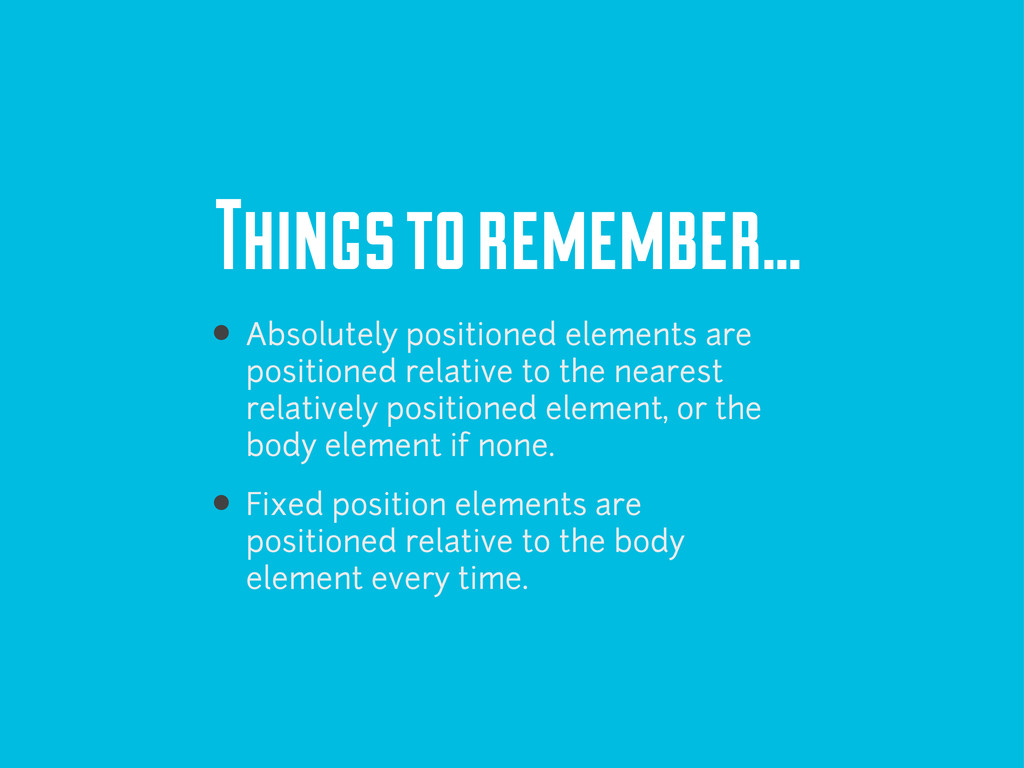
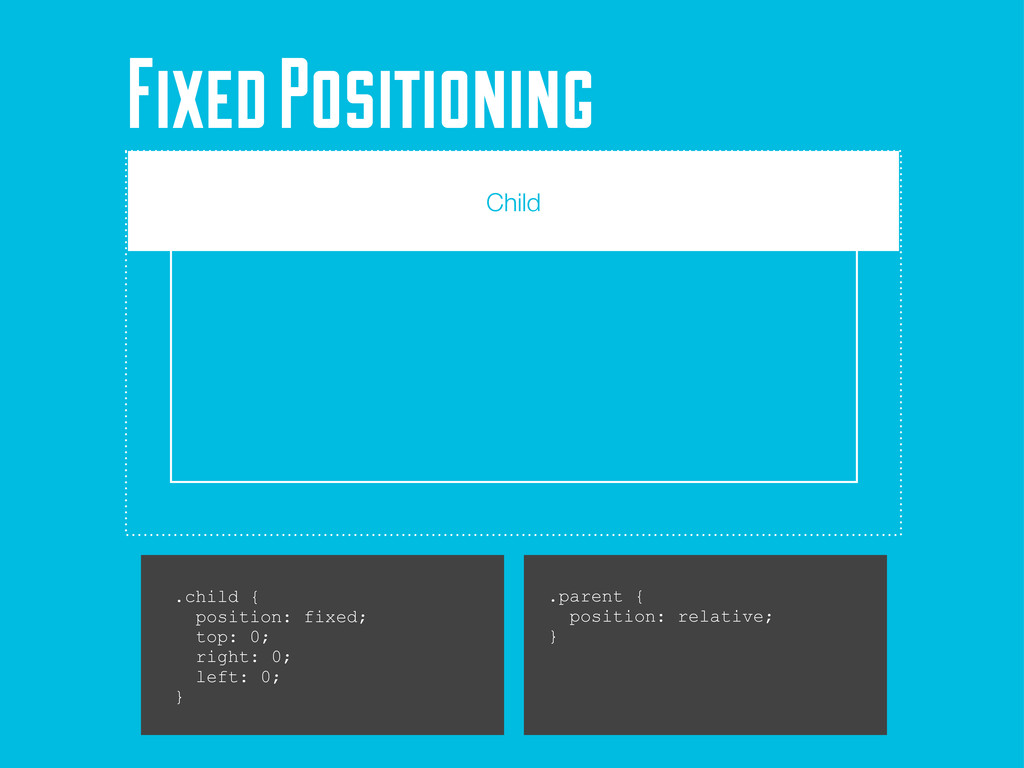
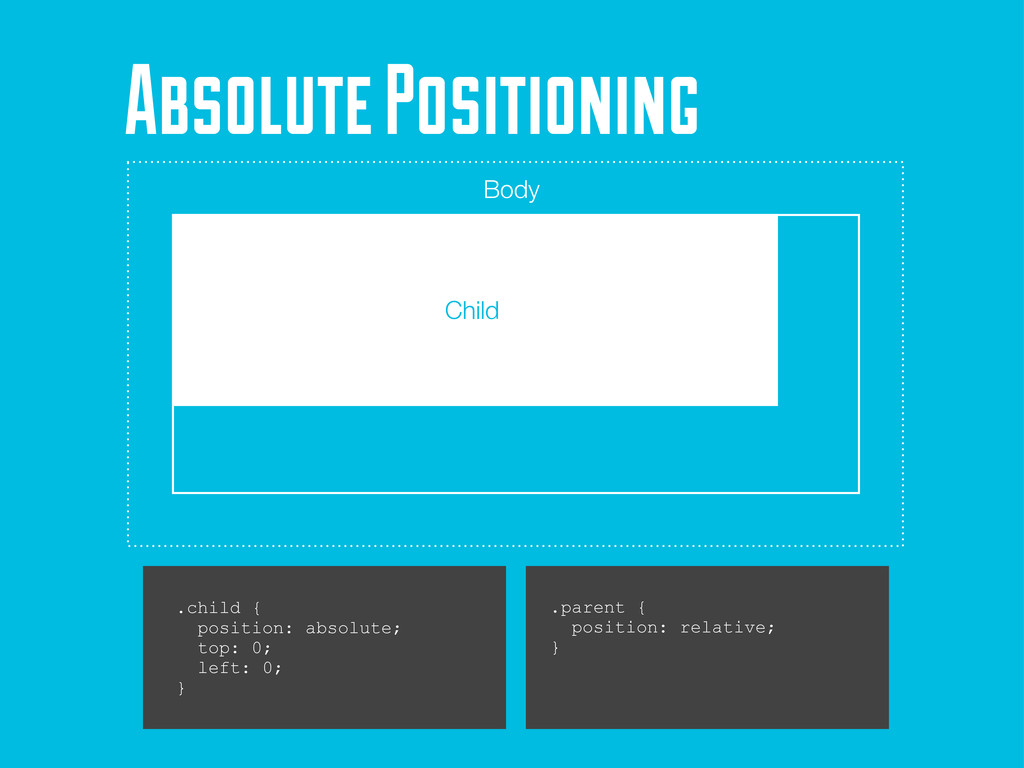
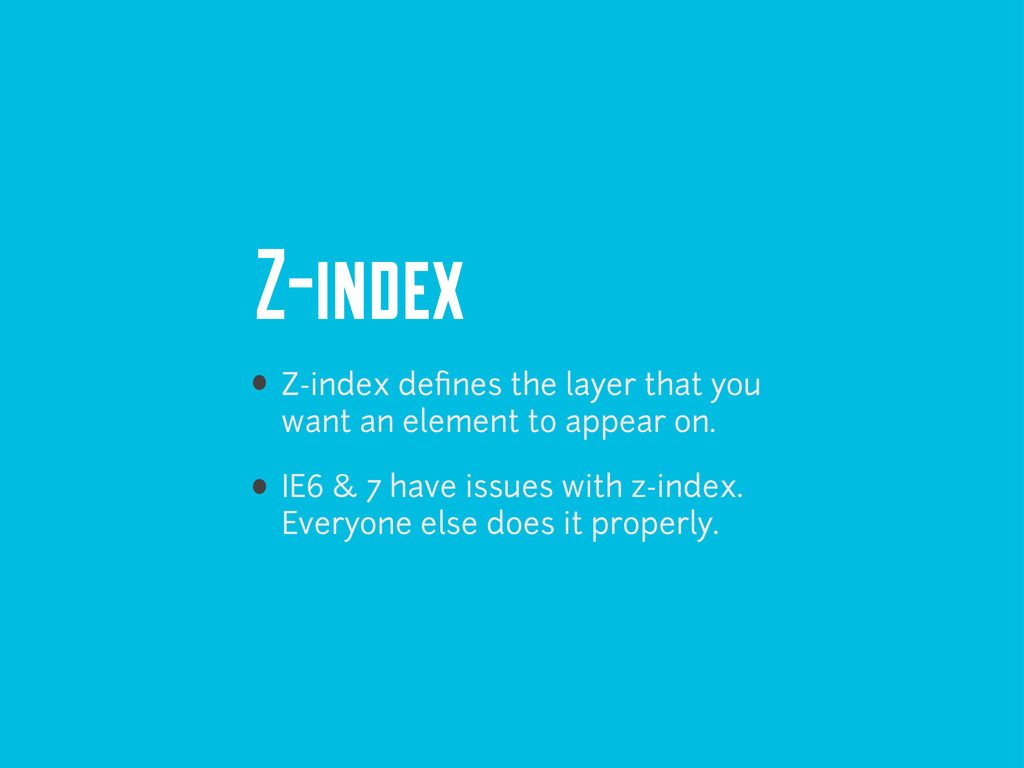
the nearest
    relatively positioned element, or the
    body element if none.
    Fixed position elements are
    positioned relative to the body
    element every time.

    View Slide

  18. Body
    Parent
    Child
    .parent {
    position: relative;
    }
    .child {
    position: fixed;
    top: 0;
    right: 0;
    left: 0;
    }
    Fixed Positioning

    View Slide

  19. Body
    Parent
    Child
    .parent {
    position: relative;
    }
    .child {
    position: absolute;
    top: 0;
    left: 0;
    }
    Absolute Positioning

    View Slide

  20. Z-index
    Z-index defines the layer that you
    want an element to appear on.
    IE6 & 7 have issues with z-index.
    Everyone else does it properly.

    View Slide

  21. Z-INDEX
    Using z-index
    .selector:before {
    position: absolute;
    z-index: -1;
    top: -20px;
    opacity: 50;
    font-size: 75%;
    content: “Z-INDEX”
    }
    Z-INDEX
    Z-INDEX
    .selector:after {
    position: absolute;
    z-index: -2;
    top: -40px;
    opacity: 25;
    font-size: 50%;
    content: “Z-INDEX”
    }

    View Slide

  22. Fin.
    Fin.

    View Slide