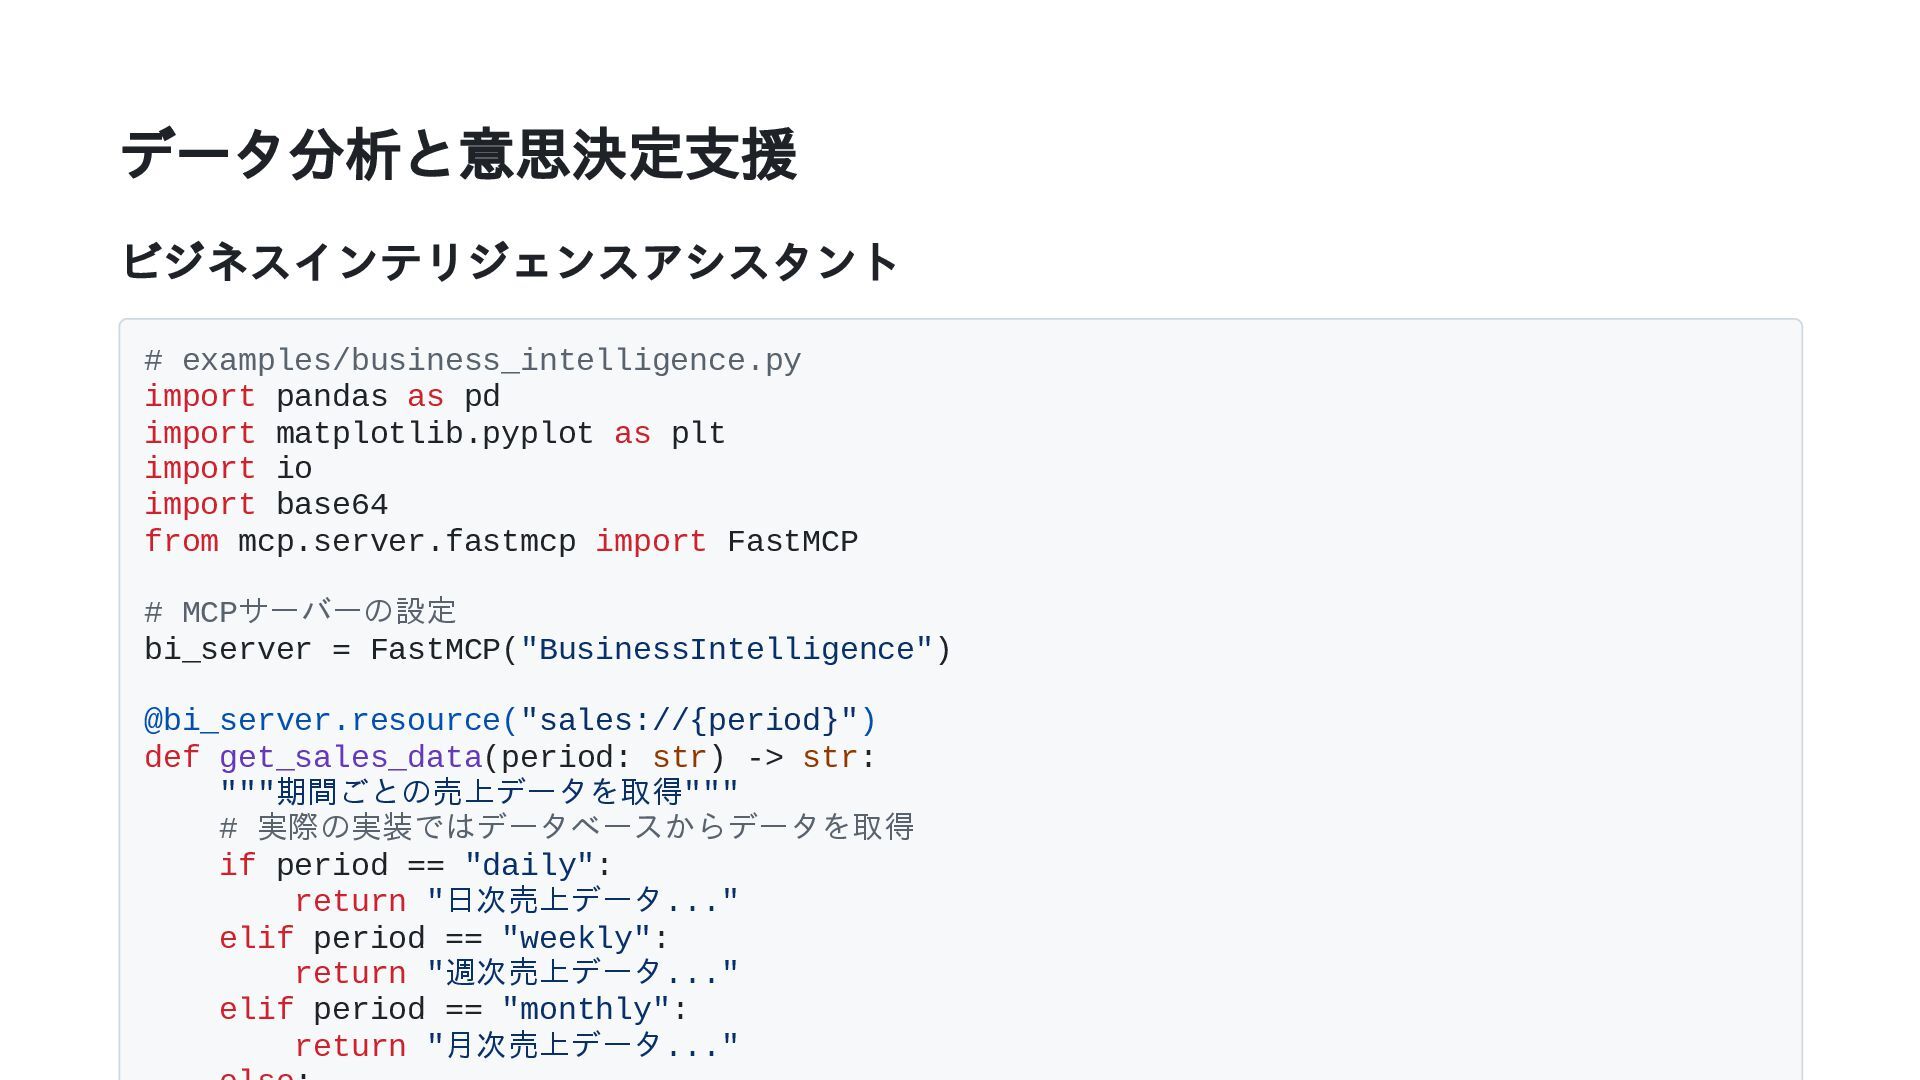
dict: """データのトレンドを分析""" # 実際の実装ではデータ分析ライブラリを使用 return { "trend": "上昇傾向", "growth_rate": "15%", "key_factors": ["新製品の導入", "マーケティングキャンペーン"] } @bi_server.tool() def generate_chart(data: str, chart_type: str) -> str: """データからチャートを生成""" # サンプルデータの作成(実際の実装ではデータを解析して使用) df = pd.DataFrame({ 'Month': ['Jan', 'Feb', 'Mar', 'Apr', 'May'], 'Sales': [100, 120, 140, 130, 150] }) # チャートの作成 plt.figure(figsize=(10, 6)) if chart_type == "bar": df.plot(kind='bar', x='Month', y='Sales') elif chart_type == "line": df.plot(kind='line', x='Month', y='Sales') else: return "サポートされていないチャートタイプです" plt.title('Monthly Sales') plt.ylabel('Sales (in thousands)') # 画像をBase64エンコード buffer = io.BytesIO() plt.savefig(buffer, format='png') buffer.seek(0) image_base64 = base64.b64encode(buffer.read()).decode('utf-8') return f"data:image/png;base64,{image_base64}"
![必要なライブラリのインストール MCP のインストール # uvを使用する場合(推奨) uv add "mcp[cli]" # pipを使用する場合](https://files.speakerdeck.com/presentations/633cfae4529d41a28dbe17607d31881a/slide_34.jpg)
![基本的な設定(続き) requirements.txt の作成 mcp[cli]>=1.9.0 httpx>=0.24.0 pydantic>=2.0.0 fastapi>=0.100.0 README.md の作成 #](https://files.speakerdeck.com/presentations/633cfae4529d41a28dbe17607d31881a/slide_36.jpg)
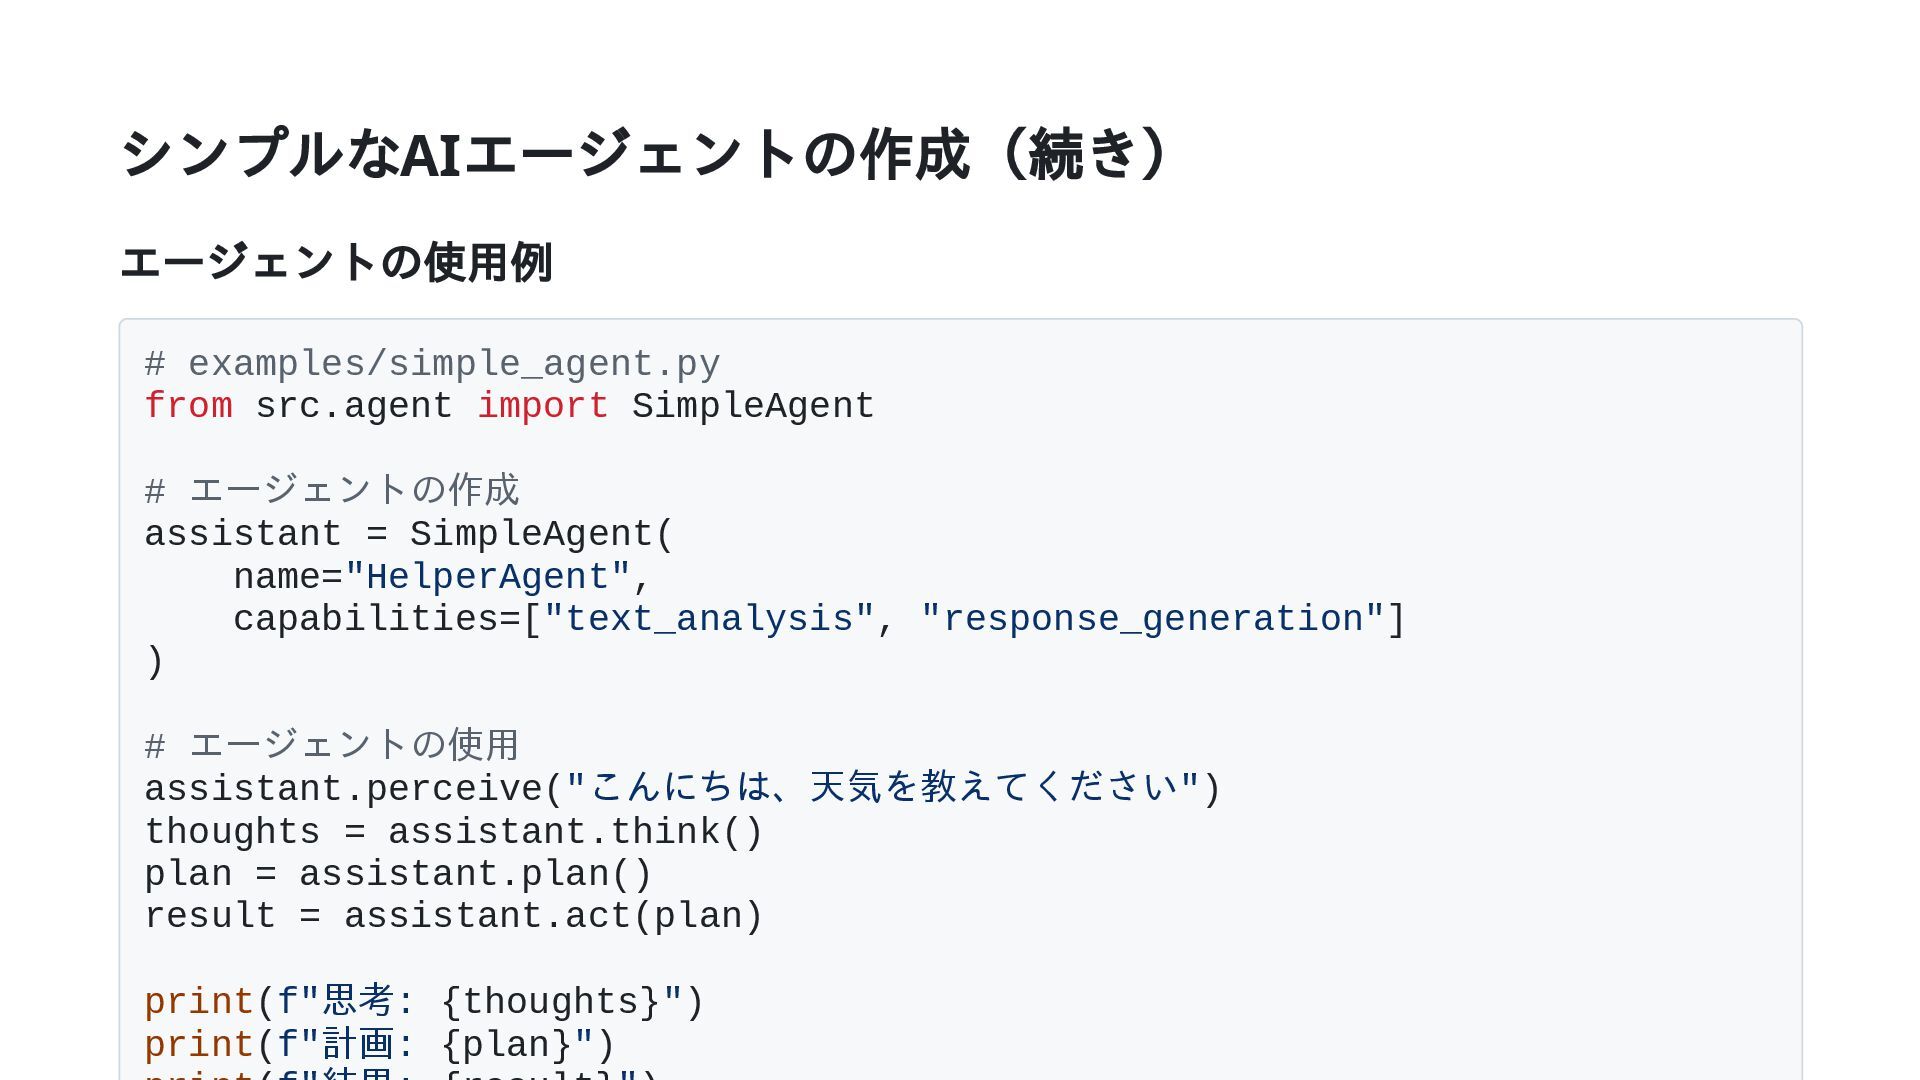
![シンプルなAI エージェントの作成(続き) # src/agent.py(続き) def plan(self) -> List[Dict[str, Any]]: """行動計画を作成"""](https://files.speakerdeck.com/presentations/633cfae4529d41a28dbe17607d31881a/slide_39.jpg)
![エージェントの機能拡張(続き) # src/llm_agent.py(続き) async def plan(self) -> List[Dict[str, Any]]: """LLMを使用して計画を立てる"""](https://files.speakerdeck.com/presentations/633cfae4529d41a28dbe17607d31881a/slide_43.jpg)
![エージェントの機能拡張(続き) # src/llm_agent.py(続き) async def act(self, plan: Optional[List[Dict[str, Any]]] =](https://files.speakerdeck.com/presentations/633cfae4529d41a28dbe17607d31881a/slide_44.jpg)
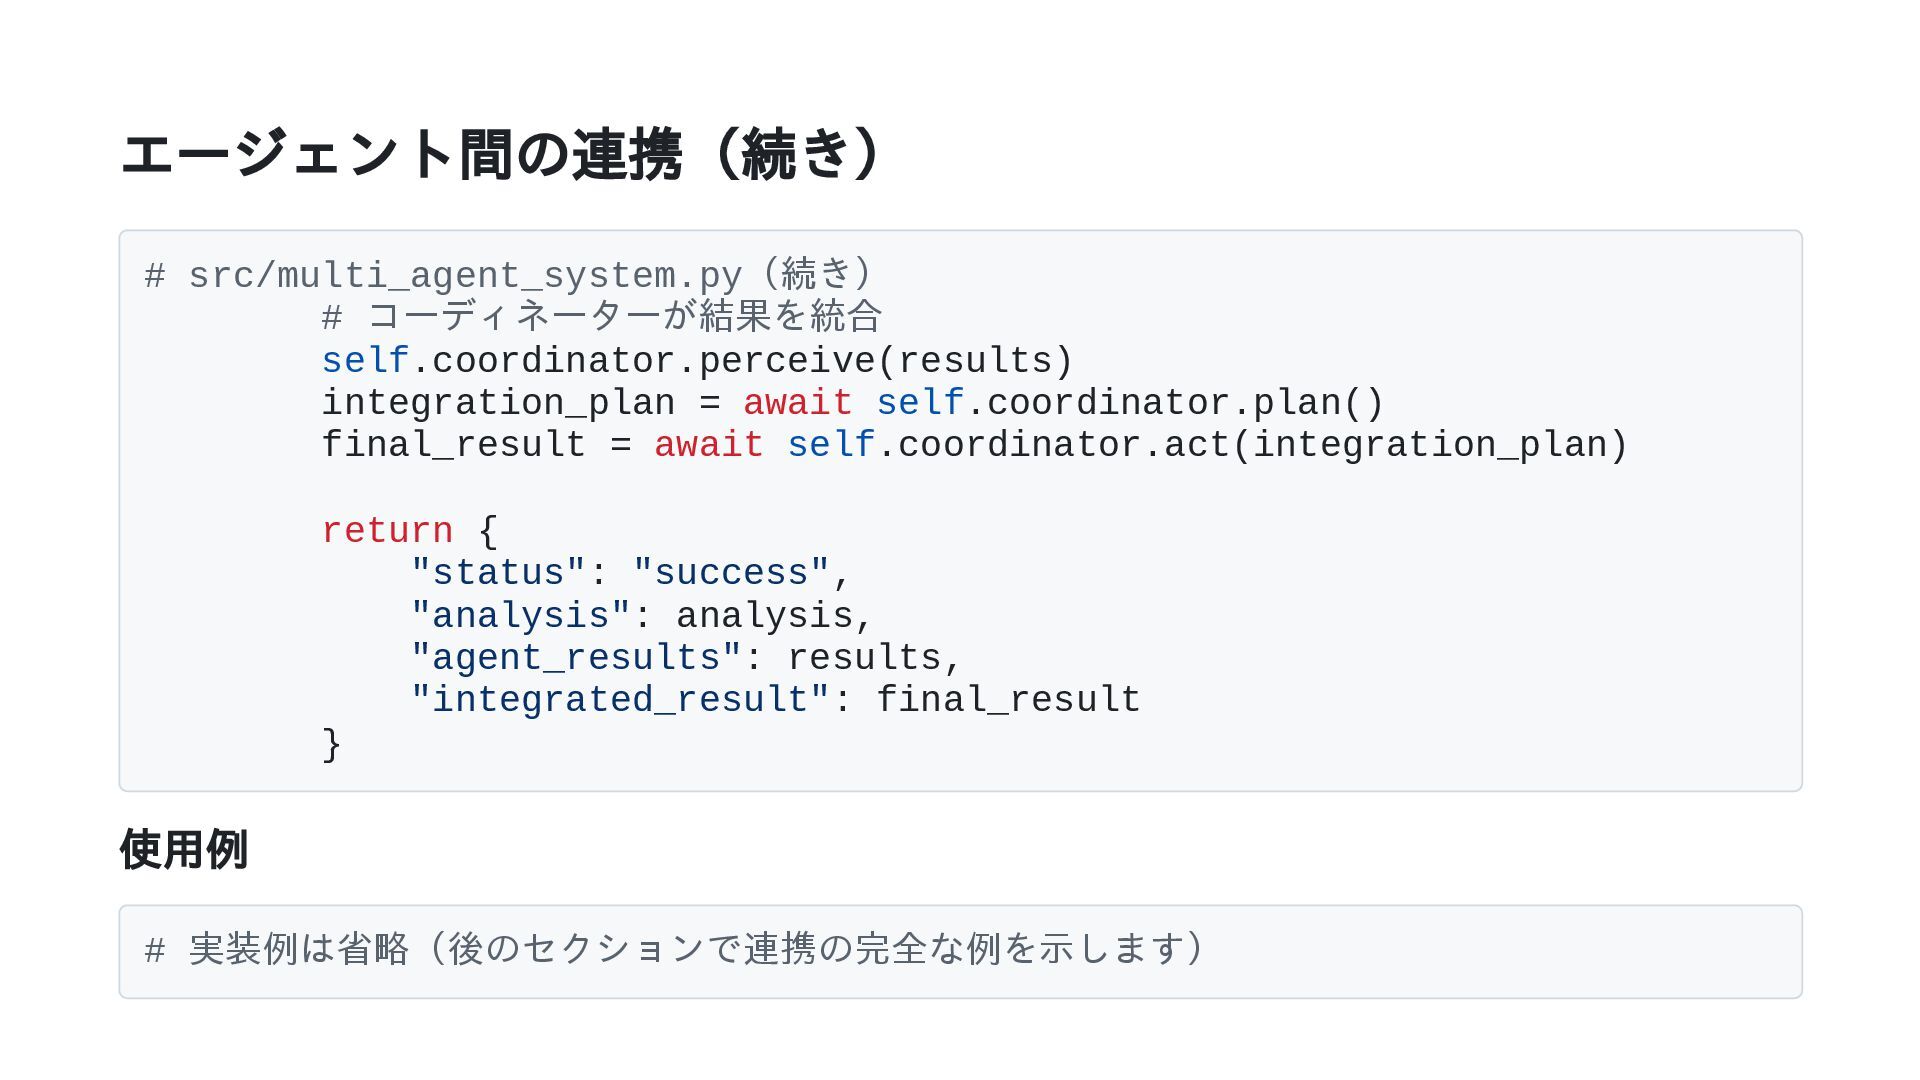
![エージェント間の連携(続き) # src/multi_agent_system.py(続き) # タスクを適切なエージェントに割り当て assignments = [] for agent](https://files.speakerdeck.com/presentations/633cfae4529d41a28dbe17607d31881a/slide_46.jpg)
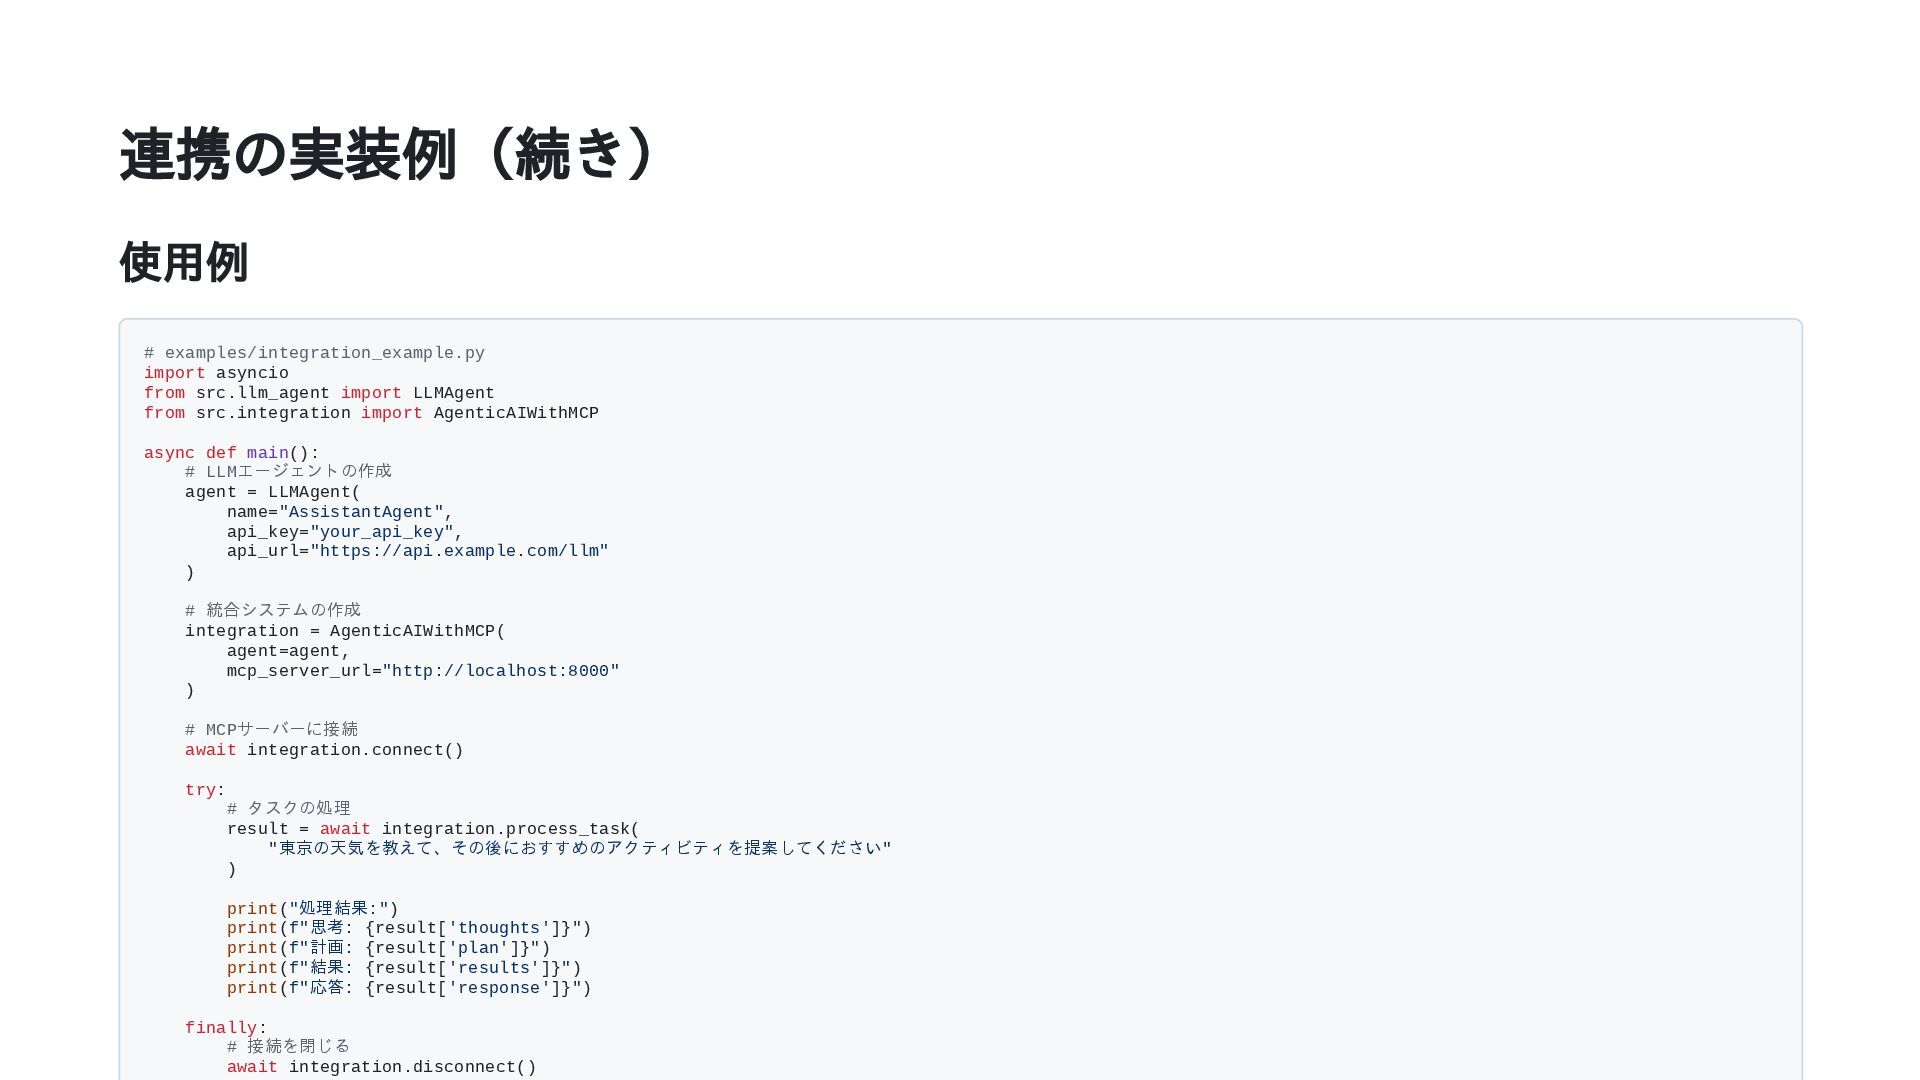
![連携の実装例(続き) # src/integration.py(続き) # 計画に基づいてMCPリソースとツールを使用 results = [] for step](https://files.speakerdeck.com/presentations/633cfae4529d41a28dbe17607d31881a/slide_65.jpg)
![ご清聴ありがとうございました! 連絡先: [email protected]](https://files.speakerdeck.com/presentations/633cfae4529d41a28dbe17607d31881a/slide_87.jpg)